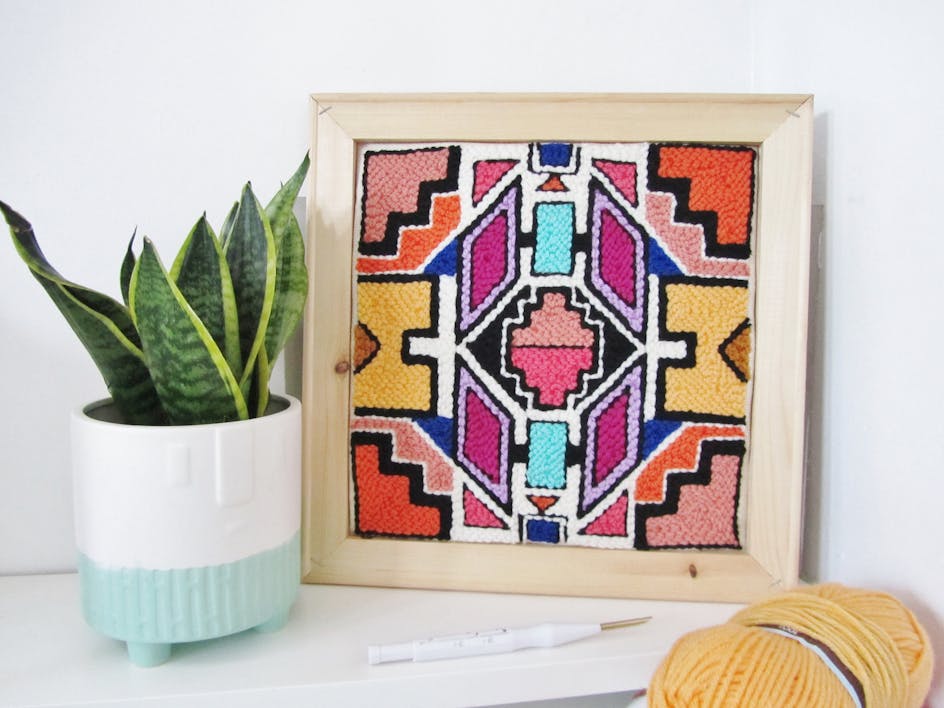
Learn how to make a jolly punch needle Christmas wreath
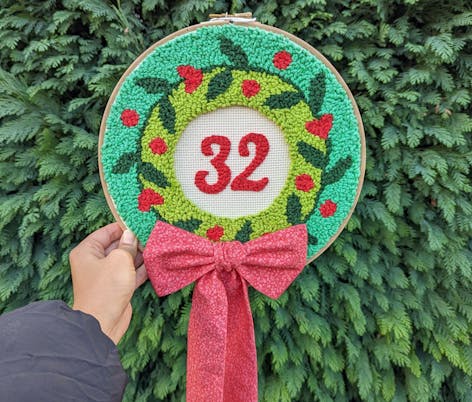
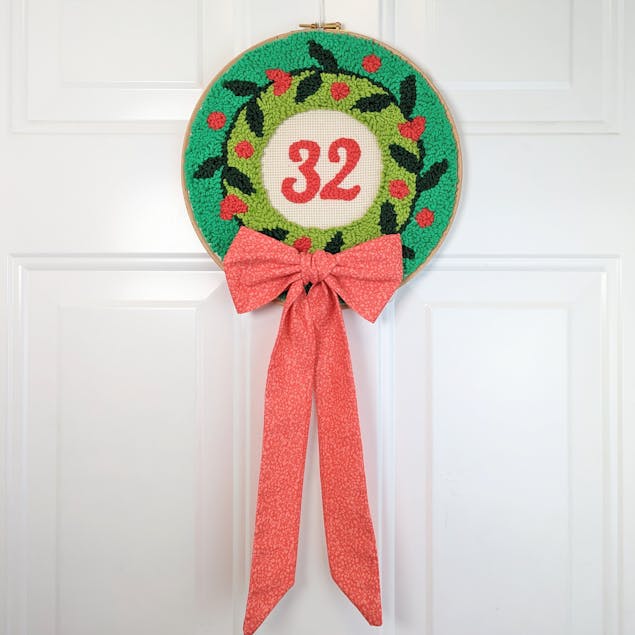
Published on 16 November 2022 1 min readIf you’re looking to sleigh a festive project this year, then this punch needle Christmas wreath is the one for you! LoveCrafts makers Dana and Saphia came together to create the most won-deer-ful pattern you’ll be proud to deck the halls with this season. Complete with a charming bow and a personalised centre, this beginner-friendly tutorial will guide you through your next magnificent make!
Materials
- Natural colour Monks cloth
- 10inch (25 cm) embroidery hoop:
- Elbesee 10 Inch Wooden Embroidery Hoop
- 3mm punch needle tool:
- Rico Wooden Punch Needle
- Paintbox Yarns Cotton Aran (one each) in Racing Green, Spearmint Green, Lime Green and Pillar Red:
- Paintbox Yarns Cotton Aran
- Fabric of your choice for the bow. We used:
- LoveCrafts Christmas Village - Ditsy Floral Red
- Felt tip pen
- Water erasable marker (optional):
- Prym Aqua Trick Marker Water Erasable
- Pointed large eye sewing needle
- Dressmaker pins:
- Prym Straight Pins 0.60 x 30 mm Silver Colour
- Fabric glue:
- Trimits Fabric Glue
- Fabric scissors:
- Fiskars Classic Universal Scissors
- Embroidery scissors:
- DMC Hardanger Scissors 3.5in (9cm)
- Sewing machine
- Sewing Thread
How to stitch the punch needle wreath
1
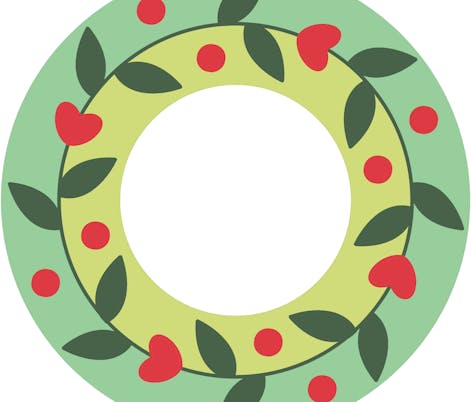
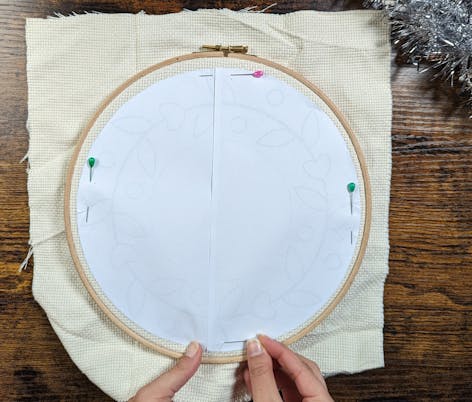
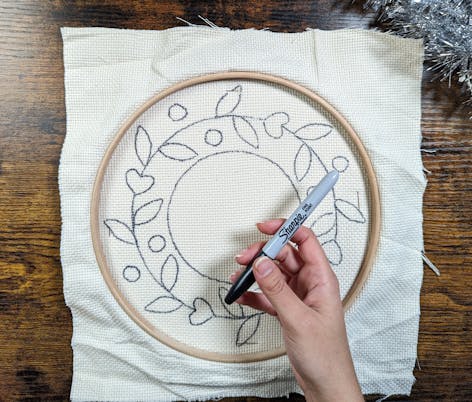
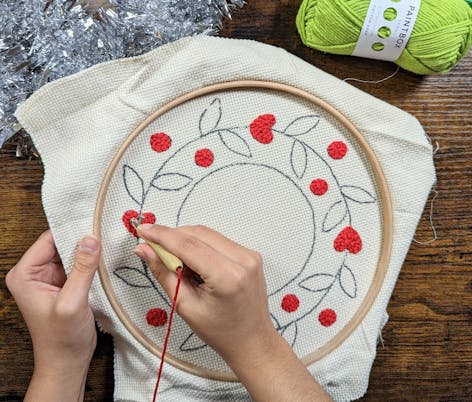
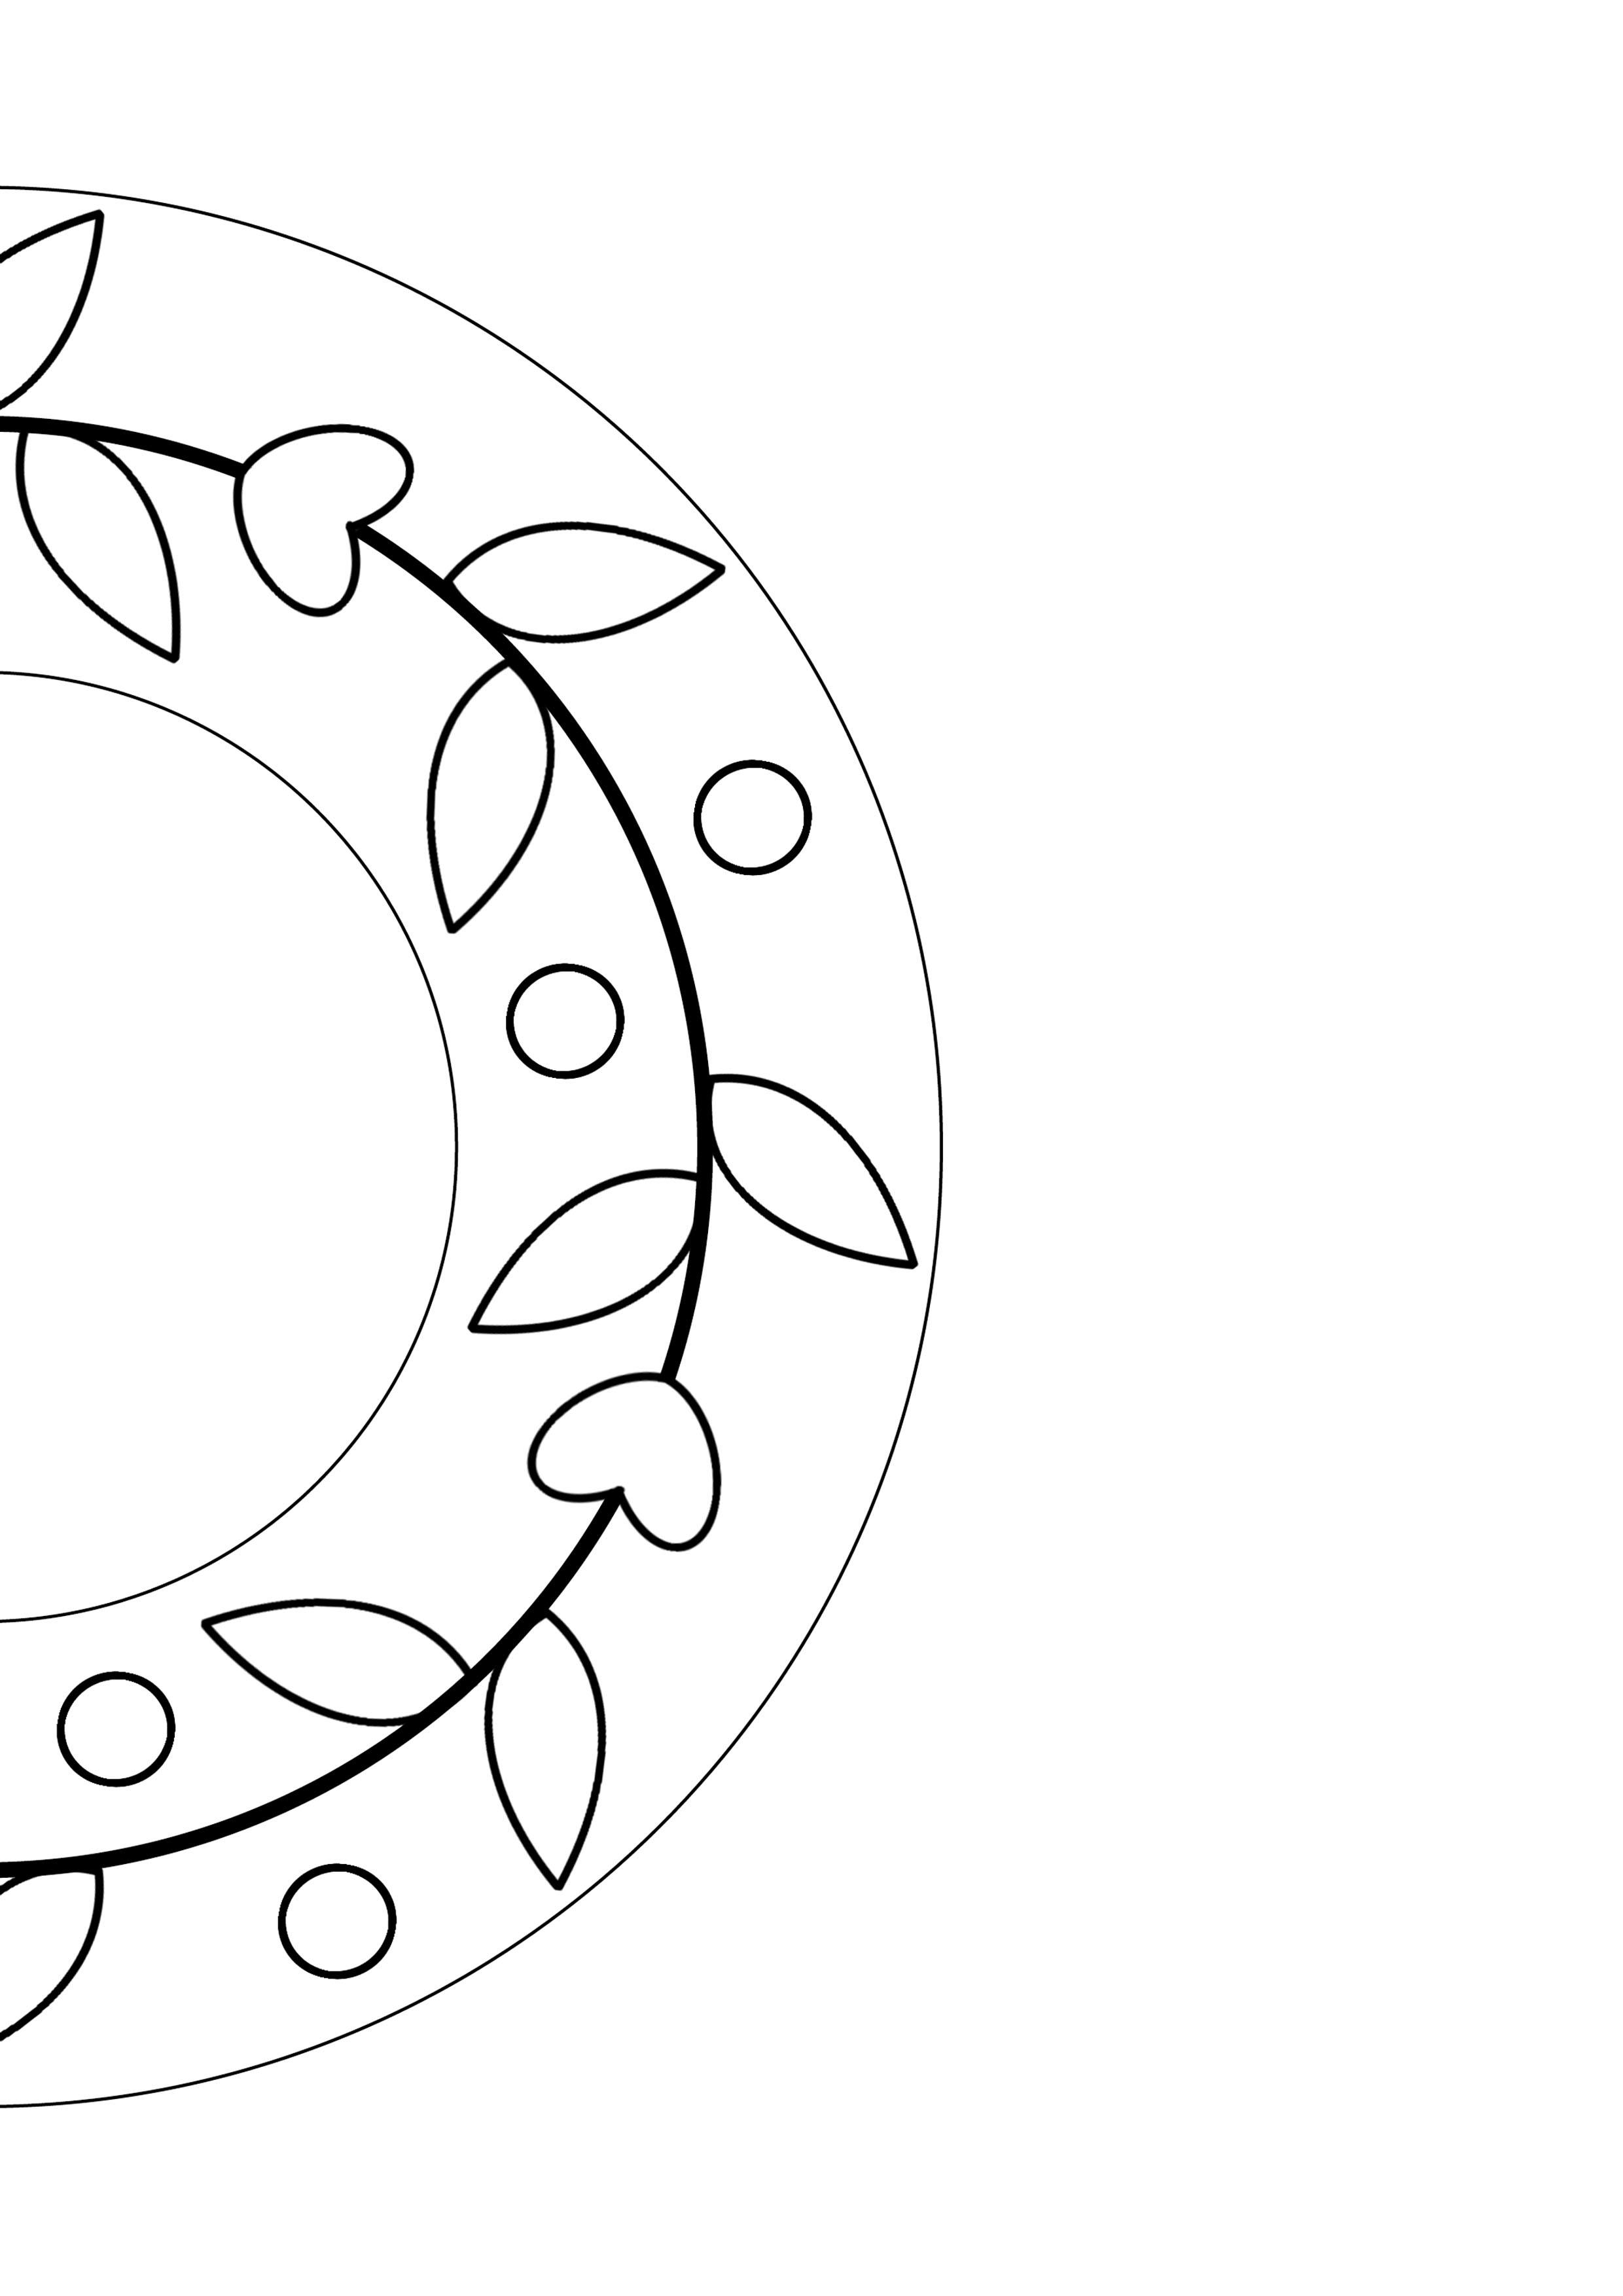
Stretch your Monks cloth onto the embroidery frame until it feels drum tight in the middle. Make sure the squares on the Monks cloth are aligned upright with the top screw of the embroidery hoop. Print both left and right sides of your template (select ‘fill entire page’ on the printer settings). Tape both together and cut the excess paper around the outer circle. Pin to the front side of the fabric (right side facing down) and trace the design on the back side of the fabric against a strong light source.
2
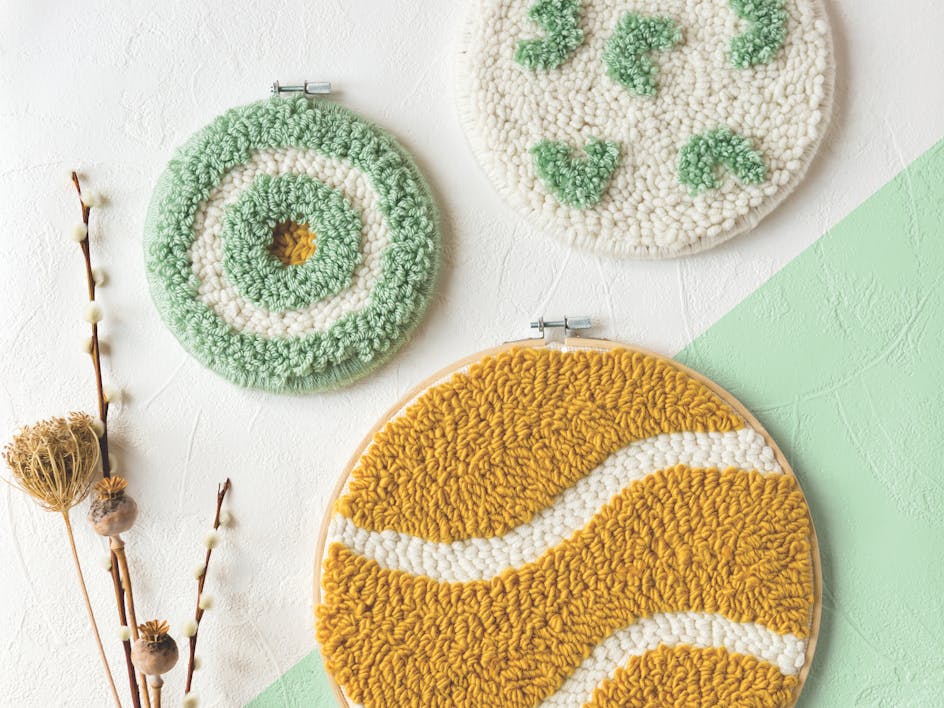
Set your punch needle to an approx length of 3cm. Thread the needle and start embroidering the smaller sections in the design first e.g.the hearts, dots and leaves, then embroider the two background colours.
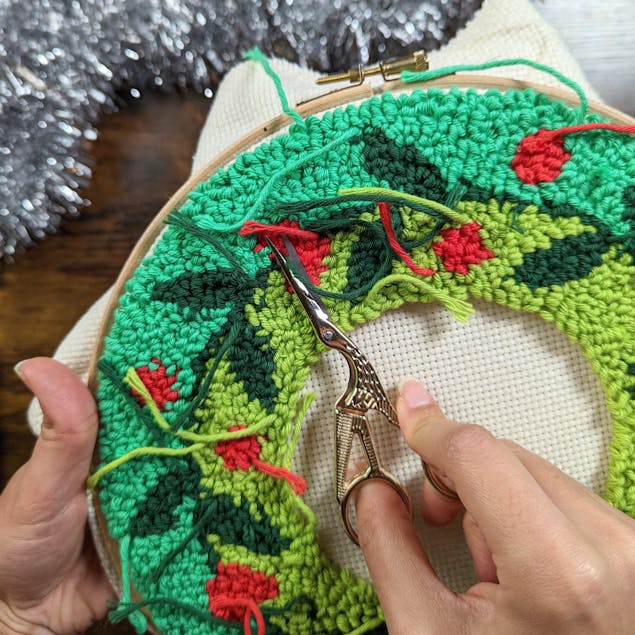
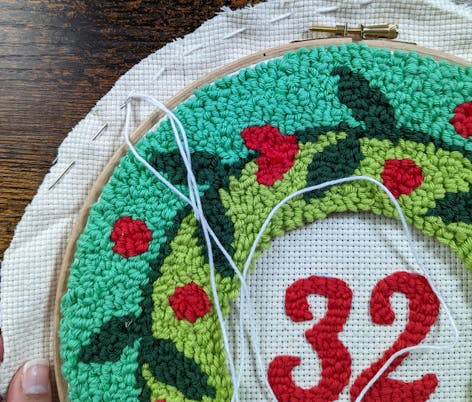
3
Turn to the front of your embroidery. Trim down all the yarn ends. Using a needle, or the tip of your closed embroidery scissors, separate any intertwined loops where the different colours meet. This will neaten the lines in your work.
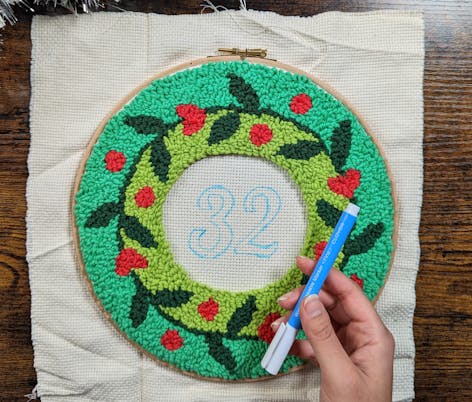
Time to personalise your wreath!
Is there anything more special than a personalised wreath? We’ve added a door number to ours, but there are so many wonderful ways you can add that little extra magic to your beautiful design. Greet your party guests the right way by stitching a classic festive message like ‘Merry Christmas’, or if you’re looking to gift your wreath, why not embroider family names or initials? The possibilities are truly endless!
4
Write your personalised message by hand or on the computer in your preferred font and size. We typed ours on a Word doc. Pin the design to the back of the fabric and trace onto the front of your design with a marker (or water erasable pen in case you make a mistake and want to experiment more). This time you’re going to punch flat stitches on the right side of the fabric.
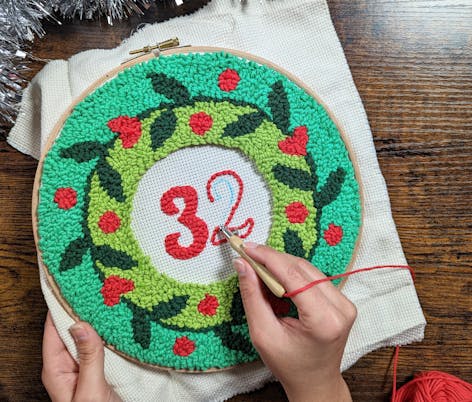
5
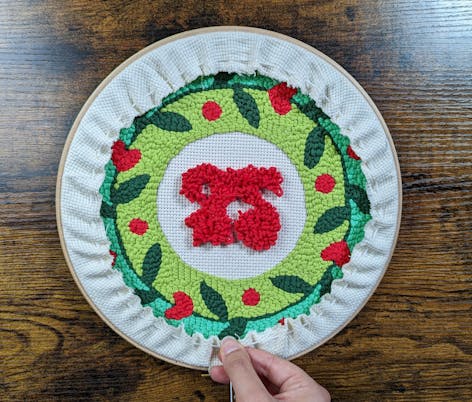
Once you’ve completed stitching your design, trim down the Monks cloth around the hoop, secure with some fabric glue to avoid fraying, and create a running stitch along the edge. When your stitches meet in the round, pull both thread ends to gather the excess cloth behind the hoop. Secure with a knot.
6
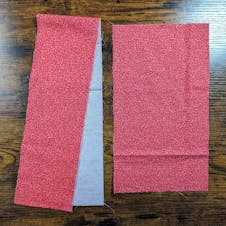
Finish your wreath with a statement bow! Cut an 80cmx12cm and a 20cmx35cm piece from your festive fabric.
7
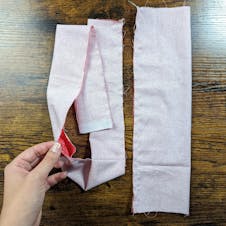
Fold and sew the long sides of both pieces together with right sides facing together. On the 80cmx12cm piece, be sure to leave an approx 5cm opening somewhere in the middle.
8
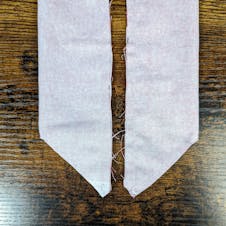
Sew a diagonal line on both ends of the 80cmx12cm piece and trim down with the fabric scissors.
9
Turn the same piece inside out from the opening, press it with an iron and top stitch the opening to close.
10
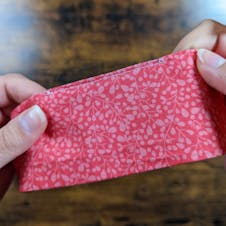
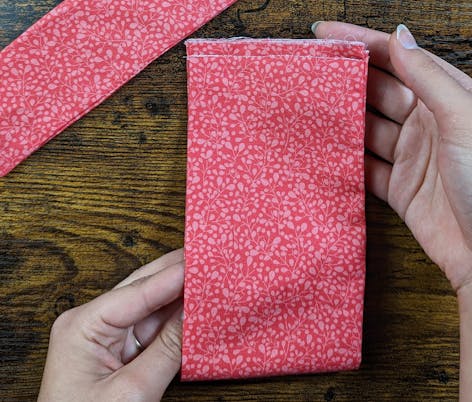
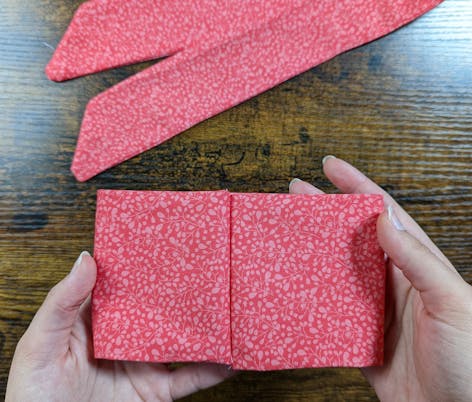
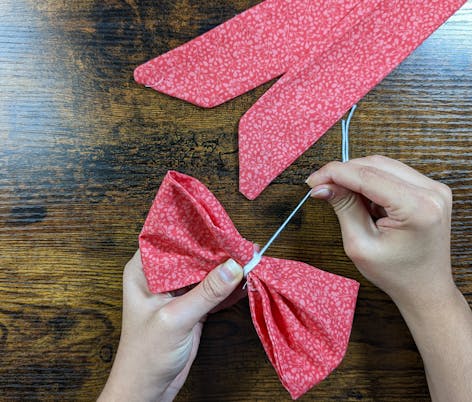
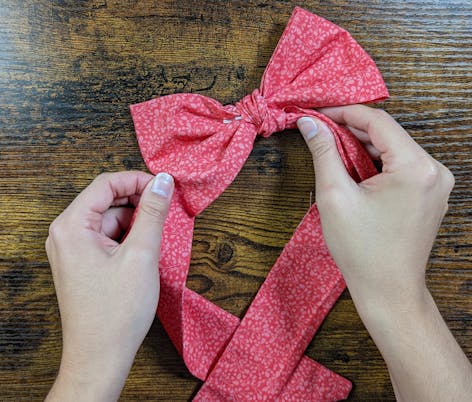
Turn the second piece inside out, fold in half and stitch the shorter edges together (top left image). Turn inside out again and adjust, so that the sewn seam is in the middle (top right image). Gather the middle of the same piece and tie it with some yarn or thread (bottom left image). Tie the other fabric piece to the middle to complete your bow (bottom right image).
11
Finally, attach your bow to the bottom of your wreath. Thread yarn through the back of the bow where you have tied in the middle, through to the back of your wreath design and secure with a knot.
Pick your favourite festive fabric for the bow

A round of santa-plause please… you’re ready to hang up your wreath!
