How to make a quilt
Published on 17 December 2021 By Holly ButterissFancy trying your hand at quilting, but not sure where to start? Well look no further! Amazing makers, Tracey and Emma from Curly Seams have put together a fantastic step-by-step guide showing you how to make a quilt - the perfect quilting beginners project!
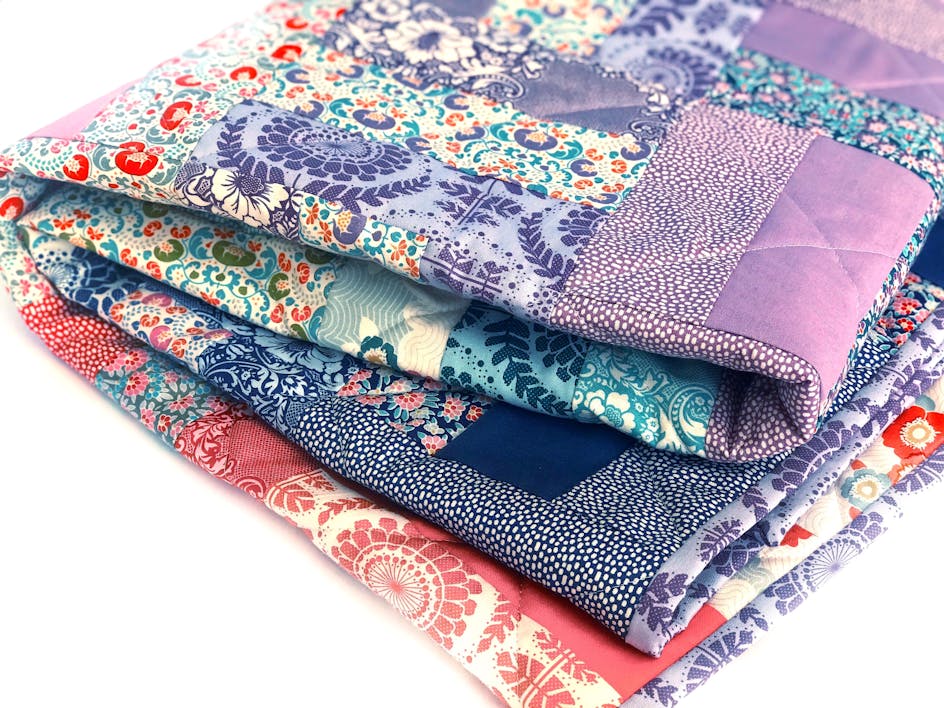
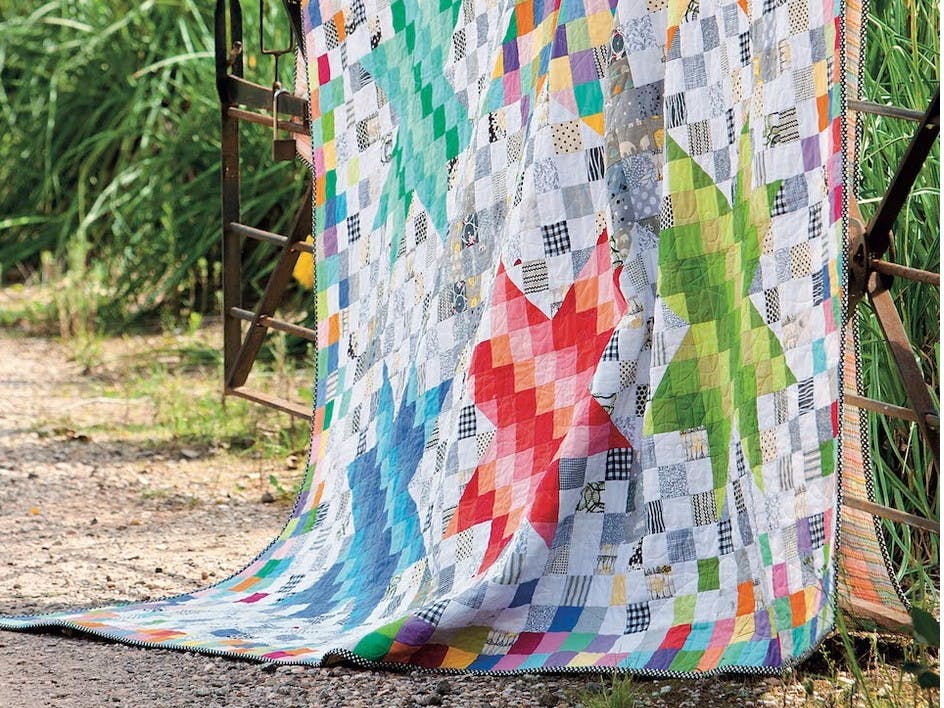
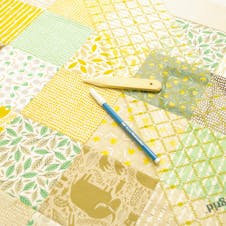
This quilt is made from 42 squares of quilting fabric surrounded by a border. It has a single piece of fabric on the back of the quilt and a pad of wadding in between the two layers. The three layers are stitched together using a simple cross-hatch quilting design and the edges of the quilt are neatened by adding a simple binding. The finished size of the quilt is approximately 34” x 37 ½”.
This tutorial uses inches, but you may want to convert the dimensions to centimetres!
This tutorial will outline the basic step-by-steps to creating your first quilt. You will learn how to:
- Cut your fabric into squares
- Piece (sew) your fabric together
- Press your fabric
- Join the rows
- Add the borders
- Add wadding and backing
- Quilt the layers
- Bind your quilt
Pro Tip
Try to remember that the more accurate you are with each section, the more accurate and neat your finished quilt will turn out, but don’t worry if your first quilt isn’t quite as perfect as you’d hoped! Have fun making it and know you get better the more you do.
Materials
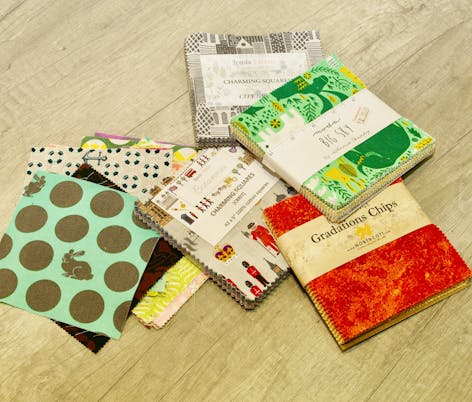
- Patchwork pieces : 1 Charm Pack or 42 squares
- Borders : 0.5m of 42” wide fabric for the outside borders
- Thread : Sewing thread - A mid-tone Grey is a good choice for patchwork
- Wadding - polyester or cotton/blend and enough for a quilt
- Backing fabric : 1m of a coordinating fabric 42” wide
- Binding : 0.25m of fabric for the binding strips
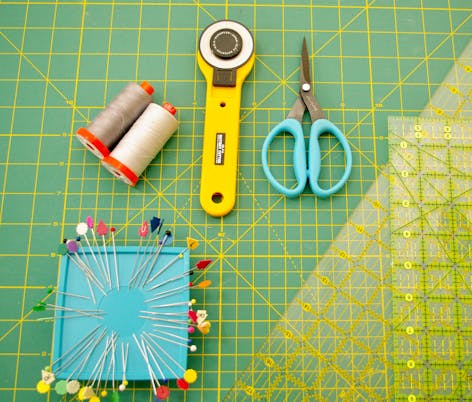
- 18” x 24” self-healing cutting mat
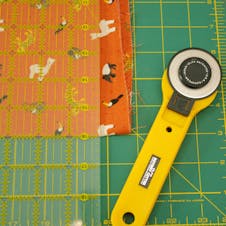
- 45mm Rotary Cutter
- 6” x 24” Rotary Ruler
- Sewing Scissors
- Thread
- Pins
- Sewing Machine - or you could sew by hand if you have not got a machine
Fabric Preparation
Some fabric manufacturers add sizing to their fabric to give it a nice finish and a bit of body, but you may prefer to pre-wash your fabric to remove it. We like the finish, so we don’t bother to prewash our fabrics unless we are worried the fabric might bleed - i.e the colour running from it during a later laundering.
To check for fabric bleed cut a small piece of fabric and wash it to see if any colour comes out. If it does, wash your fabric and rinse until the water runs clear and no more dye is released. However, we do not advise pre-washing precut pieces such as Charm Packs as this completely changes the shape and size of the pieces. Do press with a hot dry iron to remove any wrinkles from your fabrics before cutting.
Step 1: Cut your fabric into squares
Pro Tip
If you're using a charm pack then your pieces are already cut out for you.
If you're using yardage you will need to cut your fabric squares to the right size. We cut squares from yardage by cutting strips of fabric then sub-cutting the strips into squares.
1
Fold your fabric in half with the selvedge edges together and then bring the fold up to meet the selvedges. (The selvedges run down the length of the fabric and can often be identified by the white edging on the fabric.)
2
You will now be cutting through four layers of fabric.
Lay the folded fabric on the cutting mat and line up the bottom folded edge so it is level with a line on the board. Place your ruler on the fabric and line up a mark on the ruler with the bottom fold. Using your rotary cutter trim the right hand side of the fabric making sure that you cut away from yourself and always remember to close the safety guard on the rotary cutter!
3
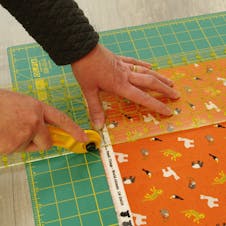
Next, turn the mat around making sure not to disturb the fabric. Now use your ruler and cutter to measure and cut 5” strips.
4
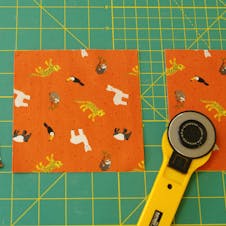
Now subcut 5” squares from your strips.
5
Continue to cut 5” strips and subcut into 5” squares until you have 42 squares.
6
If you are using yardage you will need to cut your fabric squares to the right size. We cut squares from yardage by cutting strips of fabric then sub-cutting the strips into squares.
Step 2: Piecing your fabric together
Pro Tip
You are now going to piece your squares together. In patchwork ‘piece’ means sewing and we sew using a ¼” seam allowance.
The more accurate your seam width the better your overall piecing will be. Some machines come with a ¼” setting or a ¼” foot. Test and measure your seam allowance on scrap fabric before sewing your squares together and adjust the seam width to create as accurate ¼” seam as you can.
1
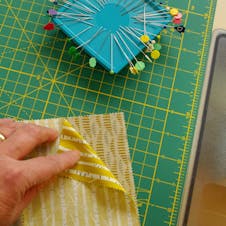
To sew the patches place the patchwork squares right sides together and sew a ¼” seam. You will sew 7 squares together to make the first row. Use pins to help keep patches in place as you sew each seam.
2
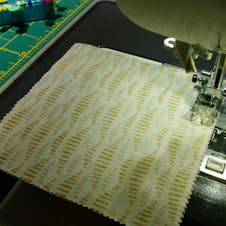
Repeat this process to make the next 5 rows.
You should have 6 rows with 7 squares in each row.
Step 3: Press your fabric
Pro Tip
In patchwork we ‘press’ in preference to ironing. Pressing is an up and down movement so try and learn to lift and place the iron on your fabric seams. Along with accurate cutting and the ¼” seam allowance pressing also adds to the accuracy of your finished quilt.
1
Take the 6 rows of patchwork squares to the ironing board. You are going to press all the seam allowances to one side. But we alternate the pressing direction from row to row.
2
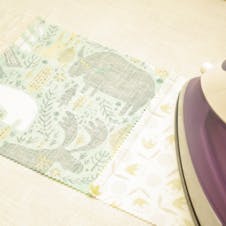
Press the seams in Row 1, 3 and 5 in one direction and rows 2,4 and 6 in the opposite direction. Alternating the pressing direction makes it a bit easier when we come to sew the rows together. The seams will nestle together as well as making them nice and flat.
Step 4: Join your rows together
1
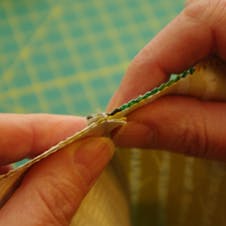
Now join the rows together. You are going to butt the seams up against each other as shown in the photo and pin. Sew using a ¼” seam allowance as before.
2
Give your quilt top a good press - remember it is a pressing motion not an ironing motion - lift and lay the iron down over the seams to press.
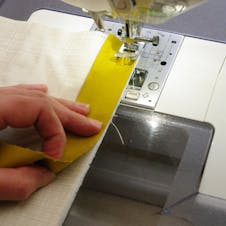
Step 5: Add the borders
1
Using your border fabric cut 4 border strips each 3 ½” wide.
Measure the top and bottom of your quilt top. It should measure 27 ½”.
2
Cut 2 of the border strips 27 ½” long.
3
Pin the border strips to the top of your quilt top and sew using ¼” seam. Repeat for the bottom. Press the seam allowances towards the border fabric.
4
Now measure the left and right sides of the quilt including the border you just added. It should measure 38”. Cut the remaining 2 border strips to 38” long. Pin and sew to the quilt using a ¼” seam allowance and press towards the border.
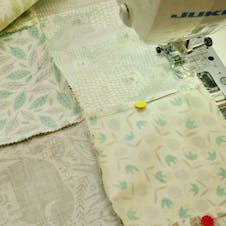
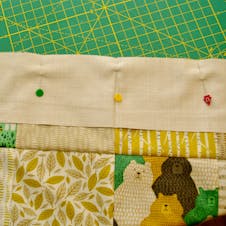
Step 6: Add the wadding and backing
1
Cut the backing and wadding at least 2” larger than your quilt top on all 4 sides. This allows for any movement or shifting that will take place when you quilt. So if your quilt top measures 34” x 38” cut the backing and wadding 38” x 42”.
2
Layer them up by placing the backing fabric down with the wrong side facing up, then place the wadding on top of it. You can use masking tape to hold in place if necessary. Then add your quilt top with the right side facing up.
3
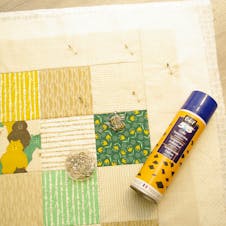
Pin or tack in place depending on whether you are hand or machine quilting. If hand quilting you will need to baste in place using large running stitches in a grid formation. If you are machine quilting, you can pin in place using quilters safety pins or even use a temporary adhesive spray.
Step 7: Quilting!
1
Now you can quilt your top as much or as little as you like! Quilting is the stitching that keeps the three layers together. Without quilting the wadding will shift and move between the top and backing layers. It also adds a decorative element so feel free to add more creative quilting if you like.
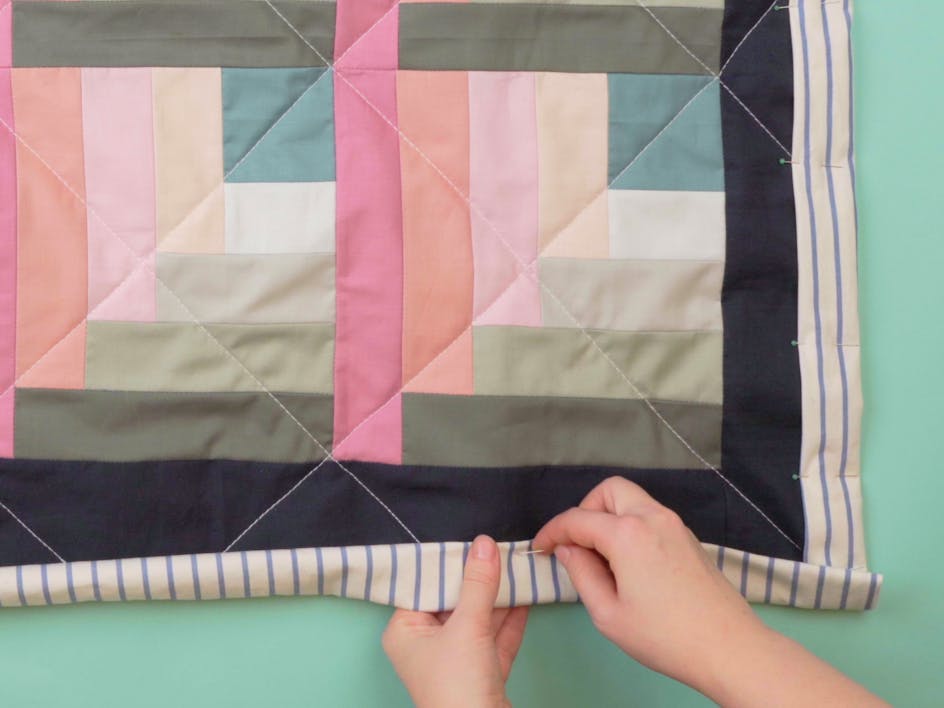
Step 8: Bind your quilt
1
Once you have finished quilting, the edges of the quilt need to be tidied up. Use a ruler to square up and trim the edges of your quilt. It’s amazing how much this small step will change the look of your quilt!
You then need to finish them in some way. There are lots of ways to finish a quilt but we have chosen to show you one of the simpler methods to complete a quilt.
2
Cut 4 strips of fabric 2 ½” wide from the binding fabric . Making sure you cut enough strips to go all the way round your quilt - four strips should be enough for this quilt. Fold in half with the right sides facing out.
3
Add to the top and bottom first by matching the raw edges together and sewing using a ⅜” seam allowance - this gives you a nice full binding. Fold out and then add the side binding.
4
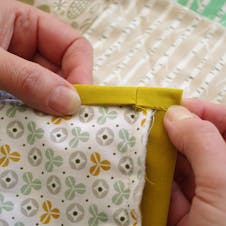
Now fold over to the back and hand stitch in place close to the line of machine stitching.
5
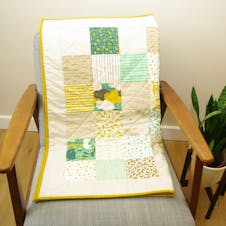
You're now finished - well done, you have just made your first quilt!
Pro Tip
This quilt could be enlarged by using more squares or even by buying a Layer Cake (10” squares) instead of a 5” charm pack. The process is exactly the same, just bigger squares and larger borders.
Please don’t worry if your first attempt is less than perfect, learning how to make a quilt isn't easy! If you’re giving it to someone then they’ll just be grateful that you have taken the time and effort to make something handmade. If it’s for you and you’re not completely happy with it, remember it is a learning curve and with each quilt you will become more confident in your abilities and will always learn from your mistakes!
We’d love to see what you've made! Share a pic of your finished quilt, tagging @curlyseams and use #LoveCrafts!