A guide to punch needle embroidery
Published on 16 February 2022 By Rico 3 min readSay hello to embroidery that packs a punch! This tutorial will teach you how to stitch the prettiest puffs with our guide to punch needle embroidery. Learn about this beautiful 3D method, how to thread and use a punch needle and start your first project.
What is punch needle?
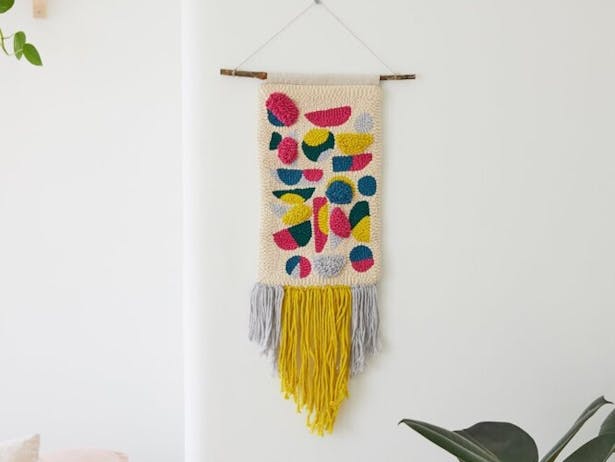
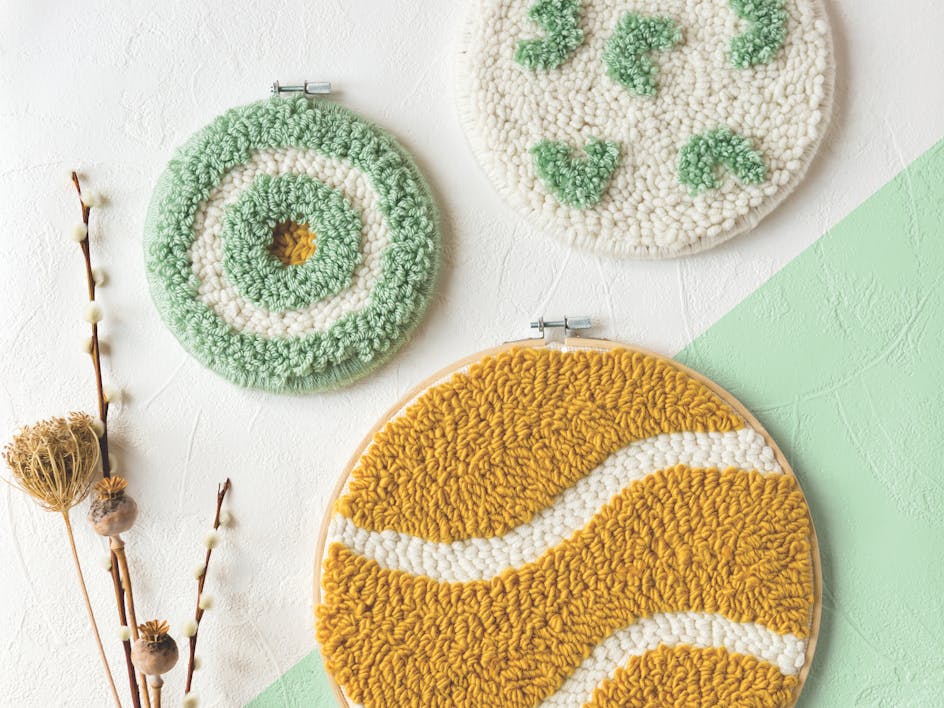
Punch needle embroidery is a type of technique that uses a punch needle to puncture loops into your embroidery fabric. Dating back thousands of years, this magical method is very similar to rug making, creating a gorgeously puffy soft texture.
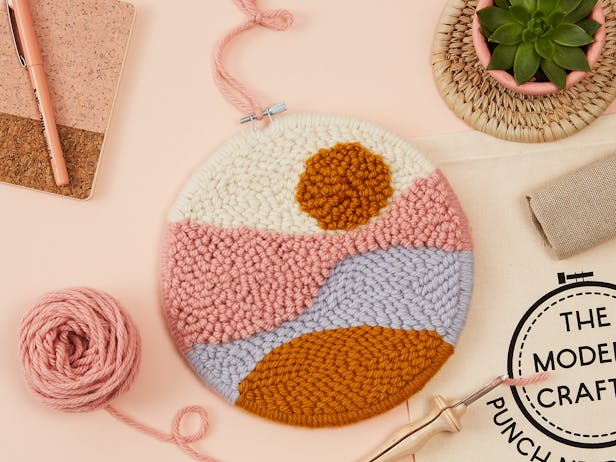
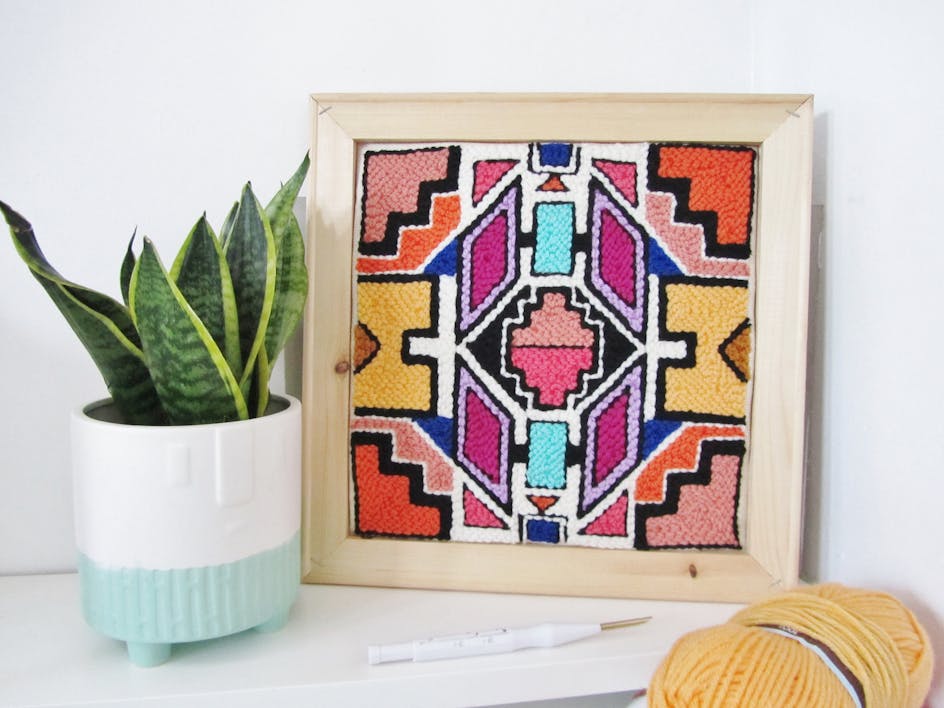
Punch needling works best with Monk’s cloth, in your fave DK or Aran shades. Find or create your own design and pick a round or square frame. From soft minimalist designs to traditional patterns, once you find your rhythm, this technique produces gorgeous projects that will brighten any corner of your home.
Shop the Rico range

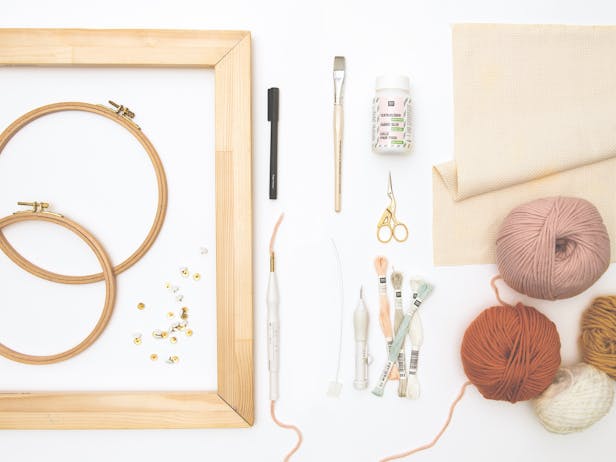
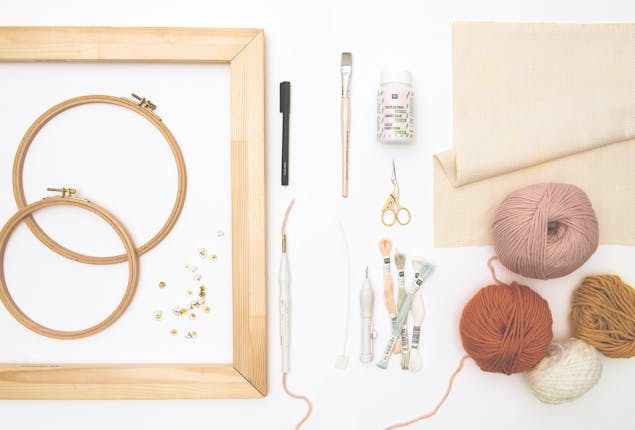
Materials
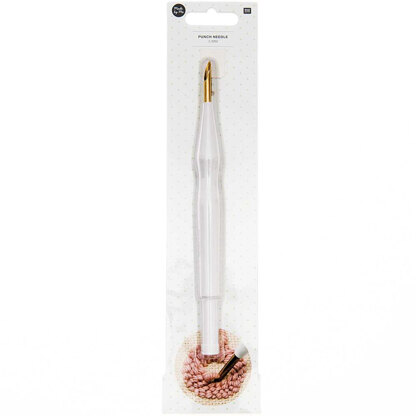
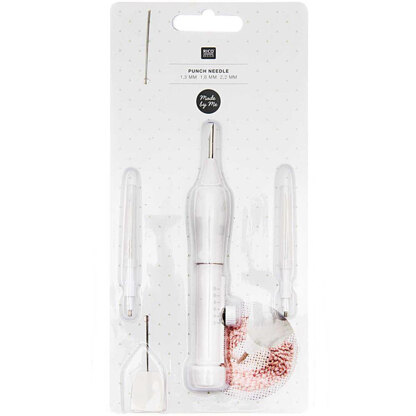
- Rico Punch Needle Tool
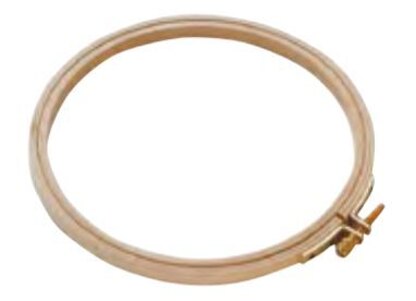
- Rico Embroidery Hoop - 21.5cm
- Rico Embroidery Frame - 21 x 18cm
- Zweigart 7ct Monks Cloth 39in x 55in
- Klasse Stork Embroidery Scissors
- Rico Punch Needle Set
- Rico Creative Cotton DK
- Drawing pins if using a frame
- Textile glue
How to set up your hoop or frame
1
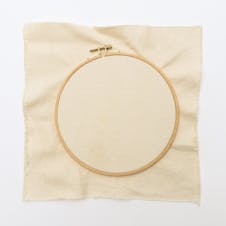
Fixing fabric in a round frame.
Lay the fabric over the inner, smaller frame and then fix it in place with the larger frame. Finally, tighten the screw and pull the fabric taught round the outside.
2
Fixing fabric with a square frame
Pull the fabric taught with drawing pins or with a hand-held stapler, so that your embroidery can be worked evenly.
3
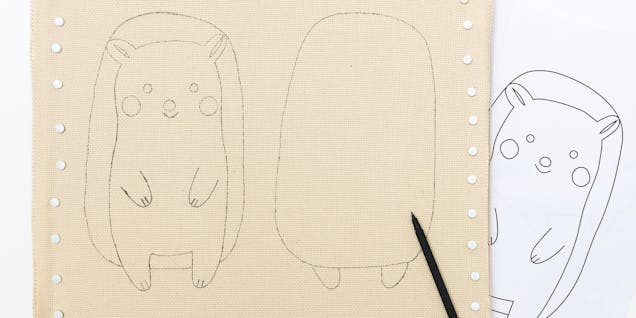
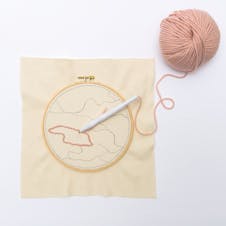
Transferring your design
Copy your chosen design and, if necessary, make the dimensions larger or smaller as desired. Stretch the fabric in an appropriate frame. Fasten the paper to the underside of the fabric, with the drawing facing upwards. The drawing is easiest to see when the frame is held in front of a source of light, e.g. a window. Now transfer the design with a waterproof pen on the fabric.
How to thread your punch needle
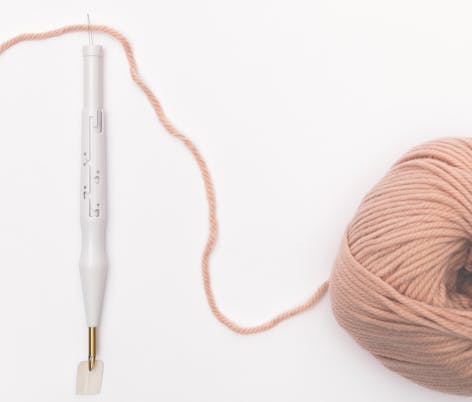
Using the threading aid, pull the yarn from the handle end of the punch needle into the point of the needle. Remove the yarn from the threading aid.
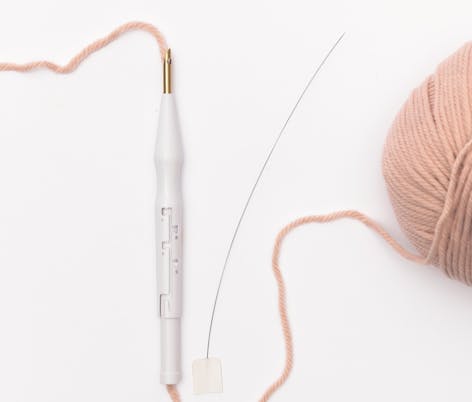
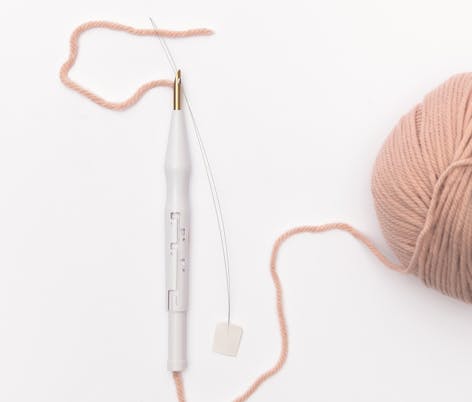
From behind, push the threading aid through the eye in the point of the needle. Pull the end of the yarn through the threading aid and then pass it, with the yarn, back through the eye of the needle.

How to swap the needle on your punch needle
Remove the cap at the back. Loosen the screw and take out the needle. With a gentle twist, separate the needle from the connecting link and attach the desired needle. Place the needle in the slider and tighten the screw (according to the desired loop length).
Loop length
The punch needle has different settings for the length of the loops. The more of the needle is visible, the longer the loops. The longest loops are embroidered using setting A. The shortest loops can be worked with the setting D. The threads are cut off at the length of the loop.

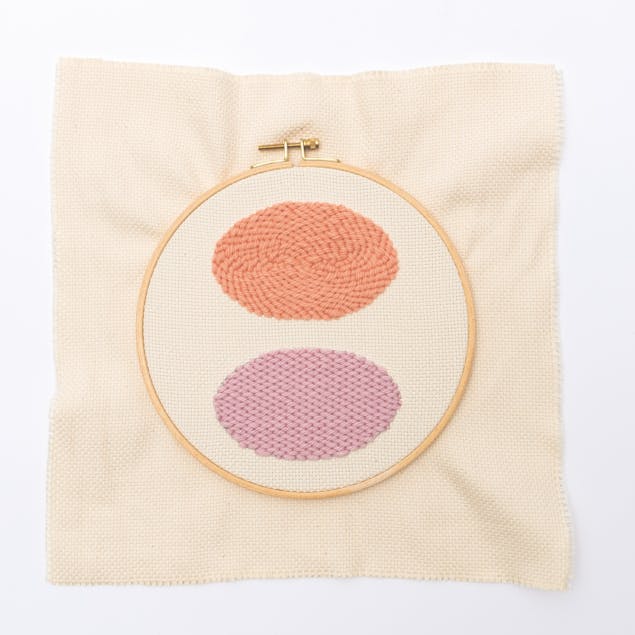
Two versions for satin stitch
Here are two versions that you can work into the front side using satin stitch. The first version is worked in the round. Begin with the outline and then fill in the design with irregular stitches. Embroider the stitches close together and shifted. The second version is worked straight, in the grain line. In each row, embroider the stitches shifted over 4 squares. This creates a surface which looks as though it was woven. The threads are pulled to the reverse side and cut off.
How to start punch needling
1
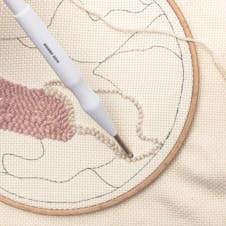
Start embroidering on the reverse side
On the reverse side (drawing), start with the outline. In regular intervals, the needle is stabbed into the fabric on the reverse side of the fabric. This creates even loops on the front side. When working with the needle, always keep it close to the fabric, otherwise the loops that have been made can be pulled back out again. It is very important that the thread opening always points in the direction that you are working in. Release some yarn from your yarn ball as you embroider along to avoid tension in your needle.
2
Embroider the stitches in a round, shifted and not too close together. They shouldn't be longer than 0.5 cm. The length of the loops can vary from area to area. The thick needle has 4 settings from A to D. The needle for the thinner yarn can be adjusted freely.
3
Satin stitch on the front side of the fabric
When all areas are filled with loops, turn the frame. Now embroider the empty spaces on the front side in satin stitch. Start with the outline, and then fill the area with stitches of different lengths.
4
Embroider in the round with shifted stitches (up to 1.5 cm long). The stitches must be worked very close together. The satin stitch areas can also be filled with a straight stitch.
5
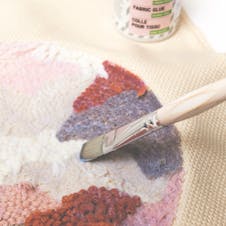
Fixing with textile glue
When the design is complete, fix the reverse side with textile glue. Stir the glue with a wooden stick and then apply to the reverse side of the work using a brush. Allow the glue to dry.
6
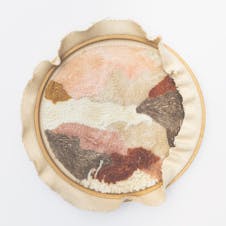
Framing the picture
Lay the embroidered fabric over the inner, smaller frame, place the motif in the correct position and then fix in place with the larger frame. Tighten the screw a little and - if necessary - pull the fabric taught round the outside. Cut off the remaining fabric (leaving 2 cm). Push the fabric inwards and glue to the frame on the reverse side of the picture using hobby glue.
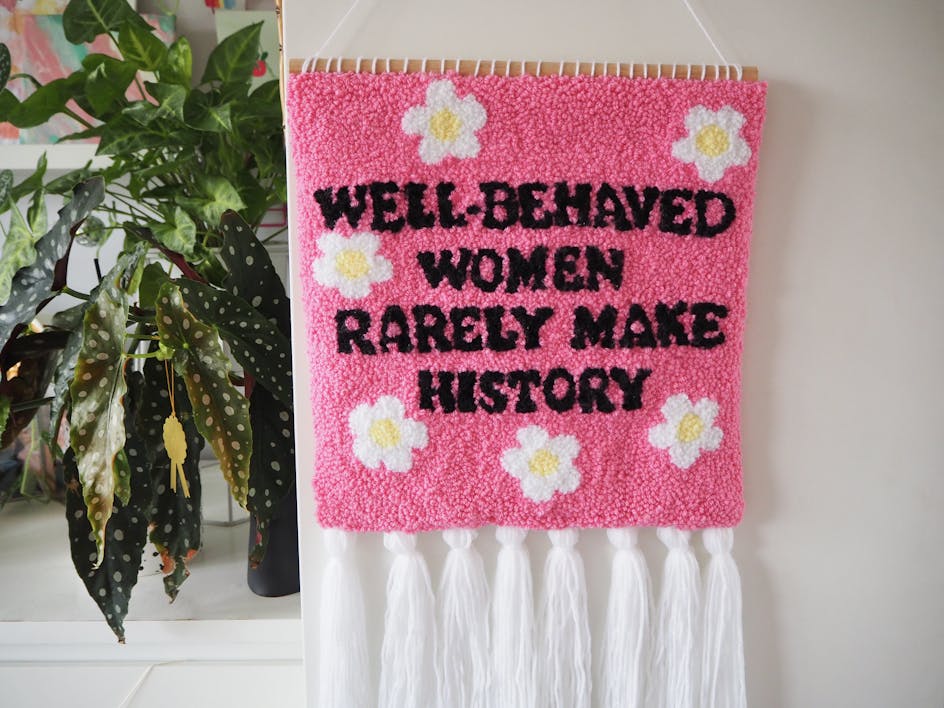
Punch needle embroidery is a fabulous way to explore texture and get creative. Mix and match different yarns, colours and weights to unlock limitless possibilities!