How to make a magical macramé rainbow
Published on 5 May 2020 By Holly Butteriss 1 min readKarina is an artist, maker and pattern designer who makes everything from cosy jumpers to the cutest amigurumi dolls! Her Instagram grid is bursting with inspiration and you can check out more of her patterns on LoveCrafts too! This time Karina is showing us how to make adorable macrame rainbows perfect for hanging in your window!
When you’re a yarn lover like me, you’re bound to have some sort of yarn stash at your home, right? But what to do with the leftover yarn you have, too few for any projects? Or maybe the fancy yarn you bought ages ago, but never got the chance to use? Don’t throw them out just yet, since they are perfect for this easy 15 minute macramé project!
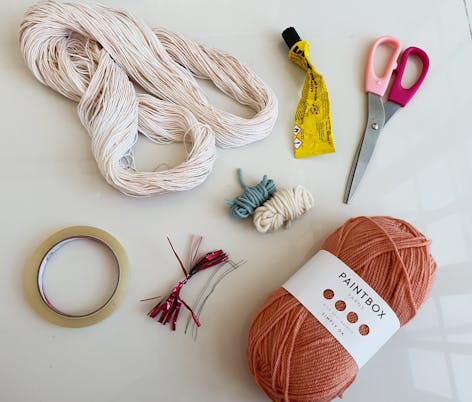
Materials
- Paintbox Yarns Simply DK
- Hot glue
- Scissors
- Tape
- Bendable wire
1
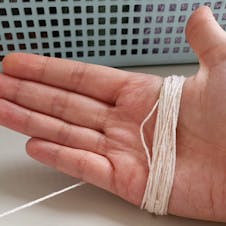
With the neutral coloured yarn, wrap around your palm 15 times, or how ever many it needs to get the thickness you want, depending on your size of yarn.
2
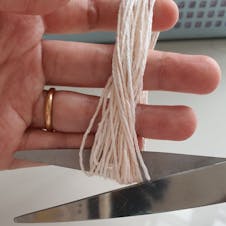
Cut the yarn on the bottom and also on the top. You’ll have 2 bundles of yarn for now. You can also use a piece of carton or anything you have to wrap your yarn on and get the needed length.
3
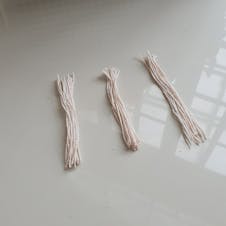
Make one more bundle of yarn this way so you’ll have 3 bundles of yarn.
4
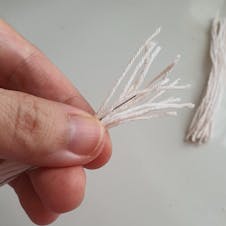
Cut 3 strips of clear tape and place it aside for now. Place the wire in between the yarn and secure one end with the clear tape tightly. Cut off any excess length of wire. Repeat to the other bundles.
5
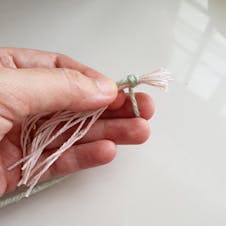
Choose 3 colours of yarn you’d like for your rainbow. Tie your first colour yarn on top of the clear tape. Pull the yarn end and hold it in the same direction with the rest of the yarn.
Now start wrapping tightly. Cut the yarn once you get to the other end, and tie it off securely. Bend it so you’ll have the first rainbow arc.
6
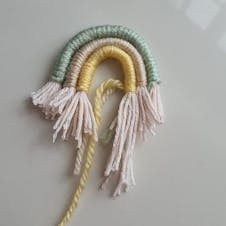
Repeat the same steps with the other 2 bundles using different colours, but this time bend and align to the first arc so your wraps would start and end on similar point. Cut excess wire if there is any.
7
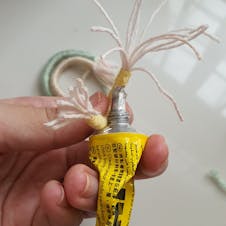
Cut the yarn tail, leaving a tiny bit of it. Dab some glue on the tiny bit, press and hold tight until the glue is dried so it won’t unravel. Do the same to the other arcs.
8
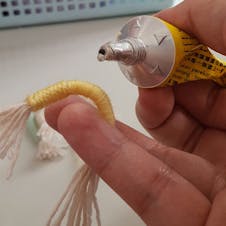
Take the smallest arc and glue all the way following the arc, take the middle arc and place it on top of the glue. Make sure the starting and ending point are aligned, and hide the tiny glued bit hidden in between the arcs. Press together until the glue is dried. You can use clips if you want. Repeat the process with the largest arc.
9
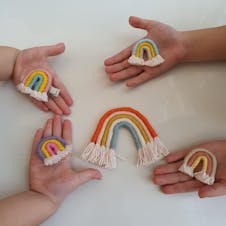
Trim the excess yarn on the bottom so you’ll have straight edges. That’s it you’re done!
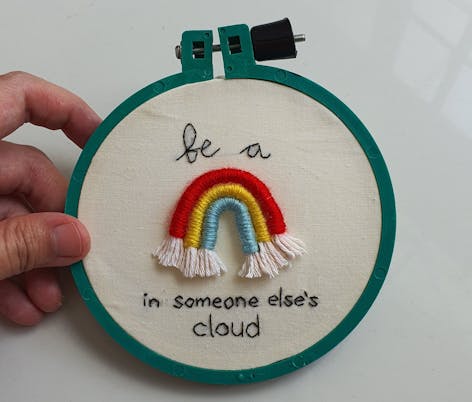
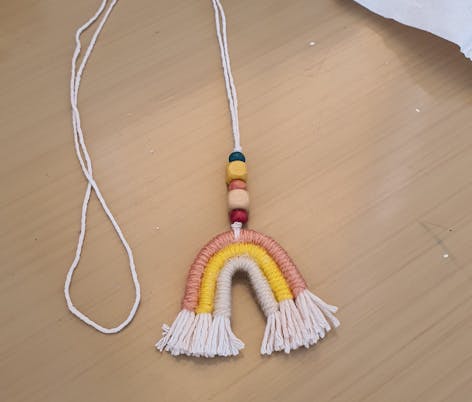
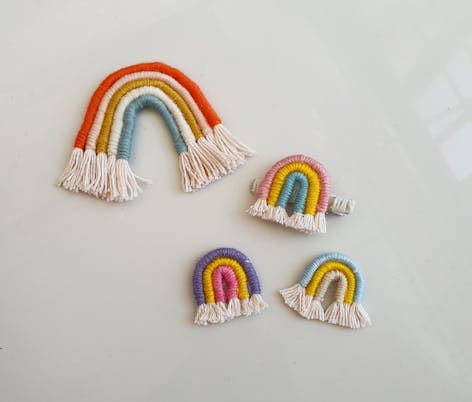
Make in any colour combinations, then glue it down to a hair clip or a head band. Attach your snazzy rainbow to a keychain, glue to a pin to make a brooch, or thread it with some beads to make a necklace! You can use your mini rainbow to add dimension to a simple embroidery. Use longer and bigger sizes and fibres of yarn, combine it with more colours. You can even use this technique to make another shape, not just rainbows! Just have fun!
