How to make a macramé bottle tote!
Published on 24 January 2020 By Holly ButterissLove macramé or fancy trying your hand at a new yarn craft? We've got the perfect weekend make for you! Whether you're gathering your friends for a crafternoon, looking for the perfect birthday make or just want one for yourself, with this super simple step-by-step you can make some tote-ally amazing macramé bottle totes.
This fabulous macramé tote looks fancy, but is so easy and quick to make. Even complete beginners will be able to whip one up with a few easy steps.
Each tote will take about 2 hours to complete, including prep time - perfect for hen, birthday or craft parties or a cosy afternoon at home. Don't forget the tea and biscuits!
Materials
- Paintbox Yarns Recycled Big Cotton
- Fiskars RazorEdge Softgrip Scissors 13 cm
- Knitting needle / pole / ladder / friend's arm... (to hang your yarn on!)
- Snacks and drinks
- Your pals!
Preparing your yarn!
1
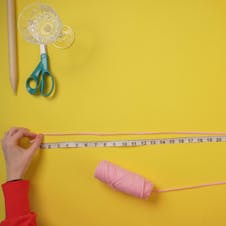
Grab your Paintbox Recycled Big Cotton yarn and cut 12 strands measuring 254cm each. Cut a further three strands, two strands measuring 15in and one strand measuring 20in.
2
With your 12 long pieces of yarn, find the midpoint and fold your yarn in half here - hanging over whatever tool you’ve chosen to help you out, we used a big knitting needle!
Making your handle
1

Separate one side of your rope into three groups of four strands, then do a simple braid/plait with those three groups. Bringing the outside yarn over the middle strands, and repeat until you reach your desired length for your handle, we did ours about 4-5 inches long!
2
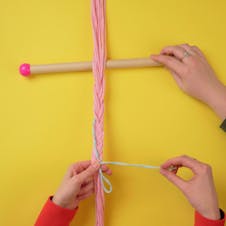
Pinch your strands together at the bottom of your braid. Taking your remaining longer piece of pre-cut yarn pinch your strands together and take your strand of yarn and lay one short end against where you want the knot to start and with the other end, make a small loop.
With the tail attached to the end of the loop, begin wrapping this around all 12 strands of yarn at the bottom of your braid, you’ll need to wrap it about 4-5 times. Poke the end of the tail through the loop, hold tight with your thumb and pull the other tail and watch the loop tighten. Wow! You’ve just made a gather knot!
3
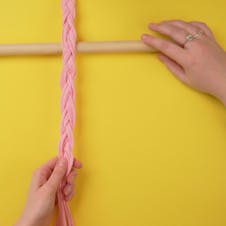
Repeat steps 1 and 2 on the other side.
Making your square knots
1
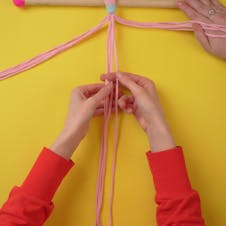
Now separate the yarn beneath your gather knot into three groups of four strands.
2
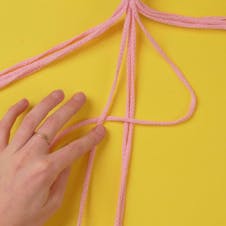
Starting with the middle group of four, about 4 inches down from where your gather knot ends, take the left strand and lay it over the middle two pieces, but underneath the fourth piece.
3
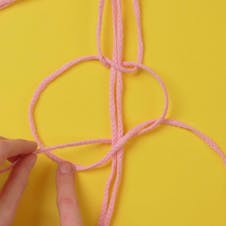
Take the fourth piece on the far right and lay it over the end of the first strand, and take it under the middle two pieces. Gently tighten, making sure the knot doesn’t go too high up! Yay, this is your first square knot!
4
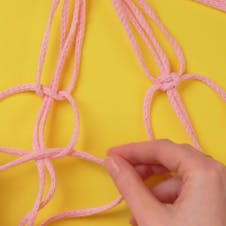
Continue this process on each group of four strands of yarn, and then repeat again on the other side of your tote until you have six square knots, total.
Making your bottle tote!
1

To connect the strands and create the bag take the two closest knots and create two more knots about 2-3 inches down from the first knot, using the yarn from both original knots to connect them.
2
Repeat this process the whole way around your bag and then the whole way down until you have enough knots to hold your chosen bottle!
3
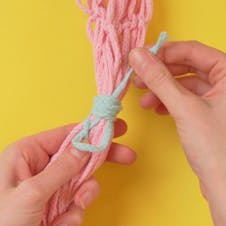
When you have reached your desired length, you’re going to make another gather knot. Taking your remaining longer piece of pre cut yarn pinch your strands together and take your strand of yarn and lay one short end against where you want the knot to start and with the other end, make a small loop.
Then using the tail of the yarn from the loop, wrap around all the strands 6-7 times. Feed the tail through the loop and hold firm with your thumb - pull the other tail and watch the loop tighten and secure your knot!
4
Trim any remaining yarn, leaving a tassel at the end which you could brush out, braid or leave as is!
5
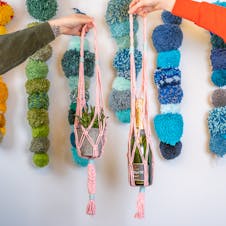
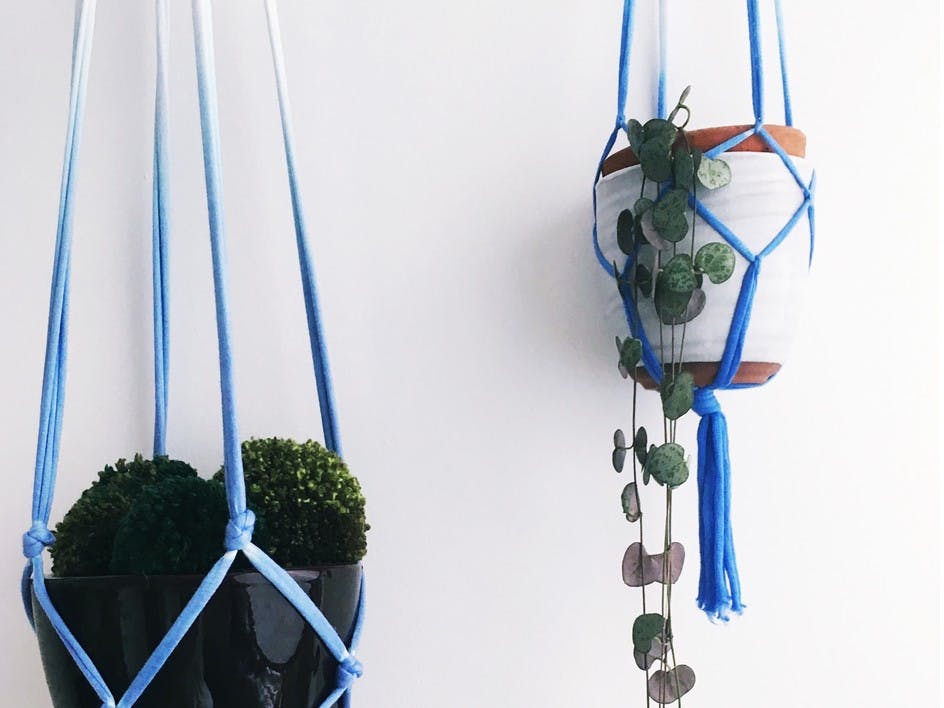
And voila! One macrame bottle tote - you could also make it with less knots and create a marvellous macrame plant pot holder too!
