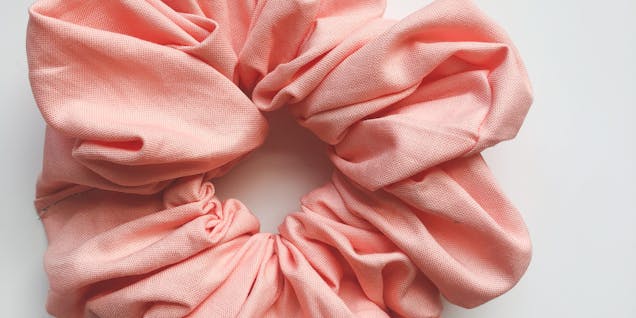
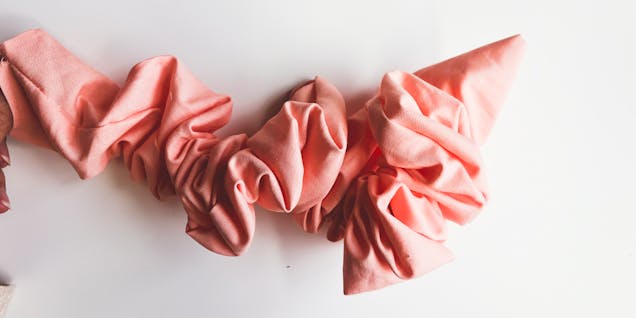
Stylish DIY scrunchie tutorial
Published on 9 June 2020 1 min read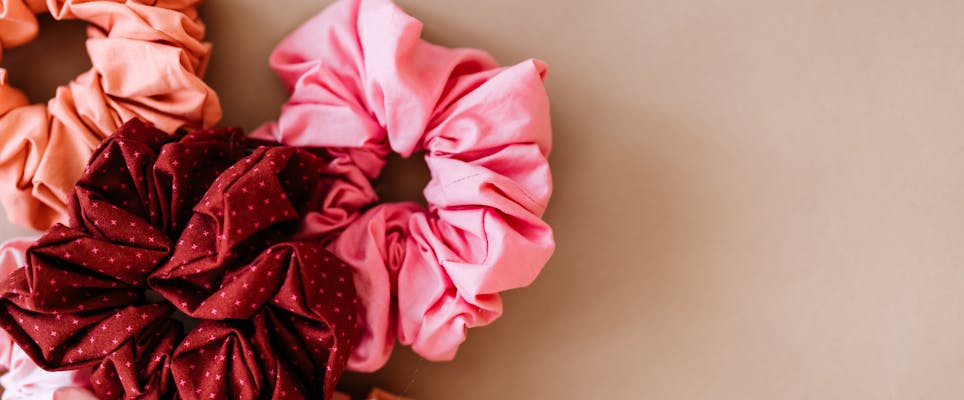
Raye is the amazing maker behind The Homebody Co! If staying home with a crafty project that will make your home a little cosier sounds like your idea of fun - then The Homebody Co is perfect for you. With fresh, modern designs for homewares and accessories, Raye's makes are sure to make you jump for joy. Check out her Instagram for more inspiration.


Materials
- WOF (width of fabric) (or 42”) x 6” fabric rectangle
- 7” piece of ¼” elastic
- 2 safety pins
- Straight pins
- Thread
- Coordinating or complimenting thread
- Basic sewing essentials; sewing machine, iron, starch & scissors
1
Press both ends of your fabric over ¼”
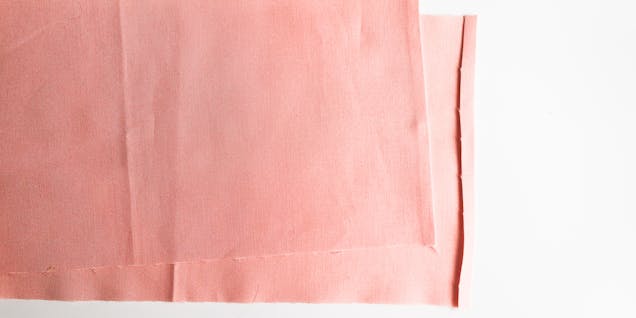
2
With right sides together, stitch a ¼” seam to create a tube with your fabric rectangle.
Pro Tip
Make sure to back stitch on both ends to prevent seams from coming out when handling later on!
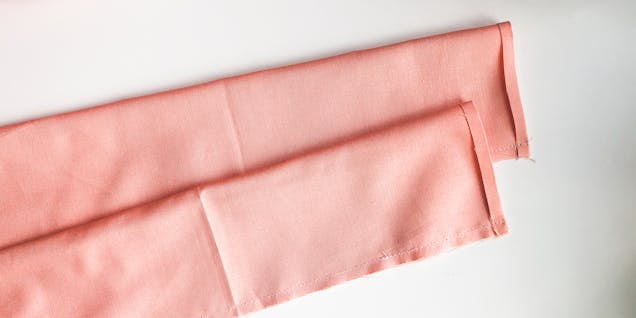
3
Turn the tube right side out. It's helpful here if you take one of your safety pins and attach it to one end to help you thread your fabric through easier.
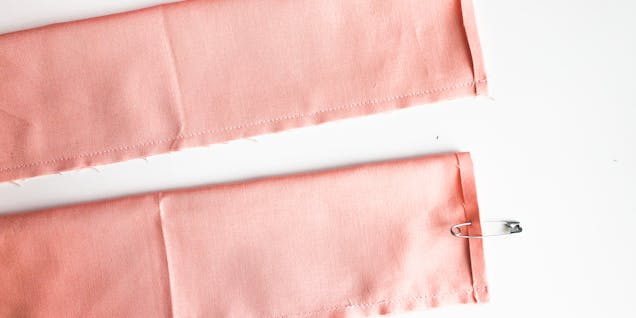
4
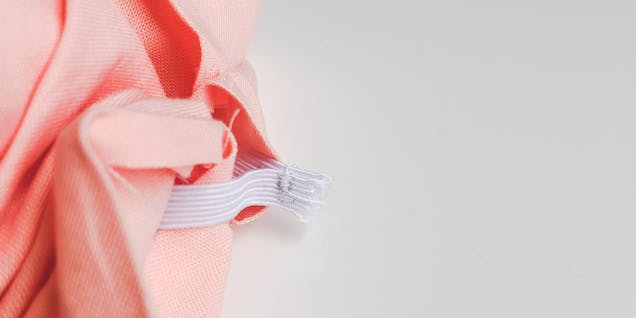
Take one of your safety pins and use it to attach your elastic to one end of your fabric tube. Attach the other safety pin to the opposite end of the elastic.
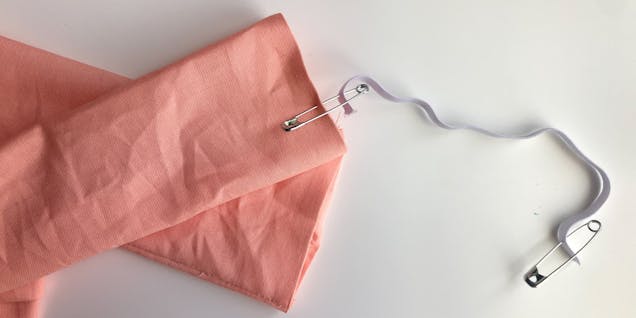
5
Thread the elastic through your fabric tube. Use one of your safety pins to secure the elastic until you are ready to sew.
6
Using the zig zag stitch on your machine, secure the two ends of elastic together. You will want to go over this multiple times to make sure it won’t break during use.
7
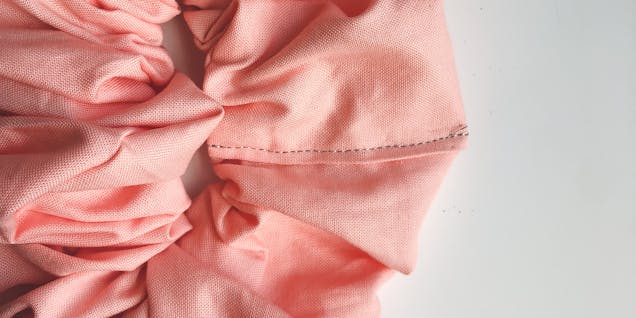
Making sure that fabric tube is not twisted, bring previously pressed edges together. Insert one into the other to close your fabric tube. Pin to secure.

8
With coordinating or complimenting thread, stitch ⅛” seam along overlapping ends.
9
Trim thread ends.