Stitch the sweetest kitten - free tutorial!
Published on 24 April 2020 By Holly Butteriss 1 min read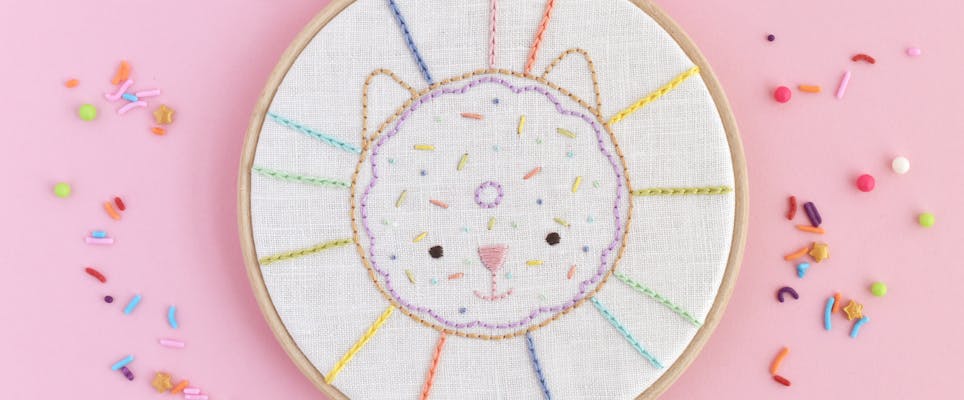
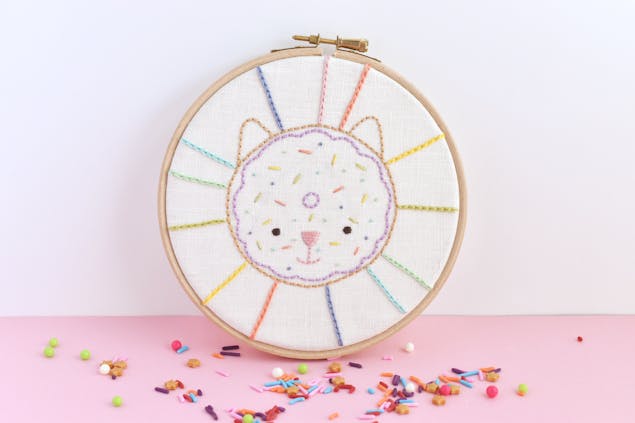
Mollie's embroidery is the stuff of sweet pastel dreams, and we're obsessed with all her amazing makes. In this tutorial, Mollie will show you how to stitch the cutest kitten face, onto a super sweet donut!
Stitch a sweet treat in the form of a yummy cat donut! This adorable breakfast treat is fun and easy to stitch and perfect for anyone with a sweet tooth. You can also use the free pattern in different ways and customize it to match your favourite donuts!
To stitch this design, you only need to know a handful of stitches (check out our stitch guide!) and work with basic supplies. Fix yourself a cup of coffee or tea, and let's start stitching!
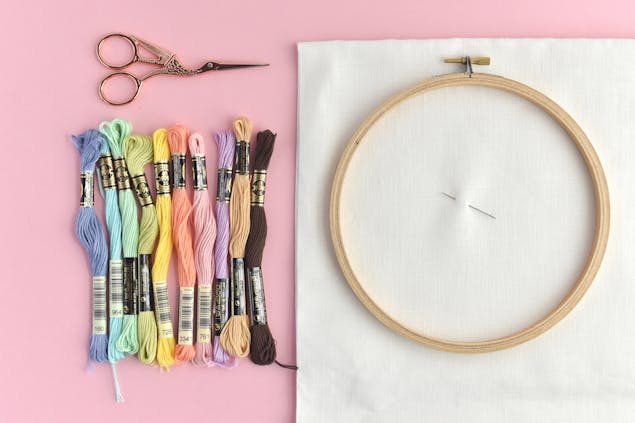
Materials
- Pattern marking pen
- Linen or other embroidery fabric
- Embroidery hoop
- Embroidery floss
- Embroidery needle
- Scissors
1
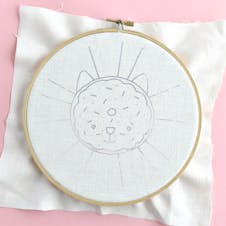
Use your favourite pattern transfer method to mark the cat donut embroidery pattern on your fabric. For the sample, I used an iron transfer pen.
Place the fabric in an embroidery hoop that is large enough to leave space around the edge of the pattern.
Pro Tip
If you'd prefer to stitch a regular donut that isn't a cat, don't transfer the ears or the line and smile under the nose. For the regular donut version, the nose becomes an open smiling mouth. You can also skip the lines behind the donut for a smaller motif that works great for embellishing clothing or other items!
2
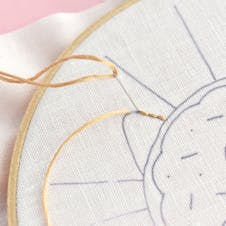
Embroider the outline of the donut and frosting with six strands of embroidery thread and back stitch. I used DMC 437 for the donut and 554 for the frosting, but you can customize this with your favourite colours and flavors!
3
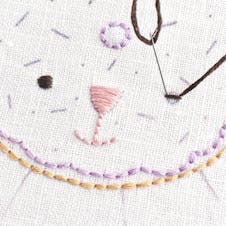
To stitch the face, use satin stitch for the eyes and nose. When stitching the small circles for eyes, it helps to stitch across the middle first, then the stitches above and below. To finish off the mouth, use back stitch. I used all six strands for these elements and worked with DMC 838 for the eyes and 761 for the nose and mouth.
4
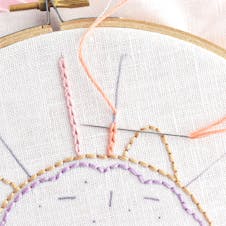
Embroider the radiating lines with chain stitch, working with all six strands. You can also stitch these with back stitch if you'd like to keep it simple.
I used a rainbow of seven colours, but one of those is only on one of the lines. For these, I used DMC 160, 964, 13, 472, 726, 3341, and 761, and placed them in rainbow order.
5
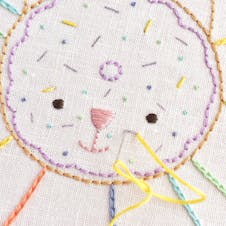
Add the sprinkle details with straight stitch and french knots. Use all six strands for the straight stitches and three strands for the french knots. Mix up the colours so they look like real rainbow sprinkles!
If you need to remove any pattern markings, do that now.
Pro Tip
If you want to get fancy, you can make the straight sprinkles with bullion knots or you can replace the dots with small glass beads!
6
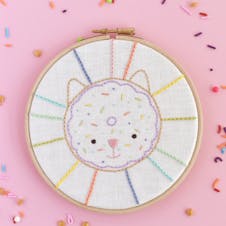
Frame your sweet treat embroidery in a wooden hoop or use it for making other sewing projects!
Happy Stitching!
