Learn how to make delicious DIY chocolate bars!
Published on 4 July 2022 1 min read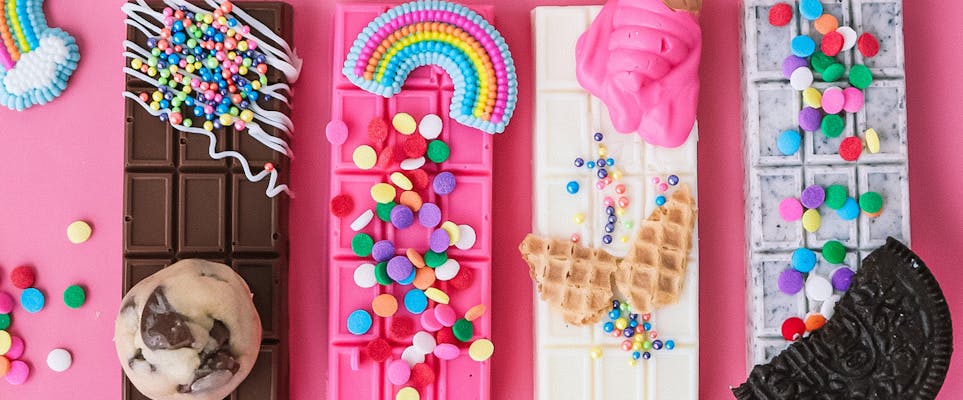
It's World Chocolate Day on 7th July and there's no better way to celebrate than with homemade chocolate bars. Creating your own chocolate bars at home is not only easy, but super fun too, and the possibilities for flavours and decorations are endless! Learn how to create homemade chocolate bars with this simple step-by-step tutorial by Bree Bakes.
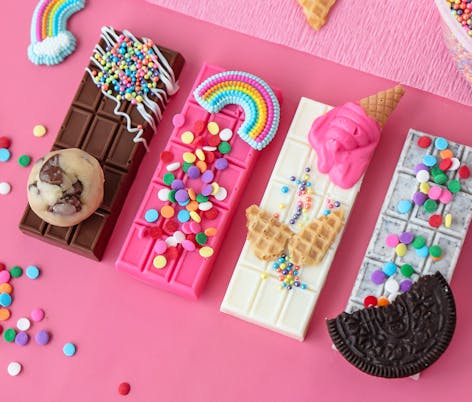
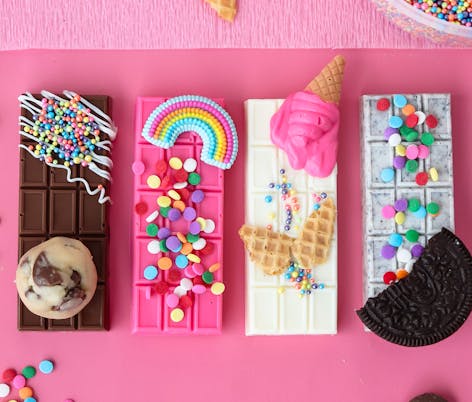
Making your own chocolate bars is as easy as melting chocolate or Candy Melts, moulding and decorating. For this fun tutorial, Bree has made four versions to inspire you – edible cookie dough, funfetti, ice cream and Oreo-flavoured. Let’s get started!
Materials
- Silicone chocolate bar mould
- Wilton Candy Melts, 12 oz.
- Assortment of sugar decorations
- Assortment of sprinkles
- Edible cookie dough
- Oreos
- Ice cream cone pieces
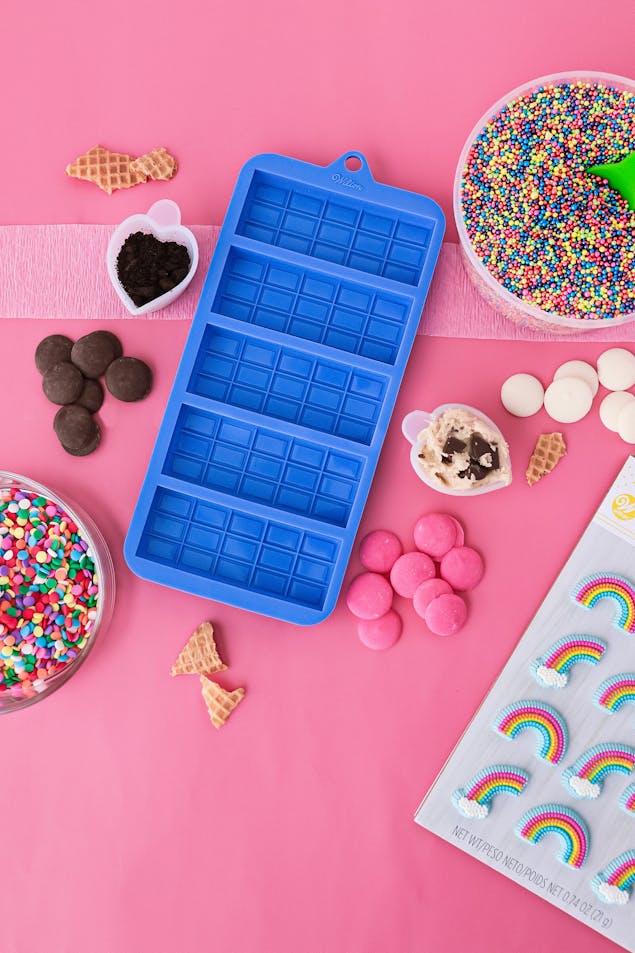
How to make homemade chocolate bars step-by-step
1
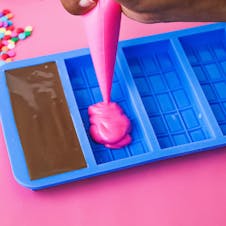
Pour your melted chocolate into a piping bag and fill your moulds with chocolate until you reach an even layer. Gently tap your mould on to your workspace to remove air bubbles.
2
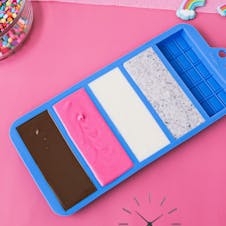
Place your mould on a flat surface in the freezer for 5-7 minutes until the chocolate is set and hard to the touch. Gently peel back the mould to check before removing the entire bar.
3
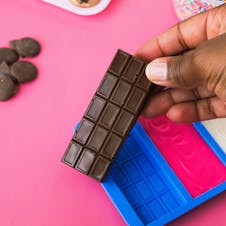
Once your chocolate is set, remove it from the pieces from the mould and grab your decorative pieces.
4
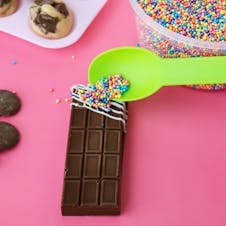
Now it's time to decorate your chocolate bars! Use drizzled chocolate or a kitchen torch to melt the surface of the bar, then immediately apply sprinkles or decor pieces before your chocolate hardens.
5
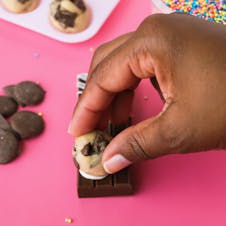
To create the cookie dough chocolate bar, drizzle white chocolate on to the bar and apply sprinkles. Adhere the cookie dough ball on to the bar using a drop of chocolate.
6
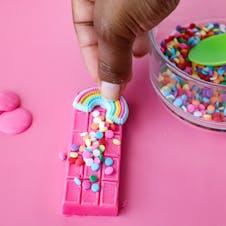
To create the funfetti chocolate bar, use a kitchen torch to melt the surface of the chocolate and apply sprinkles and the rainbow icing decoration.
7
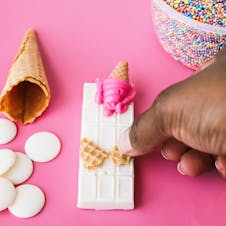
To create the ice cream bar, use the kitchen torch to adhere the sprinkles and the piece of sugar cone. Add a little of the pink chocolate to the corner of the bar to adhere the mine ice cream cone decoration to resemble melted ice cream.
8
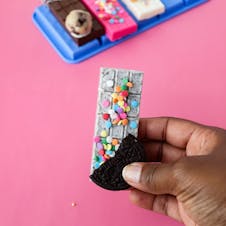
To create the Oreo flavoured bar, use a kitchen torch to adhere the sprinkles and the Oreo cookie piece.
9
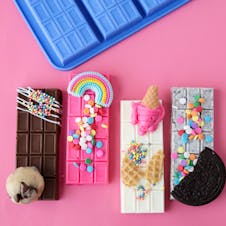
Time to tuck in! If you can resist eating them all, you can store leftovers at room temperature in an air tight container.
