How to make friendship bracelets: 2 fun & simple ways
Published on 28 May 2020 By SarahLooking for a way to use up those loose threads you have lying around? A friendship bracelet is the ideal, quick make to put your yarn scraps and floss to good use! Follow along with our YouTube video tutorial or use our step-by-steps to create this lovely little gift for a special friend, along with free friendship bracelet patterns - this is knot one to miss!
How to make a spiral friendship bracelet with a sliding clasp
A spiral friendship bracelet is as easy as they come to make a candy stripe pattern to share with all your friends. This is the perfect project to get you started with your first bracelet!
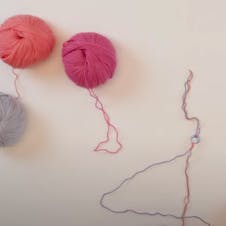
Materials
- 3 strands of light weight yarn (or embroidery thread)
- Blue tac
- A safety pin
Shop the Supplies

Here are your step-by-steps!
1
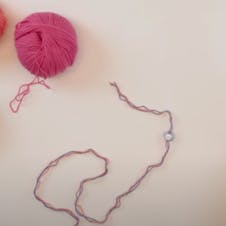
Measure in 6 inches (15 cm) and tie a knot at the 6-inch mark. Take your blue tac, stick this to your surface and then pin down the knot to your blue tac.
2
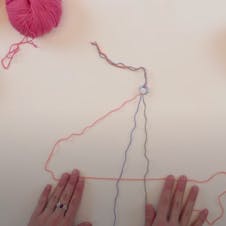
Take the left-side yarn and create a 4 shape across the top of the other 2 strings. Thread the end of the left yarn under the two strands, loop it through and pull the string all the way to the top to tighten. Repeat this 15 times to create 15 knots.
3
Change colour by placing it onto the left side and then repeating the same process.
4
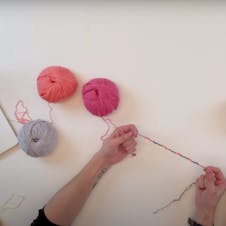
Repeat this cycle for all colours in the colour order you choose until you reach the desired length.
5
Secure the friendship bracelet by tying a final knot of all three threads together.
6
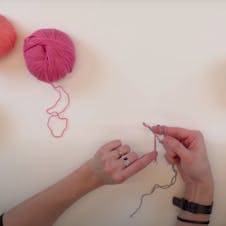
Create a sliding-knot clasp. Take the 6-inch strand that was left at the beginning and tie a knot close to the end as you can and tighten. Create a circle and place finger above the thread you will loop. Loop around the knotted length twice to create a space. Then thread the short thread through the two loops around your finger. Remove your finger and pull on the length to make sure the clasp is not over the first and final knots.
7
Knot the ends to together.
8
Wrap your friendship bracelet onto your wrist and now make one for your friend!
How to make a chevron friendship bracelet
The chevron pattern is created by knotting along the threads laid out. It creates a fun, v-shape design which you can add more or less colours to, to switch it up. A super easy and fun friendship bracelet diy that adds that extra pop of colour!
Materials
- 8 strands of lightweight yarn or embroidery thread - 2 of each colour (40"/100cm length of each)
- Blue tac
- A safety pin
Chevron bracelet step-by-steps
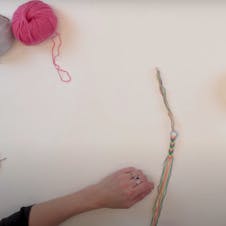
1
Take 4 colours of yarn or floss and cut two lengths of each colour. Tie a knot 6 inches (15 cm) from the top. Pin that knot into your blue tac.
2
Lay out your 4 coloured yarn strands on one side in the colour order you’d like. Create a mirror of this colour order on the right.
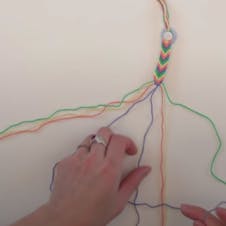
3
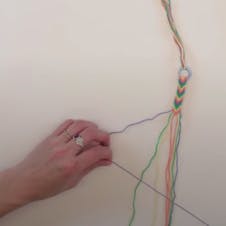
Take the thread the furthest left and create a 4-shape with the 2nd thread to thread the yarn through the loop. Tighten the knot at the top. Repeat this again on the same strand.
4
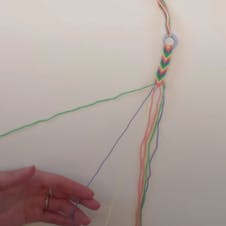
The outer strand should now appear as your second strand. Using the now 2nd strand, repeat the same process around the 3rd colour twice. Repeat this once more on the 4th thread. The thread that started on the outside should now be in the centre.
Pro Tip
Remember to knot twice on each colour to get that lovely arrowed design!
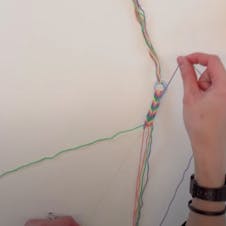
5
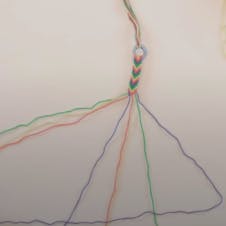
Taking the furthest right strand, repeat the same pattern working inward in a mirrored 4-shape to create two knots on each thread. Work to the middle to mirror the left pattern.
6
With the 2 same-colour threads now in the centre, take the central left strand and knot around the right same-colour thread. Repeat this again on the right strand - loop this around the left strand.
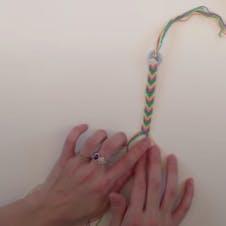
7
Take the next colour furthest out and repeat with each colour until you reach your desired length.
8
To create a flatter end to your bracelet, knot the loop the outer thread around the 2nd and 3rd colours and knot. Repeat this again once more on the left side then do the same on the right.
9
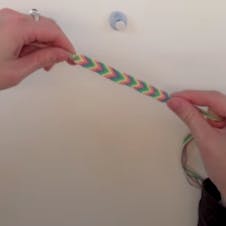
Tie a knot around the end of all the threads and tie on to your wrist- ready to wear! Or, why not try creating a sliding knot-clasp?