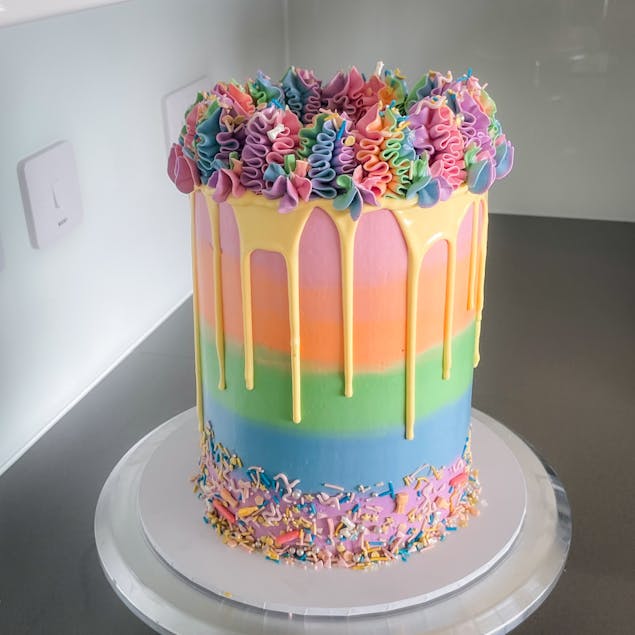
Learn how to decorate a rainbow layer cake with bold and bright icing
Published on 25 March 2022 1 min readBake the world a better place with this fun rainbow cake tutorial! The wonderful Sarah from @bake.works has whisked up a simple step-by step guide on how to ice the perfect rainbow layer cake. From scraping to piping, you’ll learn how to create a colourful masterpiece that will brighten any day!
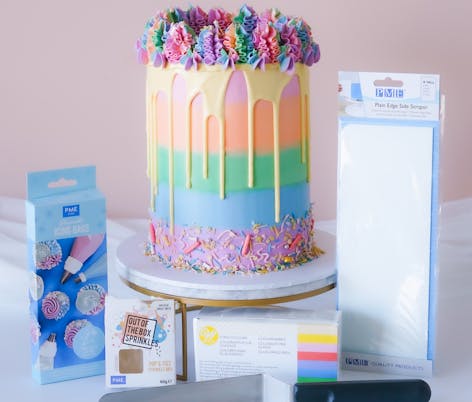
Materials
- PME Cake Out Of The Box Sprinkle Mix- Unicorn 60g
- PME 12" Disposable Icing Bags Pk/12
- PME Plain Edge Plastic Side Scraper X-Tall (10" x 3.6")
- Wilton 13" Angled Palette Knife
- Wilton 4 Piece Borders Tip Set
- Wilton 8 Icing Colour Set
Time to ice your rainbow cake!
1
Level your cake layers once they have completely cooled.
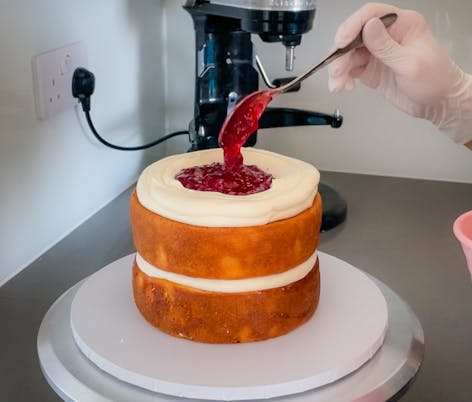
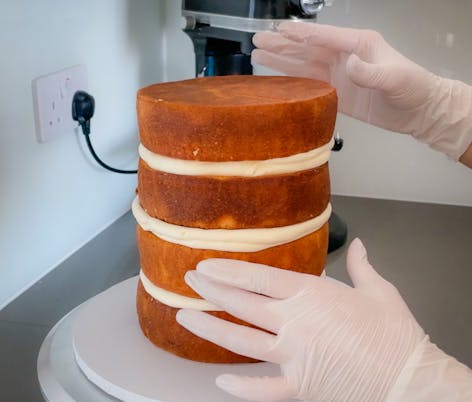
2
Stack your cake layers with your buttercream filling. You can use a piping bag to pipe the buttercream onto the cake layers, or simply put a dollop of buttercream in the middle of the cake layer and spread it evenly with an offset spatula. Make sure your buttercream is spread evenly, and your cake layers are aligned and straight when stacked.
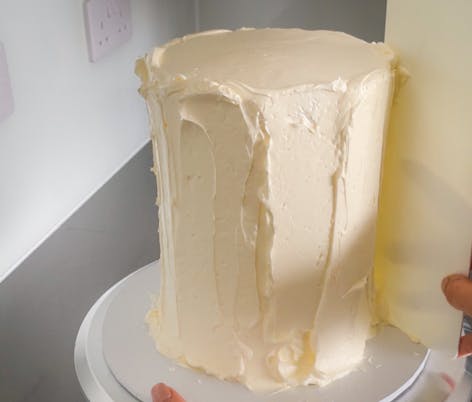
3
Work on the crumb coat. Apply a thin layer of buttercream on the top and sides of your cake. This ensures a clean and perfect second layer of buttercream! Once your cake is covered in buttercream, use your cake scraper at a 90-degree angle to smooth the buttercream. Apply a moderate amount of pressure, but don’t press hard enough to move the cake layers around or off the cake board. Clean your scraper in between turns. Use your spatula to smooth the top, dragging the buttercream towards the centre of the cake.
Pro Tip
The crumb coat doesn’t have to be perfectly smooth because you are going to apply another layer of coloured buttercream later.
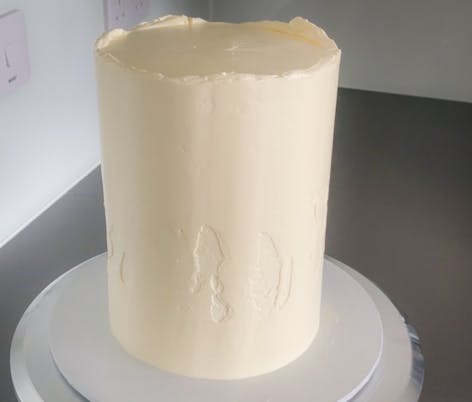
4
Chill your cake in the fridge for about 30 minutes so the crumb coat firms up.
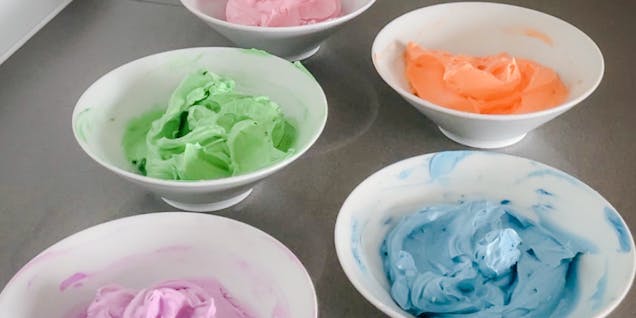
5
While your cake is chilling, prepare your buttercream. Use different bowls for the different colours and make sure the food colouring is completely mixed into the buttercream.
6
Remove your cake from the fridge and give your buttercream a good stir to get rid of any air bubbles that developed.
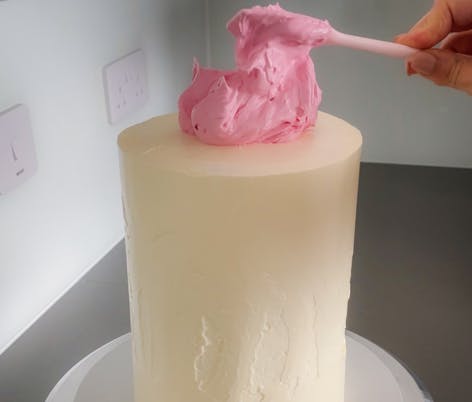
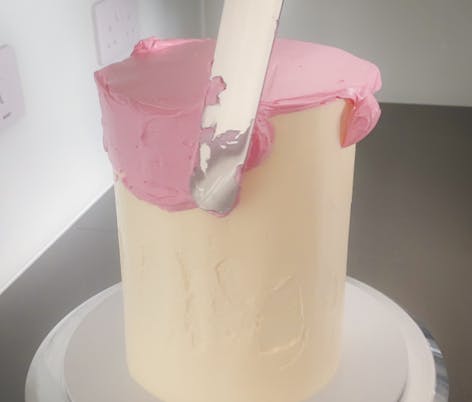
7
Choose the first colour and apply it to the top of your cake. Once the top is covered, use your offset spatula parallel to the cake to smooth the top. Cover the top section of the side with the same colour, making sure you leave enough space for the rest of the colours.
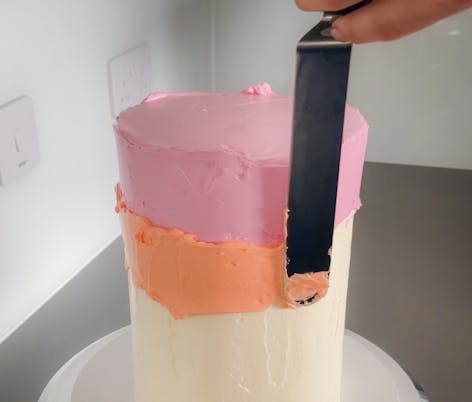
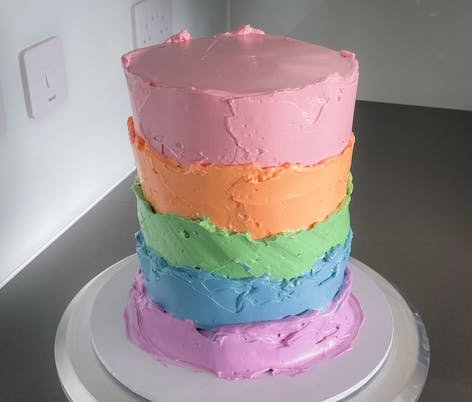
8
Use the width of your offset spatula to roughly apply the other colours until your cake is fully covered. Don’t get rid of any coloured leftover buttercream, as it will be used to add the finishing touches to your cake.
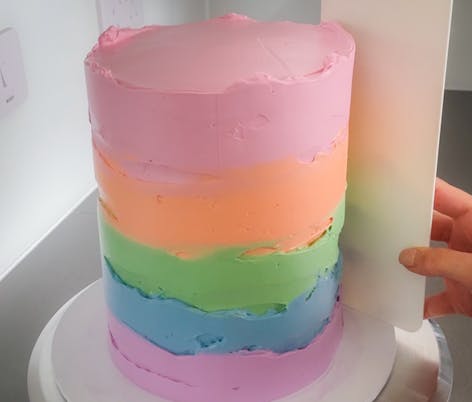
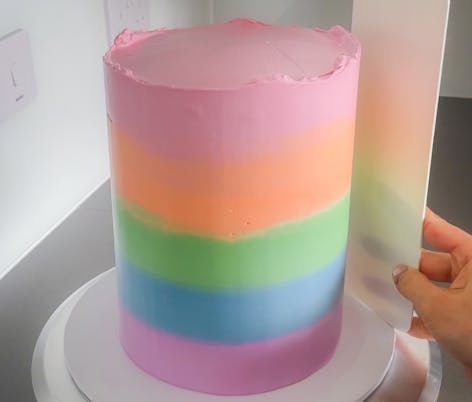
9
Hold your scraper at a 90-degree angle to the cake board and parallel to the cake. Apply moderate pressure and slowly move the scraper around the cake to remove any excess buttercream and to smooth the sides. Scrape any excess into a separate bowl and clean your scraper before you continue smoothing the sides. Patch any gaps or uneven parts with buttercream and continue smoothing the cake with a little less pressure than before.
Pro Tip
This step might take a few rounds of re-applying and scraping. Simply take your time and keep going until you’re happy with the result.
10
Put your cake back in the fridge and chill for another 20-30 minutes.
11
Time to decorate! While your cake is chilling, prepare the chocolate drip. Use a 3:2 ratio of white chocolate to cream and colour it. Set aside to let it cool down.
12
Remove your cake from the fridge and get a sharp knife. Slowly go around the top of the cake to remove any excess buttercream at the top and to create a sharp edge.
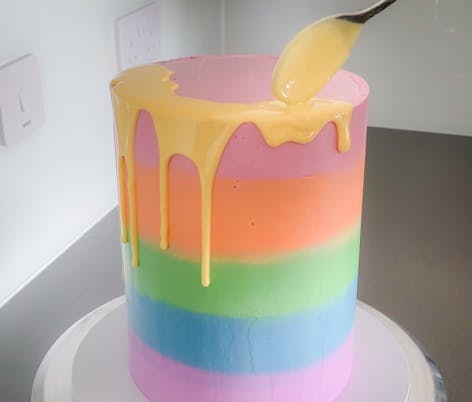
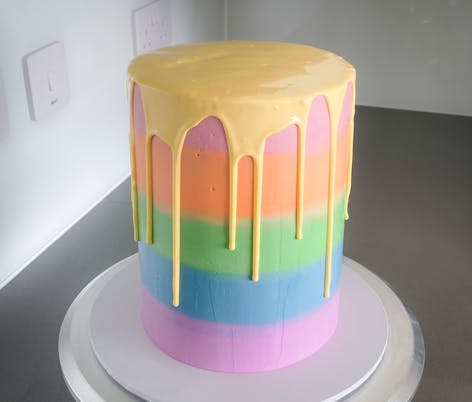
13
Using a spoon or piping bag, carefully pour your cooled and coloured chocolate drip over the edge of the cake. Put your cake back in the fridge for about 20-30 minutes, so the drip can set.
14
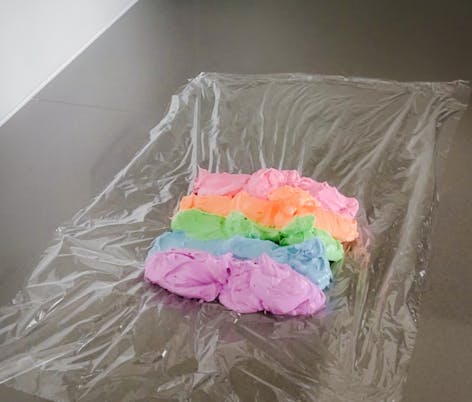
While your cake is chilling, give your leftover buttercream a stir. Take a piece of cling film and add your buttercream in stripes. Carefully roll the cling film, twisting both ends. Choose a piping tip and piping bag. Cut one end of the buttercream filled cling film and put it into your piping bag.
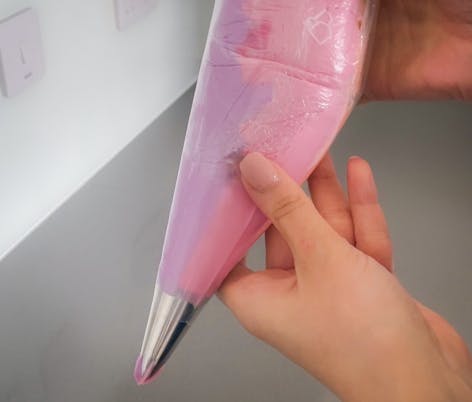
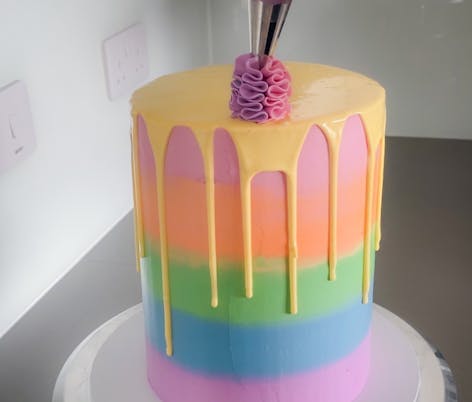
15
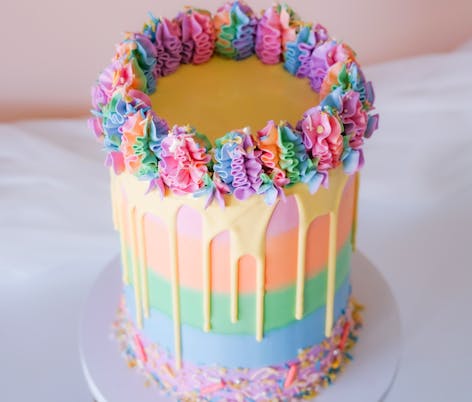
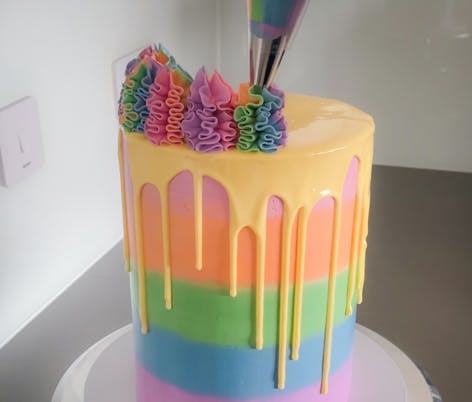
Remove your cake from the fridge and add swirls to the top, turning your piping bag slightly for every swirl if you want to add another rainbow-like effect.
16
Get your sprinkles and carefully cover the base of your cake using a spoon or your hands. Add some sprinkles to the top as well.
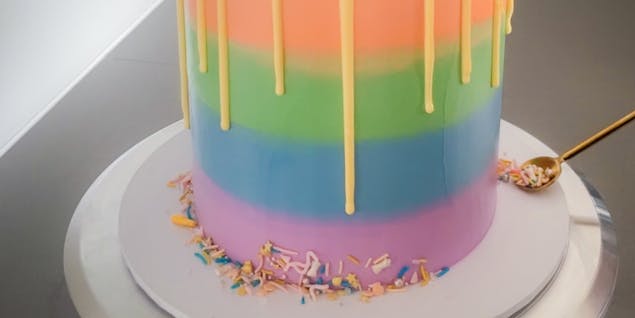
And now your beautiful rainbow masterpiece is done! Time to celebrate and enjoy a slice of delicious cake.