Make a perfect paper menorah for Hanukkah
Published on 22 November 2021 1 min readHanukkah is just around the corner, and if you're celebrating or you know someone who is, this magical paper menorah is the perfect make!
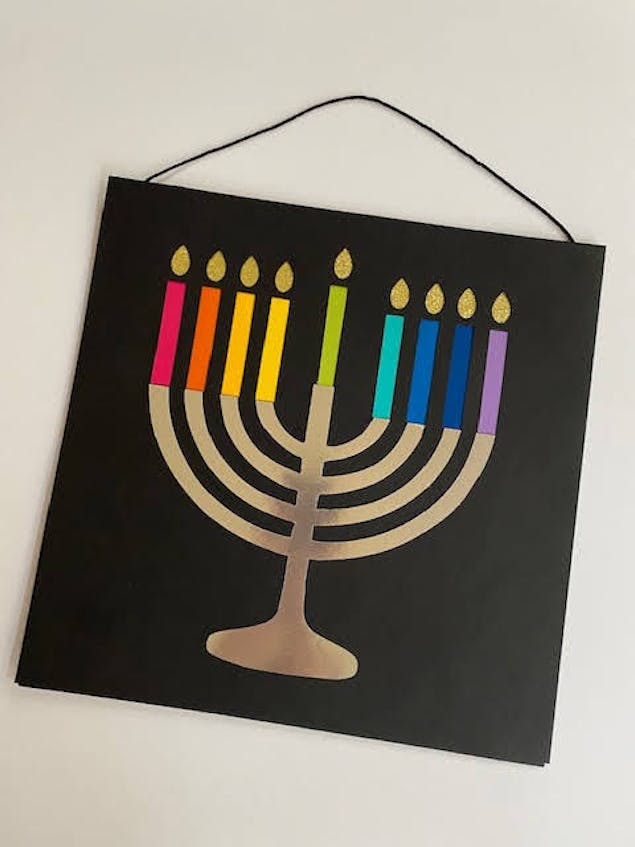
All you need is a few stash staples to create this colourful interactive Hanukkah decoration – perfect for little hands to enjoy throughout the holiday. As the nights of Hanukkah pass, the black strips of paper can be pulled out to reveal a rainbow of candles underneath!
Materials
- Papermania 8 x 8" Solid Premium Cardstock Colossal (75pcs) - Capsule
- Crafters Companion Matt Black A4 Cardstock - Pack of 40
- Stephens Gold Card 220gsm 4 Sheets
- Stephens Silver Card 220gsm 4 Sheets
- Stick It 25m Double Sided Tape (3mm Width)
- Craft knife
- Printable template
How to make a paper menorah
1
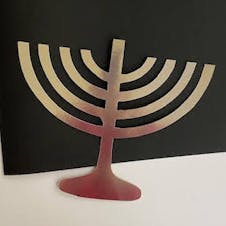
Use the template to cut out the menorah from silver card.
2
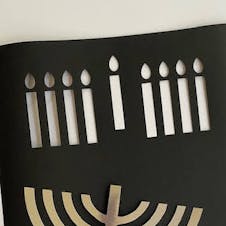
Use the template to cut out the candles and flames from a 12x12inch piece of black card with a craft knife.
3
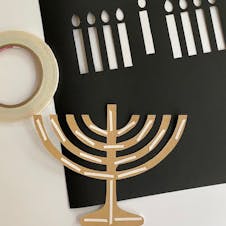
Attach the menorah to the black card with double-sided tape, lining it up directly under the candles.
4
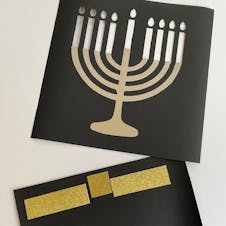
Cut out rectangles of gold card and use tape to attach them to another piece of black card, under where the flames of the candles are.
5
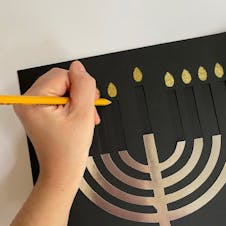
Place the menorah cut-out on top of the gold card. Use a pencil to trace the candle cut-outs. This will show you exactly where to place the paper for the candles!
6
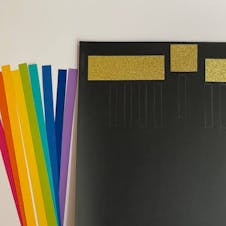
Cut out nine ¼ inch strips of paper from coloured paper.
7
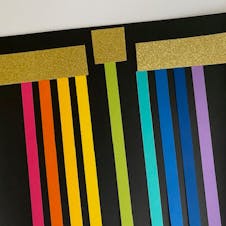
Use double-sided tape to attach the strips over the candle cutout tracings.
8
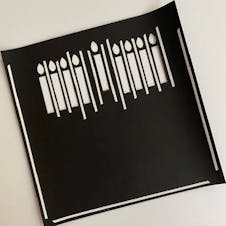
Flip over the paper with the menorah on it. Use double-sided tape to tape along the edges and in between each candle. This will create a little pocket for each candle. Remove the tape backing and lay this paper on top of the paper with the colorful strips.
9
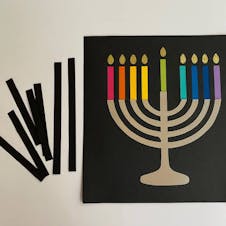
Cut nine ¼ inch strips of black paper. These will fill in the spots of the candles so that they can be removed each night of Hanukkah.
10
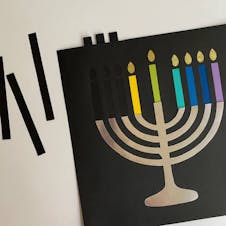
Before Hanukkah begins, fill in each candle spot except for the middle candle (the shamash). As each night of Hanukkah passes, the black strips of paper can be removed to reveal the colourful candles! Attach a string if you’d like to hang it.