Make a little quilted gift with Carolyn Forster
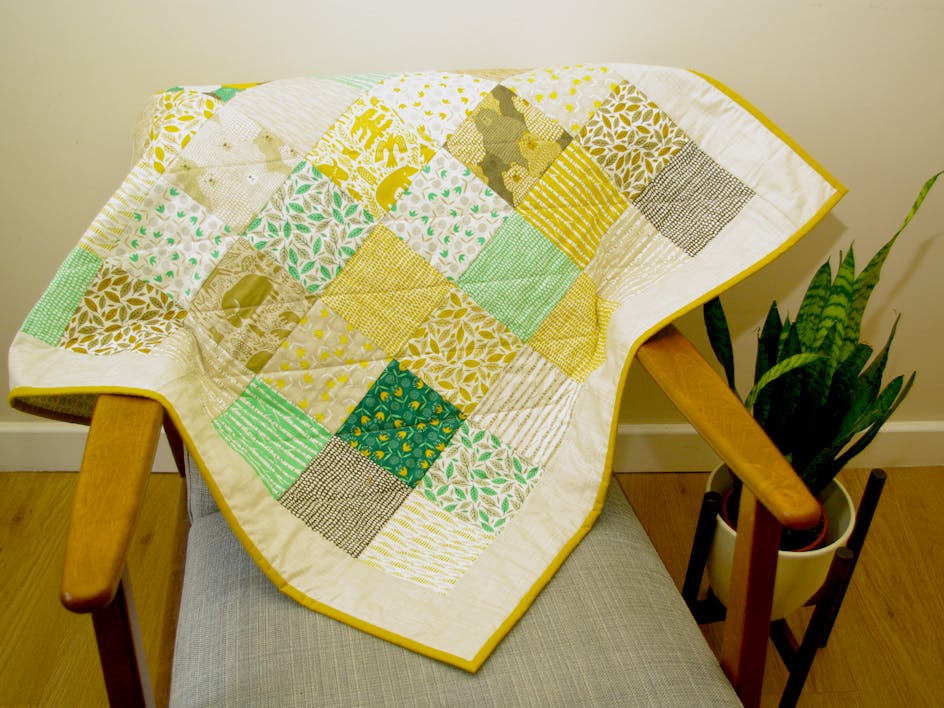
Published on 7 December 2020 By Carolyn Forster 3 min readWhether you're curling up in your nook with a good book, using as a pretty table mat or a snug mini-quilt, this beautiful patchwork Manx log cabin quilt is the perfect companion. With this step-by-step tutorial by designer, teacher and author Carolyn Forster you can make your very own to keep or gift to someone special. Just follow the steps!
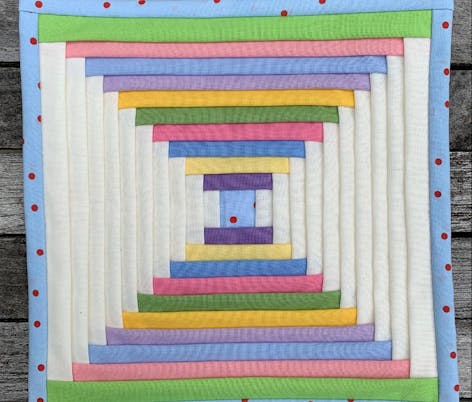
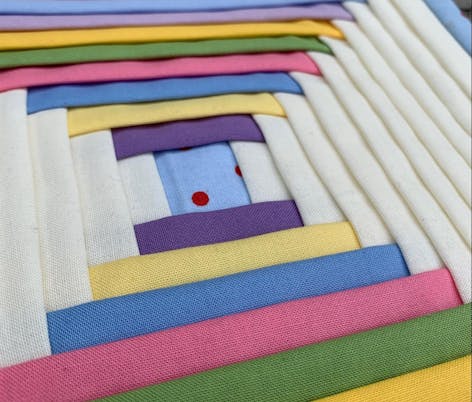
Manx Log Cabin is a form of patchwork unique to the makers on the Isle of Man. It is all hand stitched and even your hands are used as the measurements for the size of the blocks, the strips of fabric and spacing of the Logs or strips of fabric. The design itself is based on the classic Log cabin blocks of American quilts, but the method of hand stitching is very unique.
It is a fun method to learn and the finished blocks traditionally have no wadding/batting and are not quilted with a running stitch, so are more of a coverlet. The texture we associate with quilted quilts comes from the little folds that the strips of fabric create when sewn to the backing fabric.
To bring the process up to date, and to make use of the speed the tools and materials today can offer, I have adapted the design to stitch on the sewing machine and using a preprinted grid to guide the sewing lines. The strips are quickly cut with the rotary cutting tools and pieced on the sewing machine. You could even use your favourite machine binding method to finish, but I stuck with that little bit of hand stitching to complete the binding.
This block size works well as a tablemat, or a mini quilt, and even a dolls quilt. If you want to use it as tablemat or coaster, I suggest you add a layer of heat resistant batting between the backing fabric and the Vlieseline Quick screen before starting to stitch.
You can use any of the classic layouts for the Manx log cabin block, half-light and dark, and Court House Steps that I have used here.
Finished size: 9 1/2in x 9 1/2in
This works well with a Pre cut Layer cake of fabrics, as you get a nice choice and the squares are the right size for the backing.
Materials
- Backing Fabric - 30cm
- Centre Square: 5cm
- Fabric for Logs: Cream: 15cm
- Colours: Assorted plain colours, ten or more if you do not want to repeat colours.
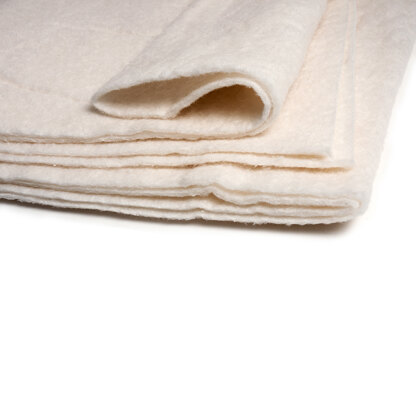
- Batting: Optional: Vlieseline heat resistant wadding, V272 Thermolam or cotton wadding square. 30cm
- Machine Sewing thread: 50 wt, colour to blend with the backing fabric.
- Vlieseline Quick Screen: Raster Quick 453, 25cm
- Binding: 15cm
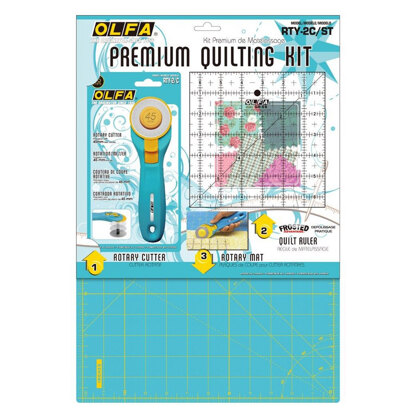
- Rotary Cutter, mat and ruler
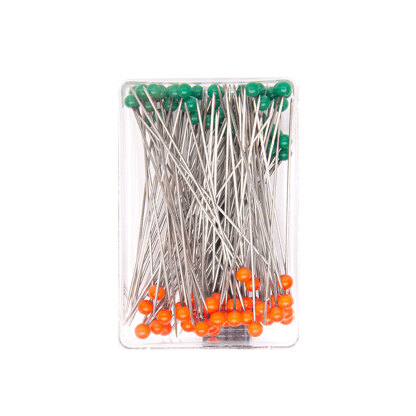
- Clover fine patchwork pins
- Square ruler 9 1/2in is useful but not essential
- Optional: Odif 505
- Optional: Glue stick
Handy supplies
Cutting:
Backing Fabric:
1x (10in x 10in)
Centre Square*:
1x (2in /5cm) square
Fabric for Logs:
Cream:
3 x strips (1 1/2in)
Colours:
Strips (1 1/2in), maximum length 10in
Batting:
1x (10in x 10in)
Vlieseline Quick Screen:
1x (25cm x 25cm) square
Binding*:
2x (2 1/2in x 12in)
2x (2 1/2in x 10in)
(*I used the same fabric choice here for continuity.)
All fabric is cut Width of Fabric unless otherwise stated.
SA= Seam Allowance
RS= Right side
WS= Wrong side
Seam allowance is 1/4in unless otherwise stated.
How to make
1
Centre the square of Quick Screen on the WS of the backing fabric. You can place the Quick Screen either side up, as you can see the grid from both sides of the fabric. If you are adding Therolam, sandwich this between the two squares. Pin the layers together at each corner to stop them shifting or you could use a spray baste like Odif 505.
2
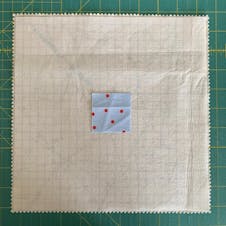
Place the 2in centre square RS up in the centre of the Quick Screen, you can count the units to work this out and pin in place, or use a glue stick.
Pro Tip
If you wanted an off centre log cabin, place the square towards one corner of the block. It's up to you, there so many options!
3
Cut two strips of cream (2in) to start stitching with. This is the only time that I pre measure the strips, for the rest of the stitching I trim as I stitch, following the lines on the grid.
4
Place a cream strip RS together, raw edges aligned on the centre square. Using a 1/4in SA you will be stitching through all the layers.
Pro Tip
If you don’t use the 1/4in SA and just use your regular sewing machine foot, it’s no big deal. All that happens is that your pleat will be slightly more shallow, so don’t worry too much!
5
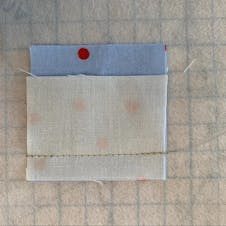
Start and stop your sewing with a reversing of the stitches to secure, and snip the threads on the backing fabric. There are no threads to tie off, the seams will be secure, as the next rows of stitching cross the last ones adding extra security.
6
Repeat on the opposite side of the centre square with the second strip of cream.
7
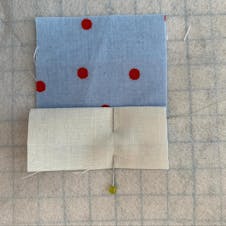
Now unfold each cream strip and line up the raw edge with the next line on the grid. I use a pin placed perpendicular to the raw edge to secure it until the next line of sewing does that job.
8

Now take a strip of a colour in the same way, aligned with the raw edges and sew cover the ends of the last strips and the centre. I trim the fabric as I sew from here on. Repeat as before on the opposite sides of the centre, unfold and pin.
9
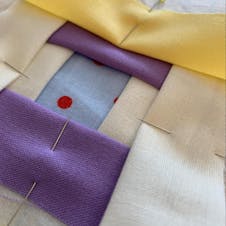
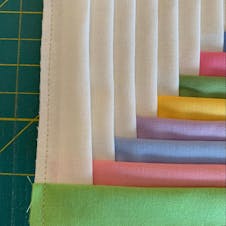
Repeat this process for ten rounds, until the grid is covered. As you work you can see the pleats being created. What I like about this way of working the technique, is that if your fabric is flat and pressed from the cutting, then there is no more pressing to do as you sew!
10

When the square is filled, neaten the edges and square up to 9 1/2in x 9 1/2in.
11
I then stitch all the way around the outside edge of the block 1/8in in from the raw edge to keep all of the layers together and in place before binding.
12
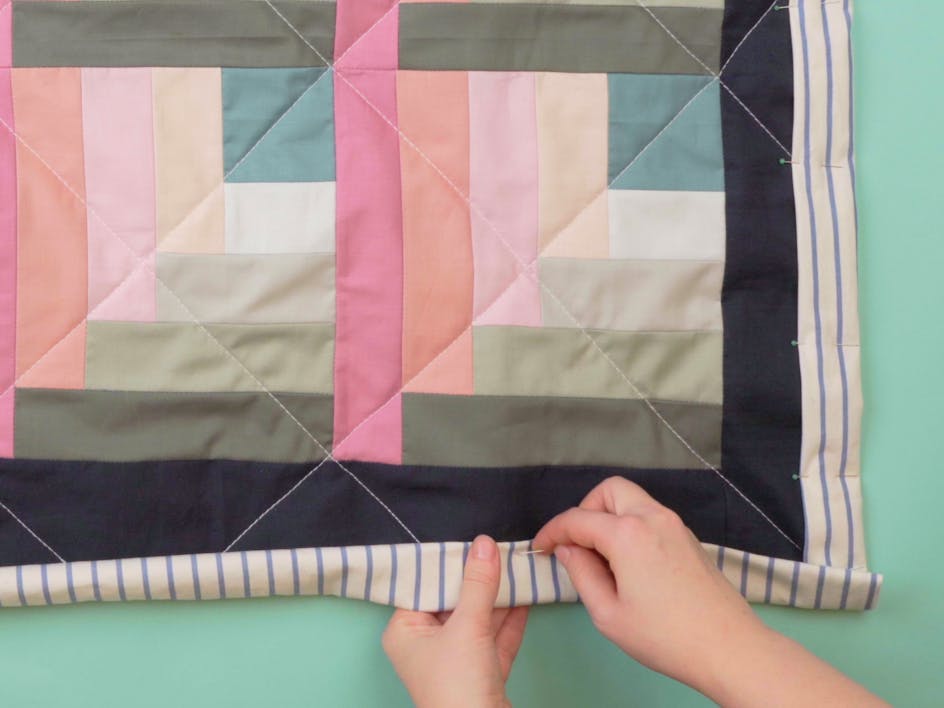
Press the binding strips along their length, WS together.
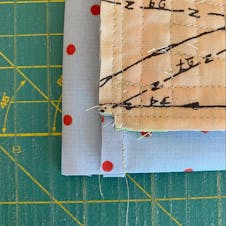
13
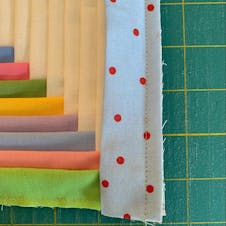
Place the short strip on the front of the quilt, RS together aligning the raw edges, on the cream side first. Stitch using the edge of your regular presser foot to give a slightly wider that 1/4in SA here.
Secure the stitches at the start and finis, and do the same on the opposite side of the quilt. Trim the end of the strip in line with the edge of the quilt if it is overhanging.
14
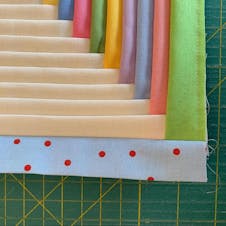
Now finger press these binding strips away from the quilt top.
15
With the longer binding strips, repeat the stitching process, but starting and finishing at the folded edge of the now flattened binding.
16
Trim the edge to the folded edge of the binding.
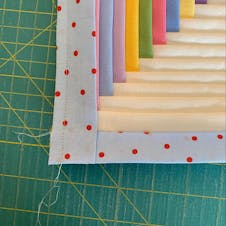
17
To help make the corners less bulky, cut out a little square as shown of the patchwork and backing fabric. Do this on each corner.
18
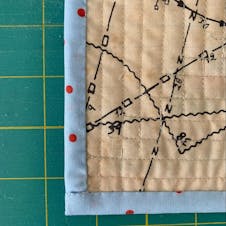
Now fold the binding over to the WS of the quilt so that the folded edge can be hand stitched down to the sewing line. At the corners, fold so that the war edges are enclosed.