How to sew a stay stitch
Published on 28 November 2018 By Emma 1 min read
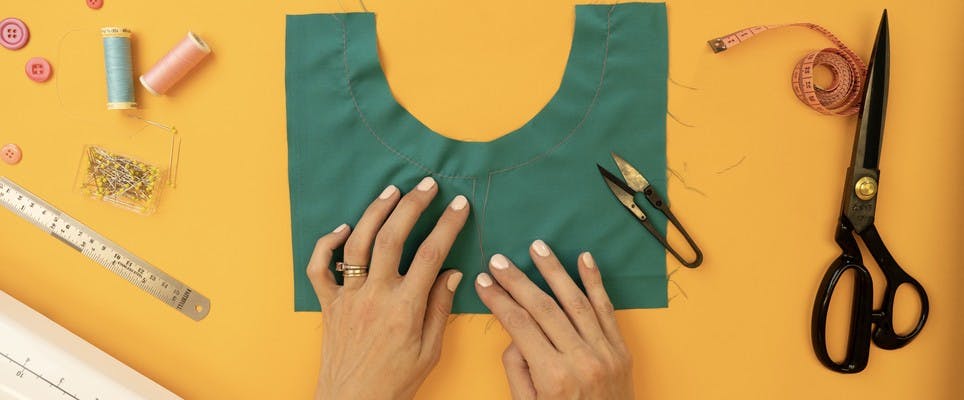
Have you ever tried to sew a curve and you find that one edge is suddenly longer than the other? Or sewn a neckline that was fine when you pinned it, but now all the fabric is bunching at one end? Learning how to sew a stay stitch will stop all of that frustrating stretching from happening and ensure that your sewing is all smooth sailing.
Stay stitch is a quick run of an ordinary straight stitch just wide of your seam line, and will help keep things in control. It’s really simple to do and makes life so much easier that when you know how, you’ll probably end up using it even when a pattern doesn’t ask for it.
Here’s our guide to show you how to sew stay stitch.
We’re going to use a neckline as an example but the technique is the same for anything.
Sometimes it's the simple little tricks like this that can make all the difference.
1

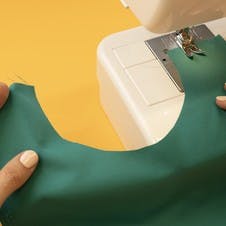
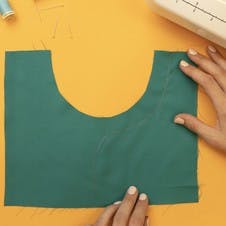
With a neckline you need to sew a stay stitch from one side to the middle, and then from the other side to the middle. This stops the fabric wanting to bunch up.
2

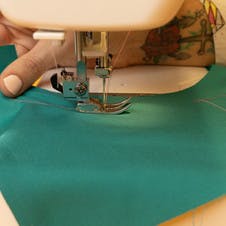
Sew a line of stitching outside of the seam line. First from the left to the middle, then from the right to the middle. Don’t worry about sewing a backstitch to secure it as you’ll be pulling it out at the end.
Pro Tip
It’s important not to pull the fabric around too much, try and let the machine do most of the work and guide it where you need to. This will prevent any stretching and puckering later on.
3

That is it! Now you can sew your hem and the stay stitching will hold the material in place and prevent any unwelcome movement and stretching.