How to sew ease stitch
Published on 3 June 2020 1 min read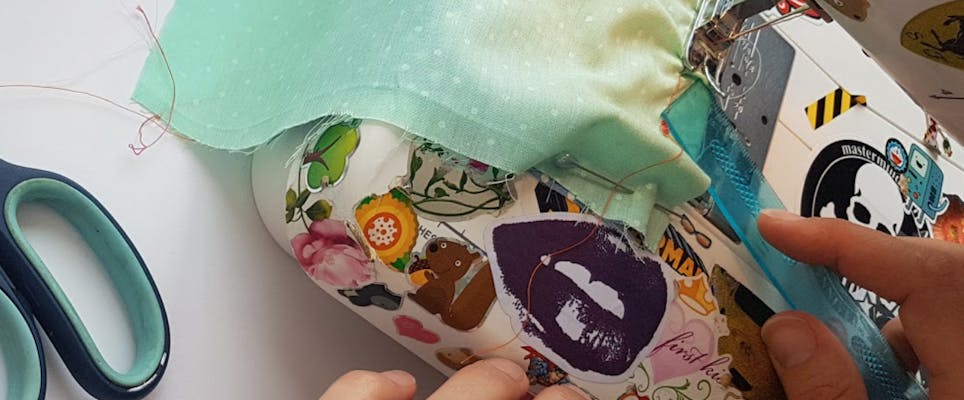
The more sewing you do, the more familiar you become with the way different fabrics move. You discover how easy a cotton is to work with and how challenging satin can be. It’s one of those things that you can only really learn through experience, and it’s just the same when it comes to understanding how to ease material into shapes that you didn’t realise it could go!
While the name might suggest otherwise, ease stitch is really more of a technique than a stitch. It's what you'd use to sew something slightly bigger (like a sleeve) into something slightly smaller (like an arm hole).
Ease stitch similar to gathering, when you whizz a line of stitching across something and give it a tug to make lots of lovely ruffles. A longer piece becomes a shorter piece and you can sew them together nice and neatly. The difference is that gathering is all about making evenly spaced ruffles, where easing is all about making those ruffles disappear.
It is pretty advanced as techniques go, but don’t let you put that off, it just takes a bit of dedication and practise, and we’re here to help you through it.
How to sew ease stitch step by step
1
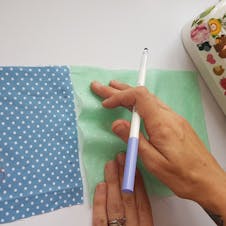
Line up and mark. Line up the longer edge with the shorter edge of the fabric. Squash the longer bit together so that the edges line up with those of the shorter bit and make a reference point at either end of the area that you want to ease in.
2
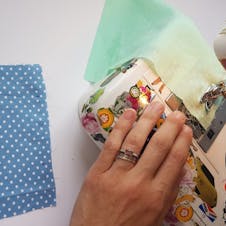
Sew a line. Change the stitch length to a long stitch on your machines settings and sew a straight line between the two points. The longer stitch makes it easier to pull in a minute.
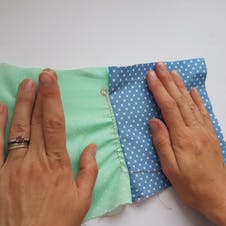
3

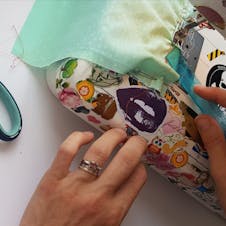
Ease and pin in place. Holding on to the fabric, grab the bottom thread (the one that came from the bobbin), and give it a gentle but firm pull to gather up the fabric. Keep tugging and adjusting from each side until the fabric is the same width as the piece you want to sew it to. Make sure that it’s all evenly spaced and try and avoid any clusters and ridges. When you’re ready, pin it in place.
4
Sew in place. Make sure you switch your stitch length back to where it needs to be, and slowly and gently start sewing the seam. You may need to stop at intervals to work out any obvious ridges and puckers that are forming (and they will want to!).
Pro Tip
Having a tool to hand that you can use to manipulate the fabric when it’s near the foot can be useful. Some people use long handled tweezers, but a ruler will work just as well. When you’re more experienced you probably won’t need these, but it’s a good way to get started. The fabric will try and bunch up, but patience and practise will allow you to control it and ease it to where you want it to be.
5
Press seam. Open out the seam and check for any puckers or tugs, ideally you don’t want to see any, but this is unlikely to happen first time! To get rid of the ease stitch just give the bobbin thread a good tug and it’ll pull out.
Ease stitch is just one way of doing this. If you prefer pinning as a way of grappling with fabric then go for it. If you’d rather just use your fingers, fine. You will find a way that works for you!