How to crochet the v-stitch blanket
Published on 16 September 2019 2 min read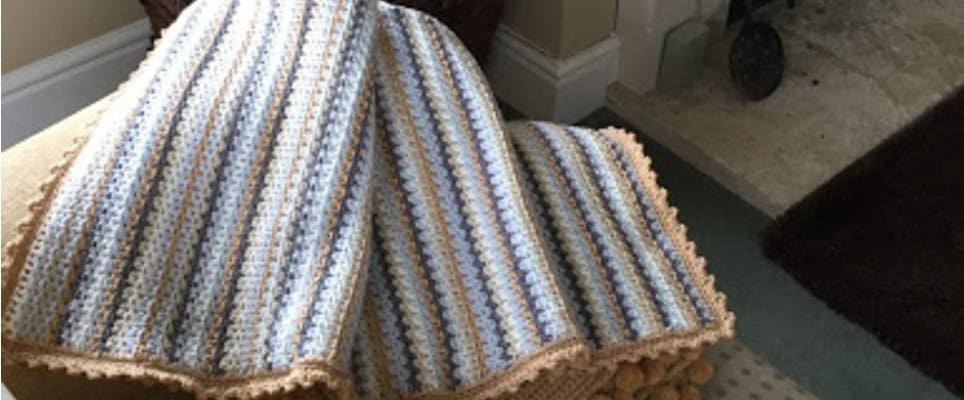
If you love a winter colour palette of frosty ice shades and neutrals, you'll love Kate Eastwood's stunning Paintbox V-Stitch blanket. In this step-by-step tutorial she'll show you how to crochet your own - perfect for snuggling up with on chilly nights!
It’s getting to that time of year when you’re not quite ready to put the heating on, but by the evening there’s a very definite autumnal nip in the air, so what could be better than a cosy lap blanket to snuggle under? This lap-sized V-Stitch blanket is made in Paintbox Yarns Simply Aran and worked with a 5mm hook, so you’ll have it done in no time at all.
Materials
For my blanket I used two balls of Camel 208 ( second from left ) and one ball each of Paintbox Yarns Simply Aran in, from left to right below, Dark Grey 205, Medium Grey 204, Beige 207, Light Grey 203 and Cream 202.
The finished blanket measures approx. 96cm W x 88cm H. This tutorial uses UK crochet terms, but you can use our handy conversion chart to convert to US terminology.
So let's get started!
How to crochet your blanket
1
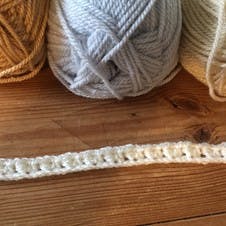
Make your first v stitch. Begin by working a chain of 124 (multiples of 3 + 4) and then starting in the 5th chain from the hook work 1 TR, 1 CH and 1 TR all in to the same stitch. This makes your first V.
2
Get to the end of your starting chain. *Now skip 2 chains and work a TR, CH and TR in to the next stitch.* Repeat from * to * all the way along your starting chain. At the end miss 1 chain and end with 1 TR.
3
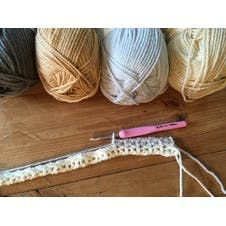
At the end of each row you will need to chain 3 and turn. When making the chain 3, join in your next colour.
4
Second row. Now work your second row by starting with a single TR and then working a V stitch (TR, Ch1, TR) into each V from the last row. Finish the row with a single TR.
Pro Tip
For your blanket work one row in each of the colours. For the first 6 rows you will need to join your new colour in at the turning chain.
5
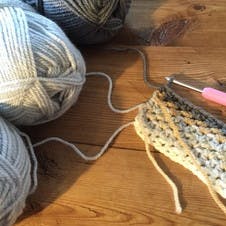
Keep your yarn attached. To avoid having lots of ends to sew in, I didn't finish off at the end of each row but left each ball of yarn attached. After your first six rows you will begin to use each colour for the second time.
6
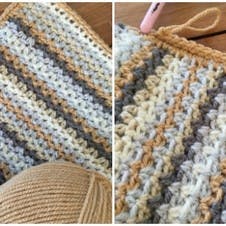
How to work your colours back in. I found the easiest way to work the colours back in was to take the bottom yarn, so in the picture below that is the dark grey, loop it up the side of your work, chain 3 turn and continue with the next row.
If you continue working by taking the bottom colour at the end of each row you will see that this creates its own stripe pattern.
Pro Tip
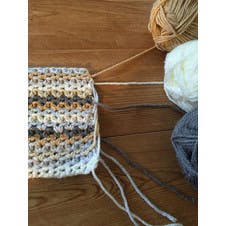
Continue working in the different coloured rows until each ball of yarn is finished
7

Finish off and sew in the ends. Now start your border. For my border I worked a simple picot edging in Camel 208.
Begin this by working 2 rounds of DC all the way around the edge of the blanket. Work 3 DC in each corner stitch so that the edging keeps its shape.
8
Third round. For the third round of edging *work a DC in to each of the next 2 stitches and then chain 4.
9

Finish your border. Sl St back in to the first chain.* Repeat from * to * all the way around the blanket, Sl St to join at the end of the round, finish off and sew in the ends.
And there you have it. Your beautiful V-Stitch blanket is complete. Perfect for snuggling up for a night in with Netflix, or, even gifting as a baby blanket or lap blanket to someone in your world.