How to get started in embroidery for beginners
Published on 23 June 2019 By Mollie 5 min readEver wanted to try embroidery? Our handy embroidery guide will help you pick up the basics. This beautiful needlecraft often looks complicated, but anyone can learn! We’ll talk you through the essential supplies, preparing your embroidery hoop and the basic embroidery stitches to get you started.
1. Essential hand embroidery supplies
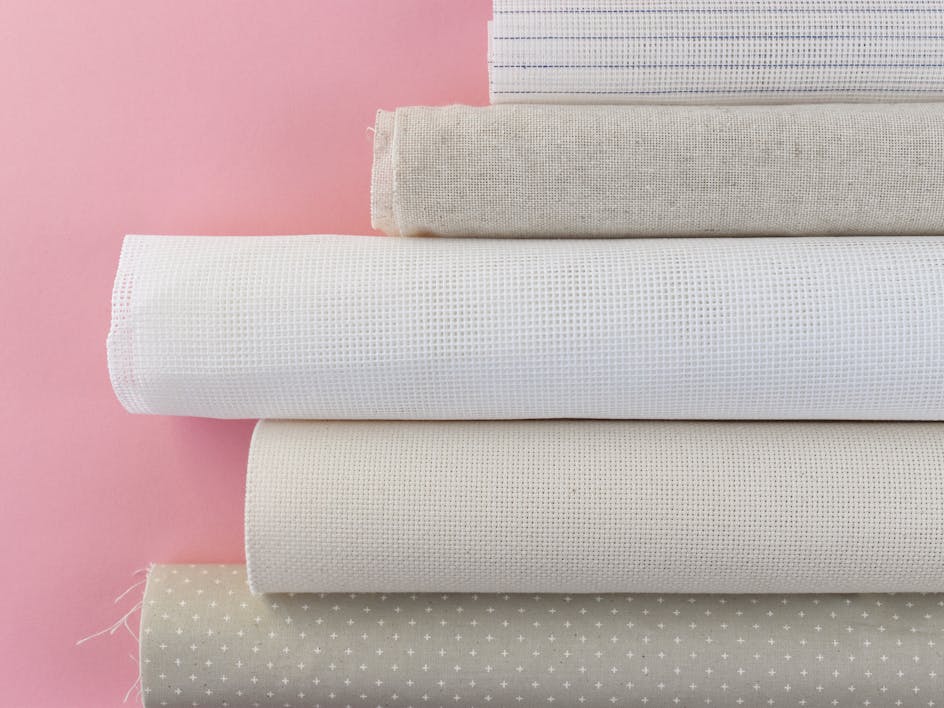
- Embroidery fabric - You can embroider on anything you can get a needle through, but some fabrics are easier than others. Fabrics with a tighter weave work best. Linen and quilting cotton are good choices for getting started. Avoid Aida cloth, which is designed for cross stitch.
- Embroidery hoop - Hoops come in all kinds of materials and sizes, so you can find what works best for you. To start, a medium wooden hoop is great. As long the hoop holds your fabric securely, you're set.
- Embroidery thread - Most embroidery patterns suggest stranded cotton embroidery thread (also known as floss), but you can also use perle cotton or other specialty threads. When using stranded thread, you can separate the embroidery floss and use from one to six strands, which affects the thickness of your stitches.
- Needles - It's best to use a needle that's designed (and labeled!) for embroidery. These needles have a sharp point and a larger eye, which makes it easier to thread and to pass through the fabric. Embroidery needle sizes are numbered, and the smaller the number, the larger the needle. Choose a size that feels right for the thickness of the thread you're using.
- Scissors - Any pair of scissors that's sharp enough to cleanly cut your thread will work for you. However, small embroidery scissors are helpful because you can get them close to the back of your work for trimming the floss ends. Plus, there are so many cute styles to choose from!
- Transfer tools - There are plenty of options when it comes to transferring a pattern to your fabric. The tool and method you choose will vary, depending on your fabric. For light fabrics you can usually use a regular pencil, but you can also buy special tools, such as iron-transfer pens or water-soluble stabilizer.

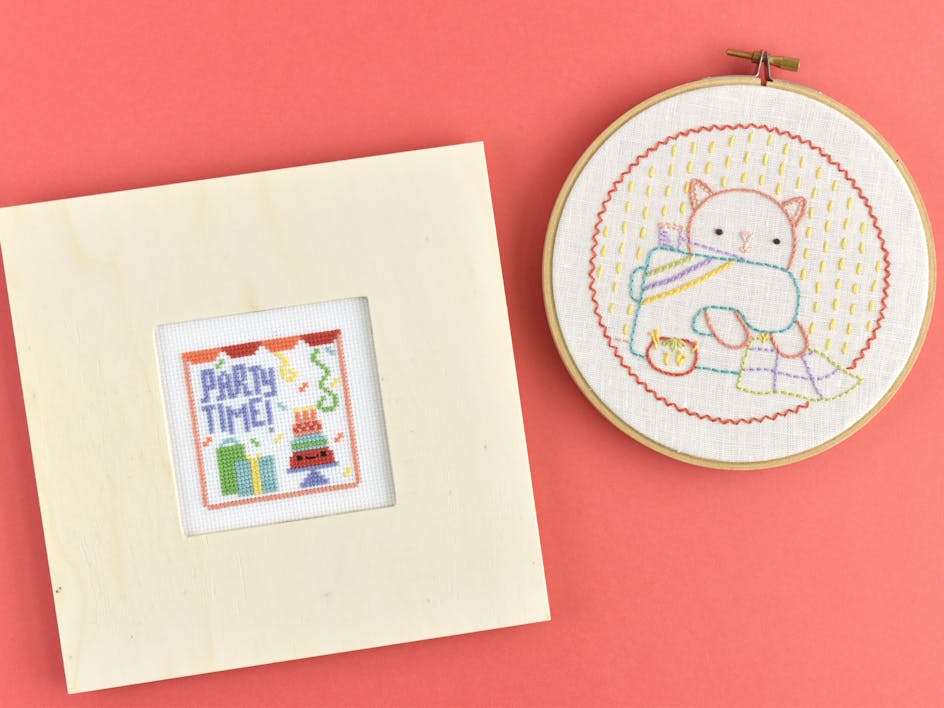
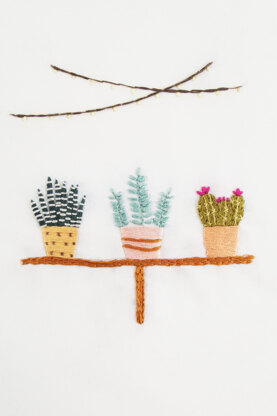
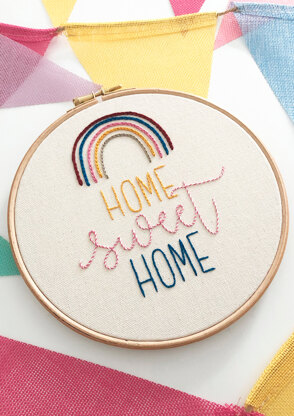
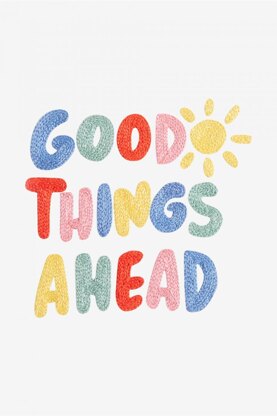
2. Beginner embroidery patterns
The best way to get started is by following a simple embroidery pattern. Try something with a simple outline and not too many new stitch techniques to ease you in to the stitching process. From flowers to letters, traditional and modern designs, we have hundreds of beginner embroidery patterns for you to choose from.
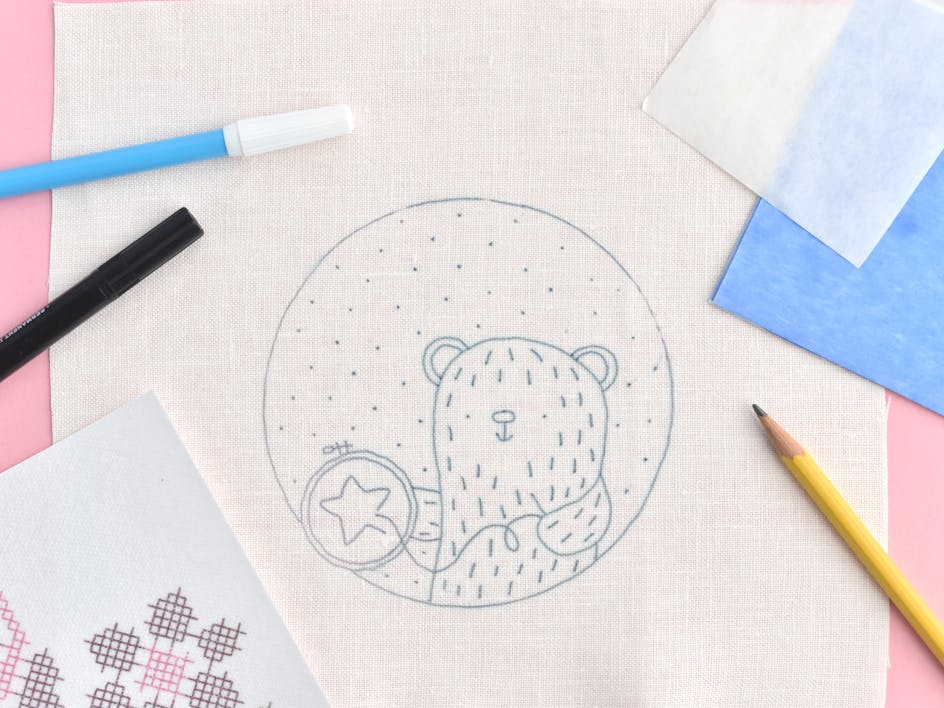
3. How to transfer an embroidery pattern
Once you’ve found a pattern you like, it’s time to transfer this to your fabric. There are a few different methods to choose from: using tracing paper, water-soluble pens and a lightbox, as well as iron on transfers. Learn more about how to transfer your embroidery pattern with our simple guide.
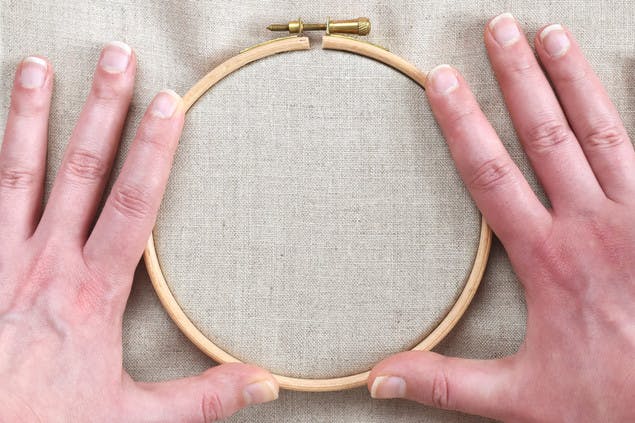
4. Setting up your embroidery hoop
You can find different styles of embroidery hoops, and some may come with special tips for placing your fabric in the hoop. Most hoops have a solid inner hoop and an outer hoop with a tightening screw.
Loosen the tightening screw enough to separate the pieces. Place the inner hoop on a flat surface and lay your fabric over it. Press the outer hoop down onto the fabric and inner hoop, then tighten the screw.
When you place the outer hoop on the fabric, try to get the tension just loose enough to go over the fabric, but not so loose that you can easily move the fabric around. Use even pressure as you push it onto the inner hoop.
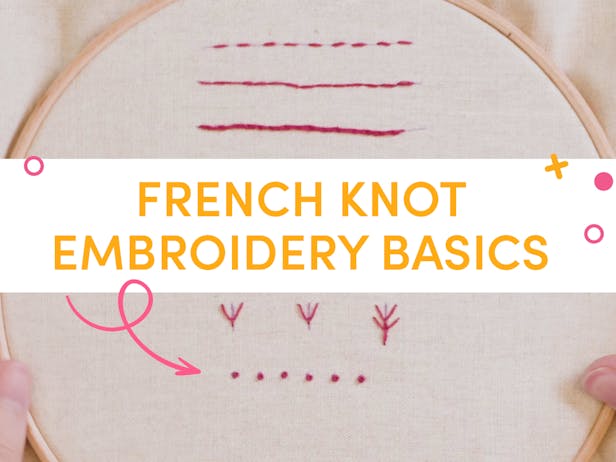
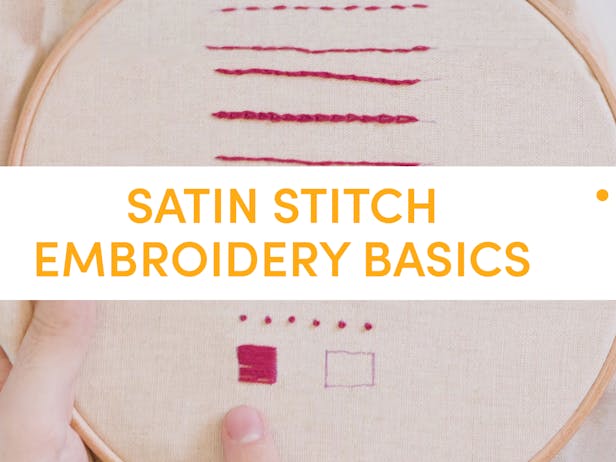
5. Learn the basic embroidery stitches
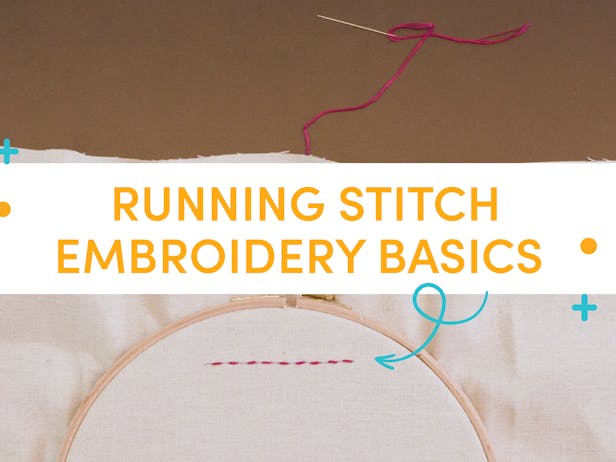
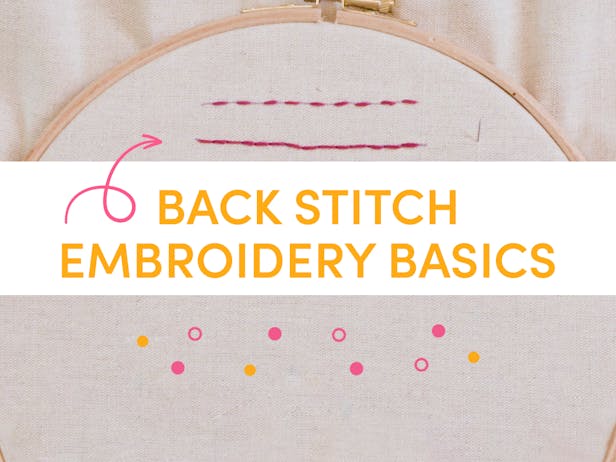
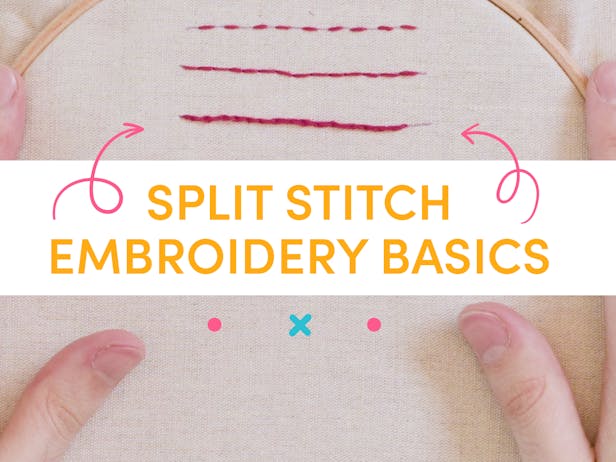
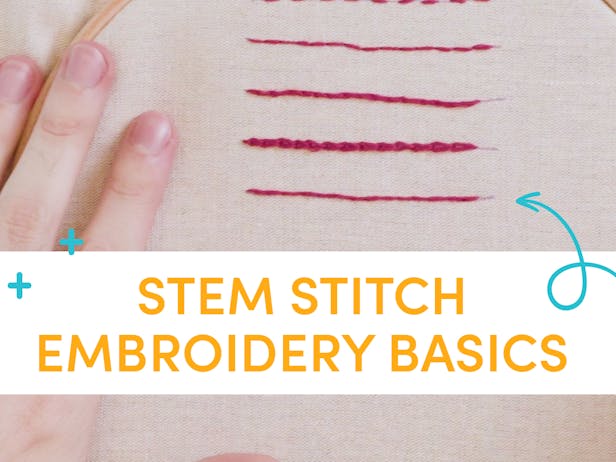
Learn the top ten embroidery stitches to get started, and you'll be ready for most patterns. Work your way through them all, or practice them as you need them! As you do more embroidery, try out more advanced stitches like a woven wheel stitch, bullion knots, picot stitch, and more.
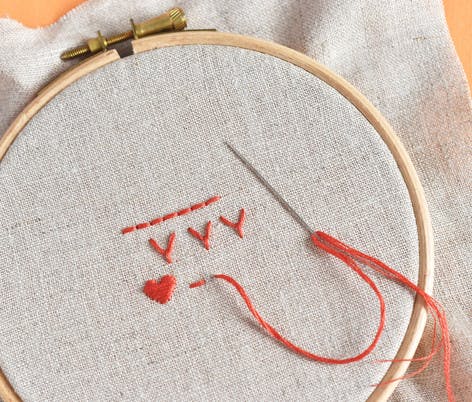
Starting and ending
One of the greatest debates in embroidery is whether you should start and end with a knot. And guess what...either is fine! There are times when it's better to avoid knots (they can make lumps in your embroidery and can even come undone with repeated washings), but it's okay to do what's easy for most projects.
With knots
When you knot your embroidery thread, be sure to use a knot that's large enough to prevent it from pulling through. Your end knot should be as close to the back of the fabric as possible, so the stitches on the front don't loosen.
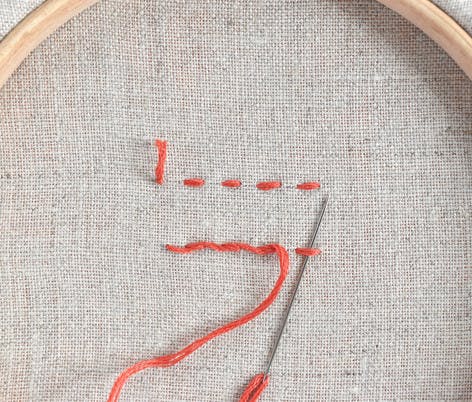
Without knots
As you make your first stitch, leave a tail of embroidery thread on the back of the fabric. As you stitch, position the tail, so your stitches cover and secure the tail. If you'd rather, you can thread the tail onto a needle and weave it in the stitches. At the end of your embroidery, weave the end through the stitches, then trim the thread.
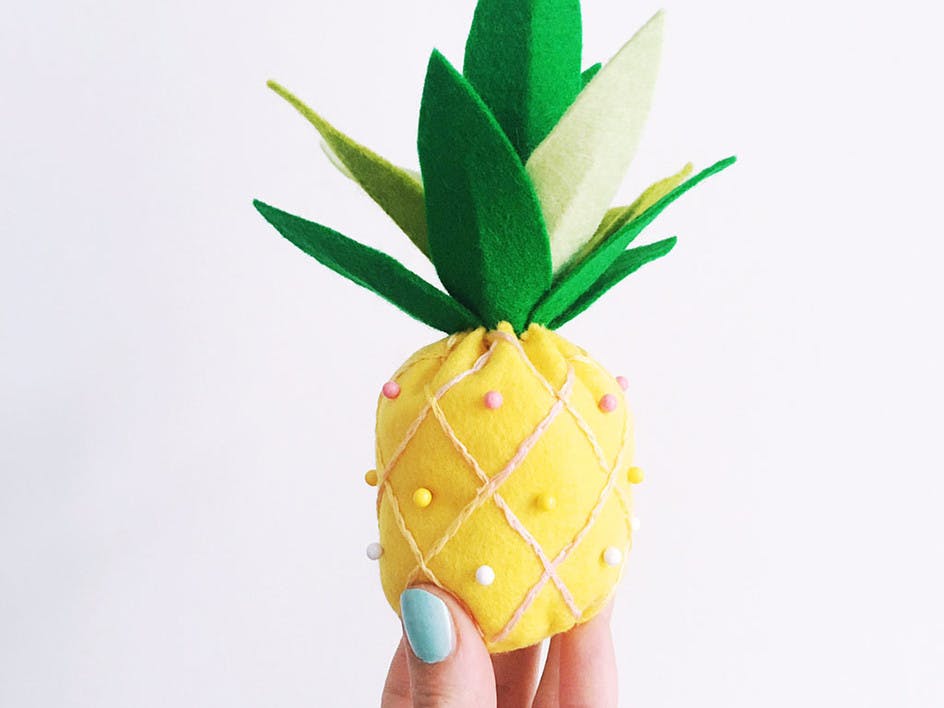
What are you waiting for? Now that you know what you need to begin your first embroidery project, pick out a pattern and start stitching!