

How to make a pin-apple cushion
Published on September 8, 2026 by Christine Leech
Skill Levelintermediate
Project time 3 hours
Jazz up your craft accessories and embrace the sunny weather! Christine Leech of Sew Yeah has the perfect project with her fun and fruity felt pin cushion tutorial.
- Rico Felt Sheets 20x30
- Sheets in dark green, light green and yellow
- Rico Essentials Crochet
- In a contrast shade such as Orange (03)
- Green and yellow sewing thread
- Tailor's chalk
- Pony Gold Eye Sewing Needles
- Scissors
- A small amount of stuffing
- A small amount of rice
You will also need to download the cut-out templates.
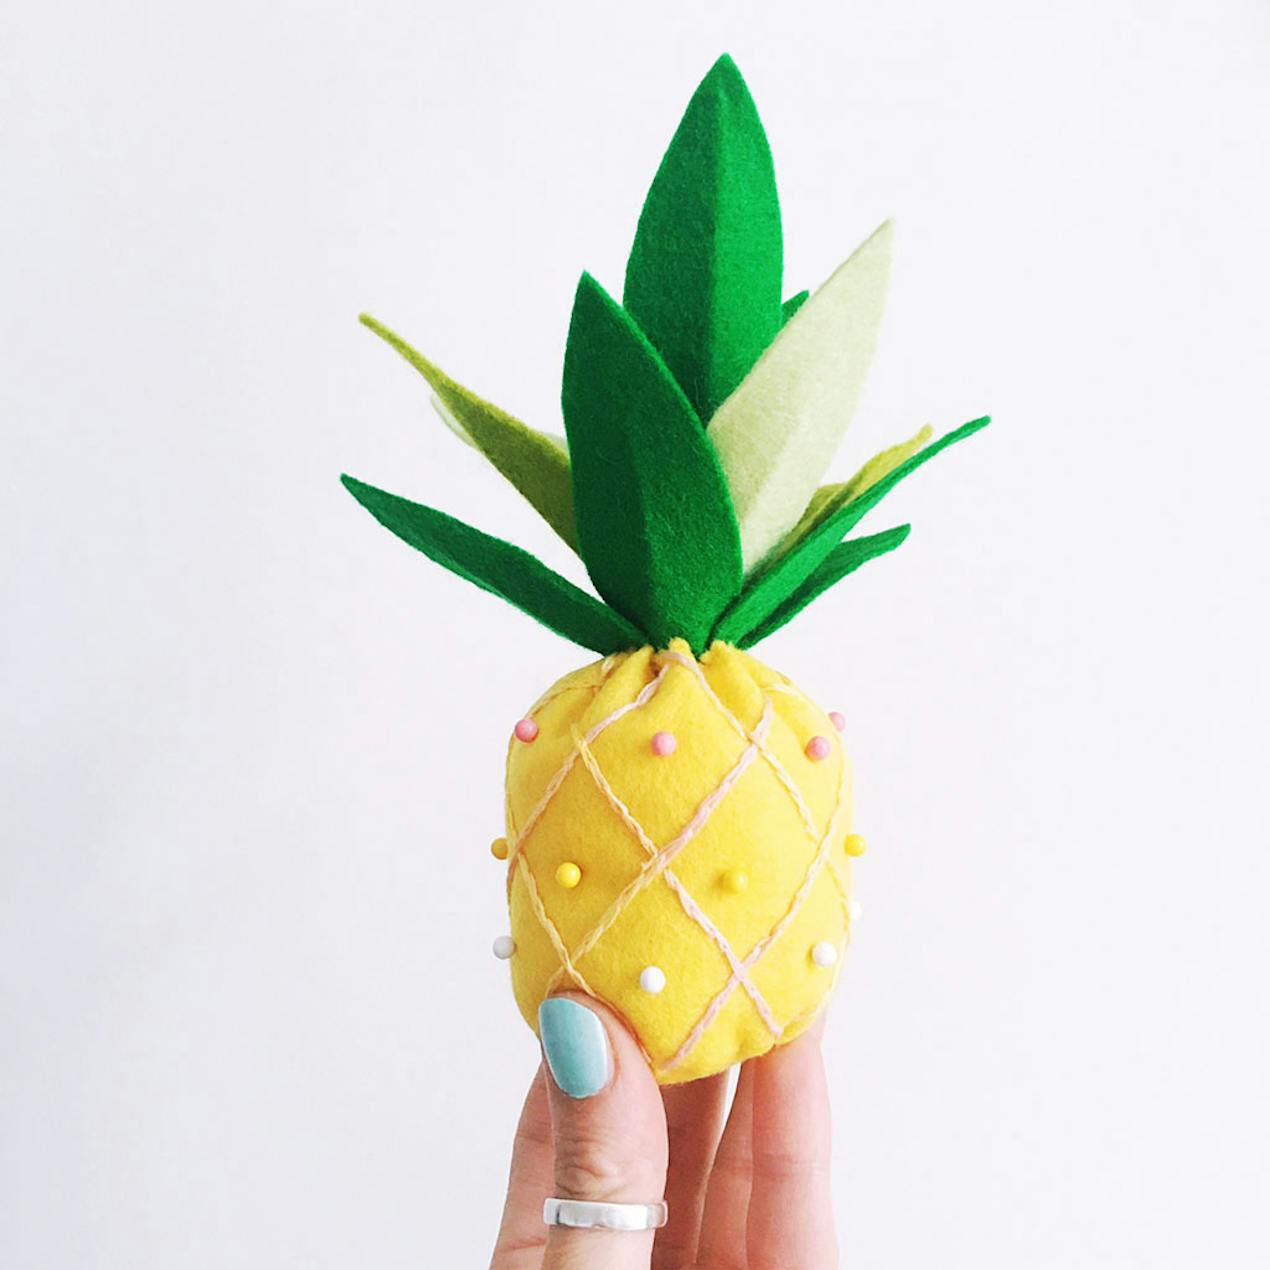
There’s a real trend for all things tropical at the moment (it seems that nobody has told the weather in the UK though!) and I just had to jump on the pineapple bandwagon and make this super cute pineapple pin cushion, or as I like to call it, pin-apple cushion.
How to make the top of your pin-apple
Using your template, cut out;
Two large green leaves
Four medium lighter green leaves.
Five small green leaves.

Crease each leaf down the middle and iron until approx 3/4 up the spine – this give the leaves a more 3D appearance.

Take one small leaf and the two large leaves and sandwich the smaller leaf between the two large ones on either side. Sew in place with a few over stitches through all the leaves.

Next take the four lighter coloured leaves and sew in place around the larger leaves. You will need to overlap them slightly.

Repeat with the four smaller leaves.

How to make the base of your pin-apple
Use the templates to cut out the pineapple body and base.

Use tailor's chalk or a water-soluble pen to draw the pineapple markings.

Embroider the markings. I’ve used split stitch which is pretty but quite time-consuming, a straight running stitch also looks great.

Continue until you have embroidered all the lines.
Then sew a line of running stitch along one long edge of the pineapple bottom.

Slightly gather the stitches until the rectangle is 15.5cm long (this is the same as the circumference of the pineapple base).

Remember to have the felt with the good side of embroidery facing inwards.
Make two marks at the halfway points on the pineapple base and also find the middle of the body.
Use these marks to help make sure you are stitching the body of the pineapple to the base in order to keep the gathers even.
If you start with one short side of the body lined up with one of the marks on the base you should have sewed half the pineapple body to the base by the time you reach the second marker.

Using a small over-stitch, begin sewing the base to the body.
Make sure you have the right side of the body facing inwards and make sure you keep the gather of the body even so it fits perfectly around the base.

Complete sewing all the way round the base and then sew up the side.

Turn the pineapple right side out.

Fill the base of the pineapple with a little rice – about a quarter full.

Then fill to the top with the toy stuffing.

Attaching the leaves
Sew another running stitch around the top of the pineapple and then pull to gather.

Gather the hole until it fits snugly around the pineapple leaves and then tie securely.

Stitch the leaves to the pineapple body.

Place one pin in the centre of each diamond and then you are done!



The 10 best mohair jumpers & cardis to make this year
Mohair knits are having a moment. Here are 10 of the best mohair knitting patterns to i...
Continue reading The 10 best mohair jumpers & cardis to make this year
Delightful spring crafts to brighten your day!
All things floral and fabulous, discover spring crafts guaranteed to brighten anyone's ...
Continue reading Delightful spring crafts to brighten your day!


