Free teddy bear sewing pattern for beginners!
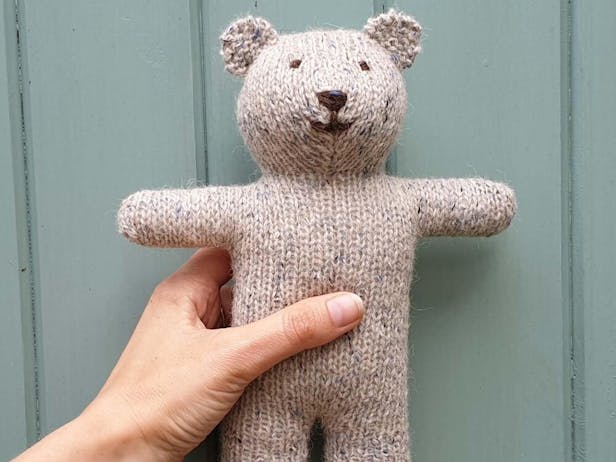
Published on 12 July 2021 By Sarah JFor a new arrival or an extra special birthday gift, craft a keepsake they will cherish forever and stitch a super sweet teddy bear! Taken from the wonderful sewing book 50 Fabric Animals by Marie Claire Idées, this make is perfect for beginner sewists. So, gather your supplies, download your free teddy bear sewing pattern and follow along with the simple steps to sew your very own teddy.
This teddy bear pattern is super easy to customise in whatever fabric you have on hand. Use up scraps in your stash from previous projects or pick up some new linen fabric and cotton fabric in a whole host of colours to make this teddy one-of-a-kind!
Materials
- Linen fabric
- Blue fabric dye
- Cotton fabric
- Synthetic stuffing
- Buttons for the eyes
- 4 small buttons for the jointing
- Linen thread
- Large needle for jointing
- Brown embroidery cotton
- Ribbon for the bow
Pattern dimensions
About 45cm (17¾in) tall
How to sew your bear
1
Prepping your pattern and fabrics. If you're dying your fabrics for the teddy, dye the linen following the manufacturers instructions, leave them to dry and then iron. Enlarge the pattern to size. From the cotton fabric cut out the following, adding 7mm (¼in) seam allowances all round: two palms, two soles and one ear. Cut out all the other parts from the linen adding the same seam allowances as before: two outside arms, two inside arms, two fronts, two backs, one centre head, two side heads, four legs and three ears. When joining pieces, stitch the pieces together with right sides facing, taking a 7mm (¼in) seam allowance.
Pro Tip
To enlarge the pattern correctly, use the 5cm (2in) arrow found on your pattern as your guide, enlarging the patterns until the arrow measures 5cm (2in) – or the size specified beside the arrow if different.
To do this, work as follows:
First, measure the bar, e.g. 1.5cm, then carry out the following calculation: 5 divided by 1.5 = 3.33. Multiply by 100 to get the percentage you need. If the answer is less than 200%, you can go ahead and enlarge your pattern(s) to full size straight away. However, the rate of enlargement for this example is 333%.
Photocopies cannot enlarge by more than 200%, so first enlarge to 200%. For the second enlargement, carry out the following calculation:
333 divided by 200 = 1.66. Again, multiply your answer by 100 to get the percentage you need. The percentage of the second enlargement is 166%.
2
The body. Stitch the two front pieces together along the centre-front edge. Stitch the two backs together along the centre back, leaving a gap as indicated on the pattern. Stitch the front to the back all round and turn out through the gap in the back. Stuff the body and close up the gap.
3
Arms and legs. Stitch a palm to each inside arm along the straight edge then stitch each inside arm to an outside arm, leaving a gap as indicated on the pattern. Turn out, stuff and close up the gap. Stitch the legs together in pairs, leaving the straight edge open and a gap in the back of the leg to turn through. Attach the sole to each leg then turn the legs out and stuff them. Close up the gap.
4
Ears. Pair up the ears with right sides facing and stitch all round, leaving the straight edge open. Turn out the ears.
5
Head. Tack then stitch the centre head between the side-head pieces from the nose to the nape of the neck. Stitch the side-head pieces together between the nose and the front neck. Turn out the head and stuff it. Sew the ears in place on the head, tucking in the raw edges at the bottom edge of each one. Embroider the nose and mouth and attach the buttons for eyes. Sew the head to the body.
6
Attaching the limbs. Thread the linen thread through a large needle, stitch at shoulder level to cross the body then pass the needle through an arm. Pass the needle through a button then take the needle back through the button and arm in the other direction to cross the body. Pass the needle through the other arm and another button. Take the needle back through the button and arm and knot securely under the arm to hide the knot. Join the legs to the body in the same way.
7
Finishing. Embroider the claws using linen thread and straight stitches. Tie a ribbon or strip of pink linen around the neck.


