Five top tips for a great maker’s space
Published on January 28, 2020 By Holly Butteriss 4 min read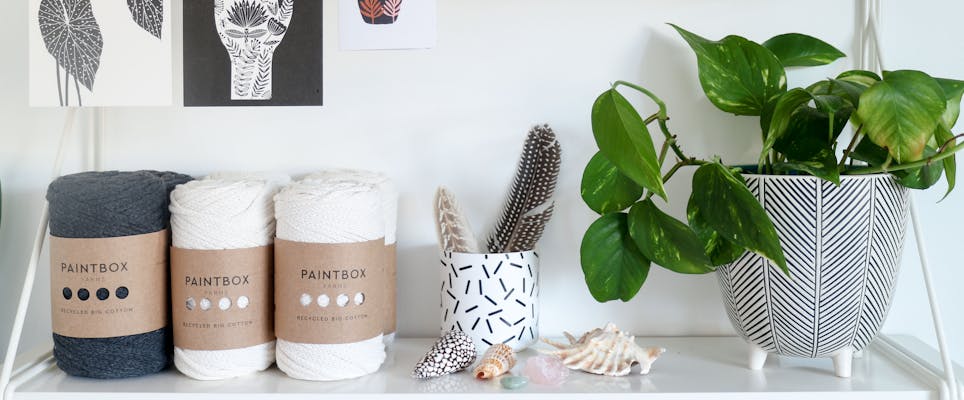
The lovely Victoria who runs her gorgeous blog Oh Wild definitely has an eye for decor and DIY! Victoria has shared her top five tips for creating a positive space to be creative in, and a super easy DIY project that's space saving and totally stylish. For even more inspiration check out Victoria's Instagram. Let's get inspired!
Whether you’re a professional crafter, or you just love all things creative, it’s great to be able to have a dedicated space to keep all your tools and equipment tidy and super organized. And the good news is that you don’t have to have an entire spare room at your disposal, we’ve got five great tips for creating a beautiful maker’s space - whatever your budget!
Choose clever furniture
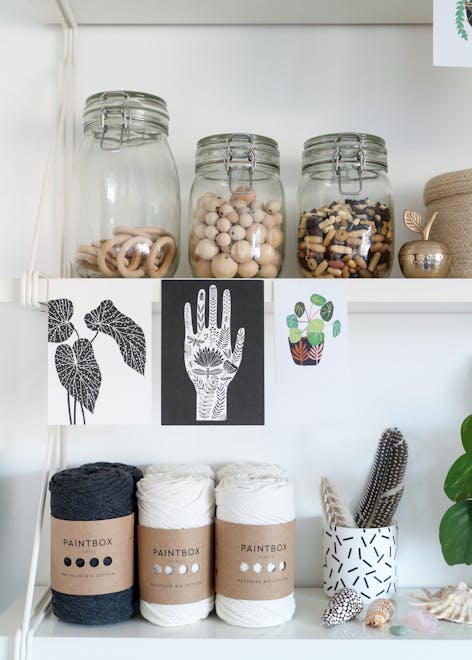
If you’ve got a whole room to work with, the world’s your oyster when it comes to your desk - the bigger the better we say! But if you’ve only got a corner of the lounge or bedroom, you’re going to have to be smarter. Try a desk that’s designed specifically for small spaces, as these aren’t only smaller widthways, they’re also narrower in depth as well. Alternatively, try a wall mounted desk which is part of a shelving system - you’ll have the added bonus of extra storage space included!
Create displays
There’s nothing that helps get the creative juices flowing more than being surrounded by beautiful things - so grab those magazines and start tearing out some pages! If you've got space, mounting a simple wire grid on the wall is a great way to clip prints, pictures and quotes in your eyeline - and you can even use it to hang plants from! If wall space is at a minimum, stick them to the edges of any shelves you might have instead - for an added pop of color or pattern, hold them in place with some beautiful washi tape.
Add some greenery
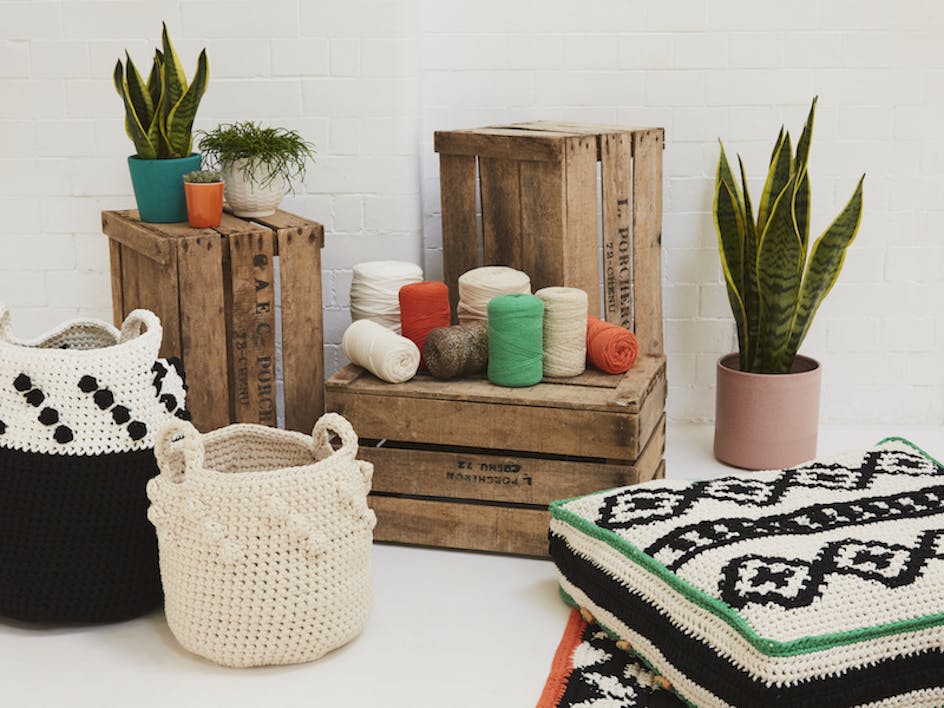
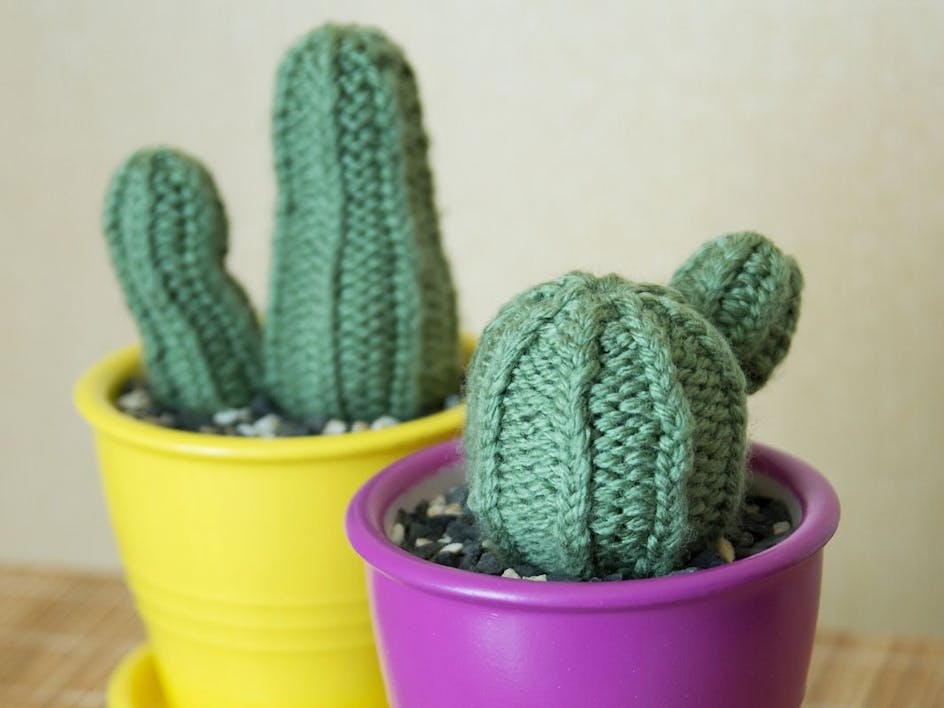
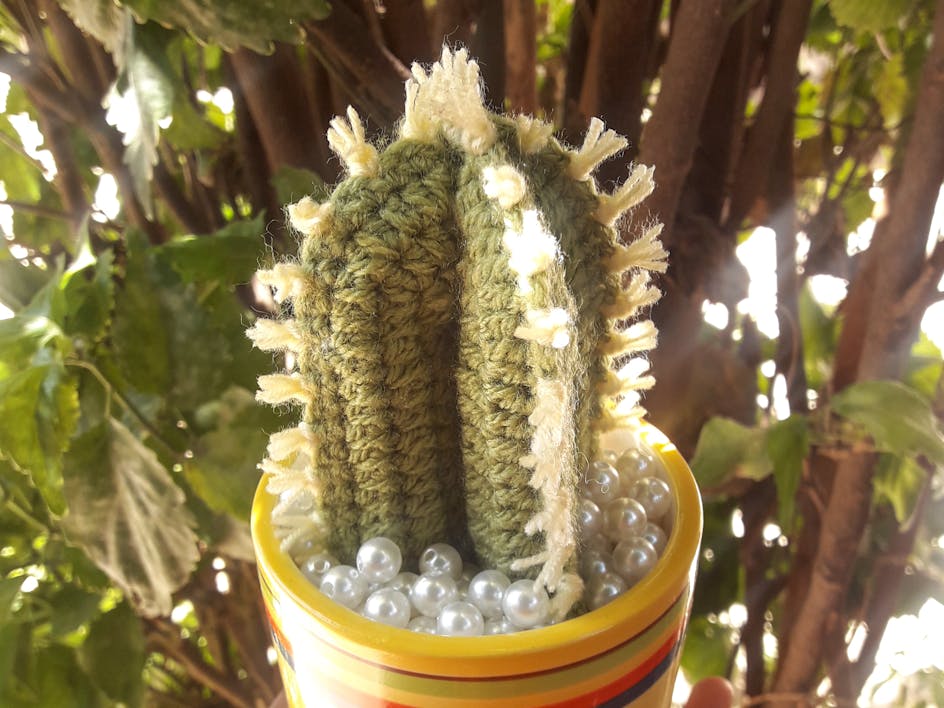
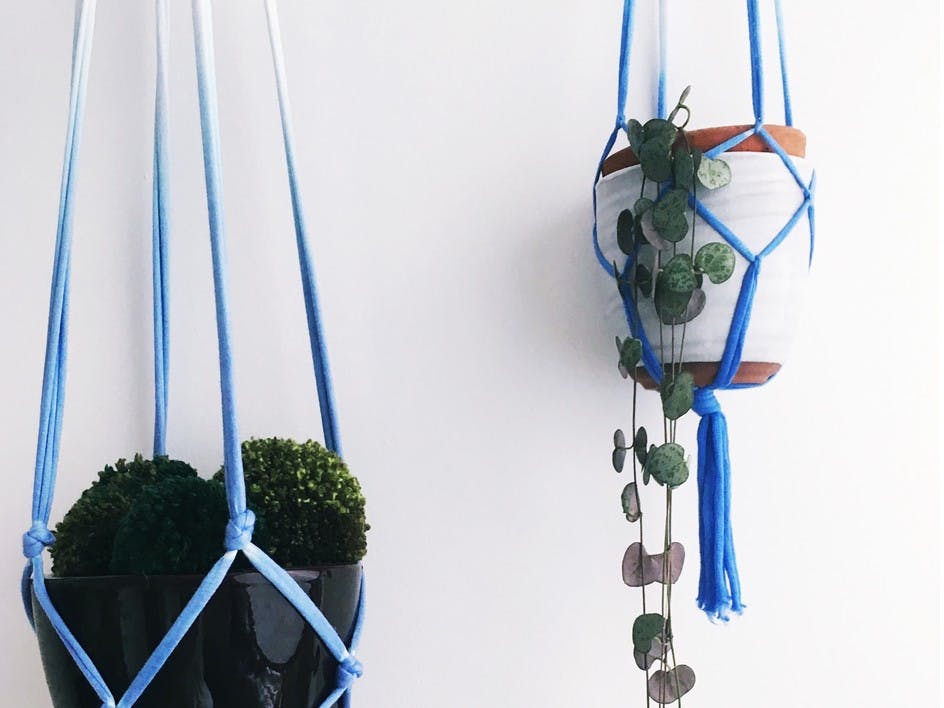
Plants are an absolute must in any makers’s space - not only do they look beautiful, they’re also great for cleansing the air and keeping you calm; it’s a fact that having plants around has been known to improve mood and reduce anxiety! If you’re not the green-fingered type, try ivy, spider plants, sansevieria or ferns - they’re all fairly hardy and should withstand even the worst treatment. For anyone who might be super low on space, miniature cacti and succulents are a great option - and don’t forget, there’s an unlimited world of gorgeous plant pots to explore! You could even get creative and try your hand at pottery!
Use stylish storage
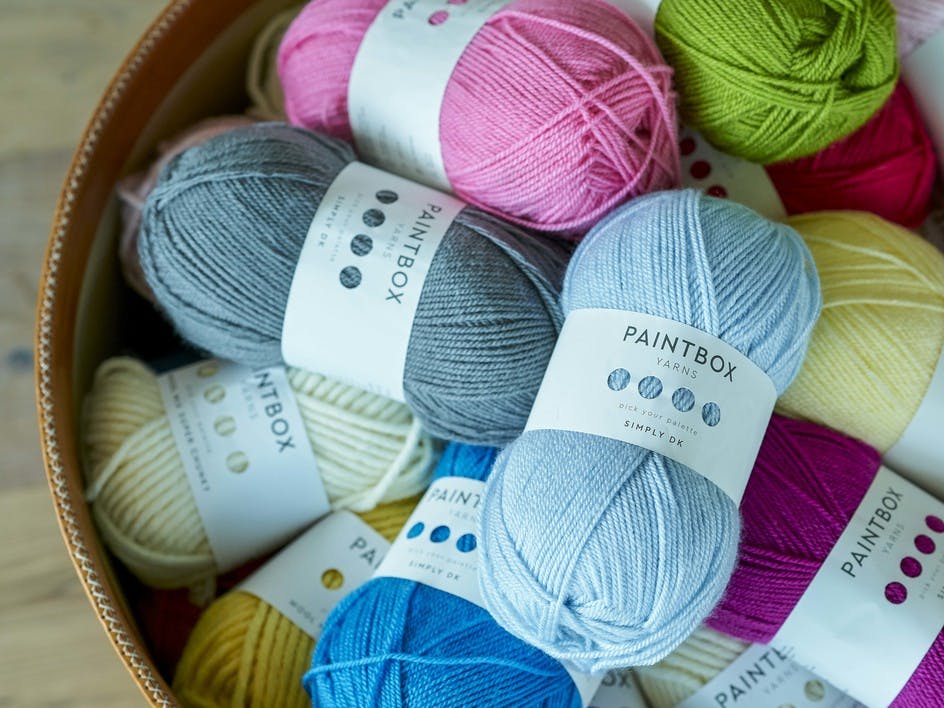
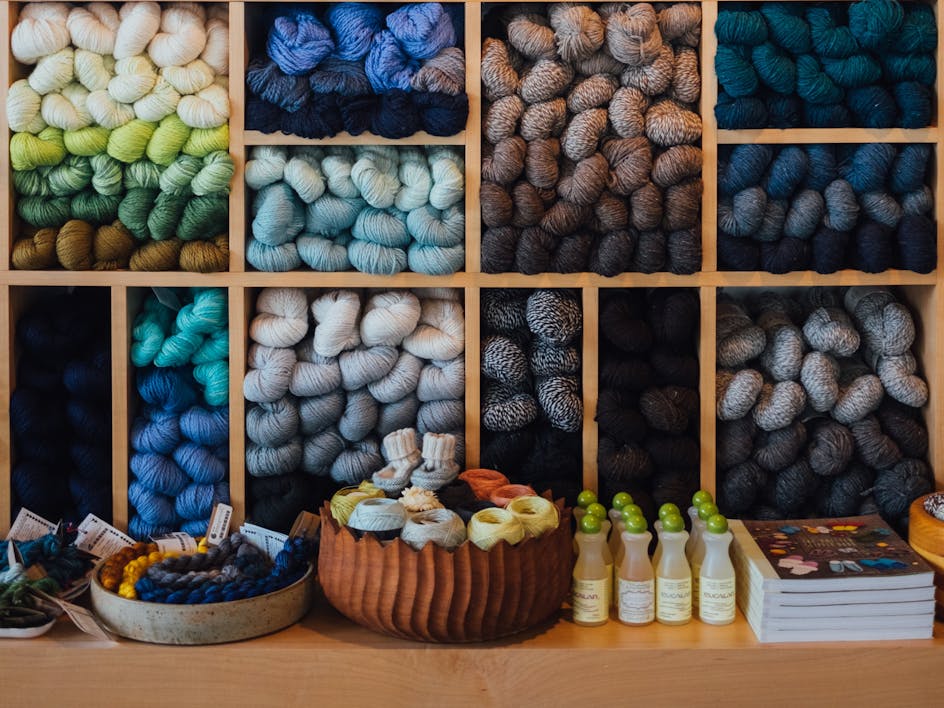
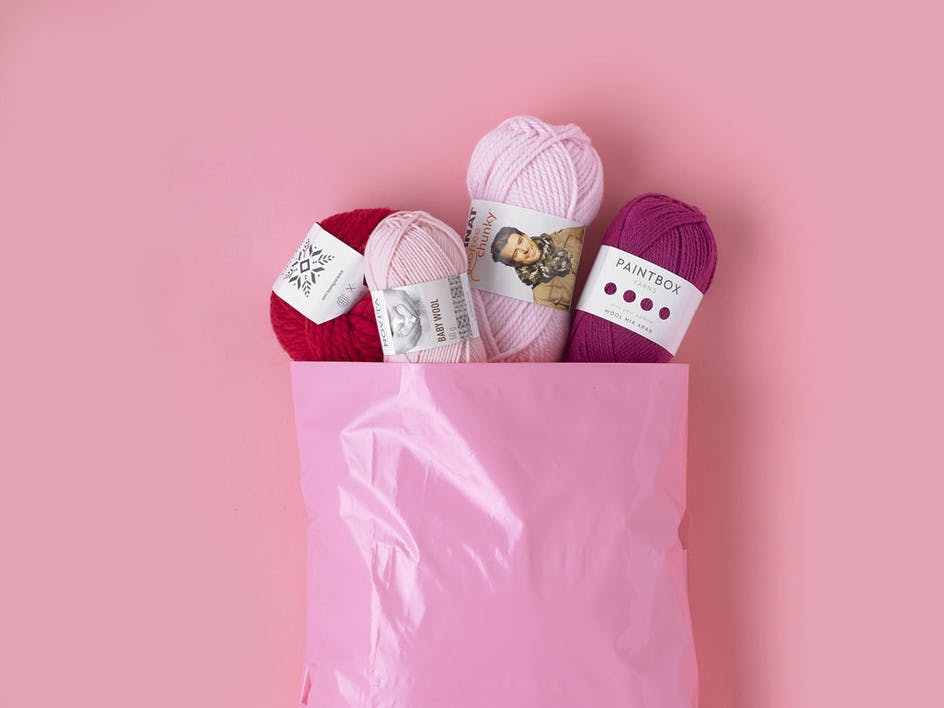
While lots of craft supplies are beautiful to look at (hello, glorious yarn!), some aren’t quite so pretty, and this is where clever storage comes in. IKEA do a great range of lidded white tubs in various sizes, which can be stacked together and will hide the biggest offenders and for smaller items, try wicker baskets and wooden tubs - these can be painted if you fancy adding a little color to your space. If you’re handy with a glue gun, upcycling is a great option - check out our two-tiered basket tutorial below!
Add some objects of interest
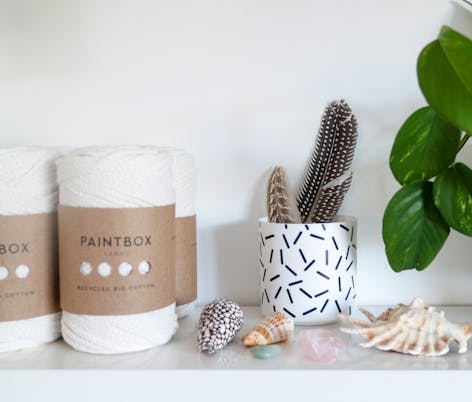
Adding some quirky touches to any maker’s space is a great idea - what's more inspiring than those things that you treasure the most? For nature lovers, foraged finds look great on shelves or the corner of a desktop - seed heads, shells, pebbles and sea glass all look beautiful grouped together. If you’re more into keeping it modern, little objects of interest such as glass vases, little pots, candles and ornaments look great.
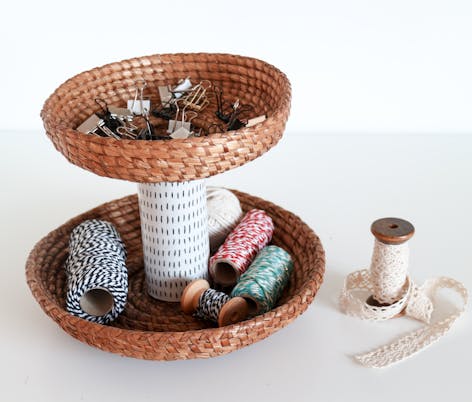
DIY upcycled two-tier basket tutorial
This double-layer storage system is super handy for a desktop and can be used to hold anything from stitch markers or paper clips, to yarn and string - and the best news is that it’s deceptively easy to make!
Materials
- Two baskets, one larger than the other - you can find these fairly cheaply in charity shops!
- A small plastic pot
- Fabric of your choice
- Scissors
- A ruler
- A glue gun and glue sticks
1
Gather your materials together on a clean and dry surface.
2
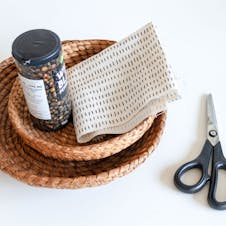
Using a tape measure, work out the height and diameter of your pot, and add 1cm to the length and 2cm to the height. Draw a rectangle with the same measurements onto the reverse of your fabric.
3
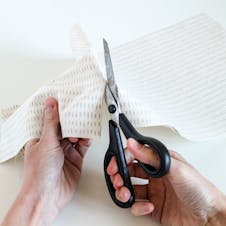
Cut out your fabric rectangle carefully.
4
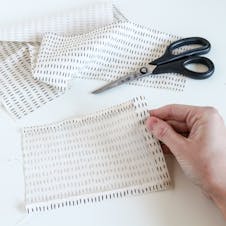
Turn your edges over 1cm on the top and bottom, and 1cm on one end, and then iron to flatten in place.
5
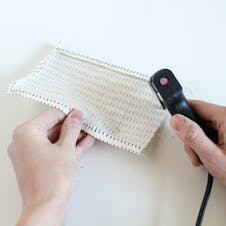
Using a glue gun, apply a thin strip of glue to the reverse of the un-seamed edge, then place it carefully onto the side of your pot.
6
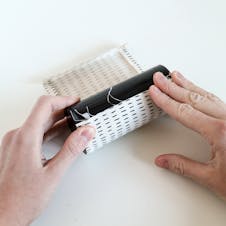
Continue to roll the fabric around the pot, adding glue to the top and bottom edges as you go. Finish with a strip of glue on the end and press in place.
7
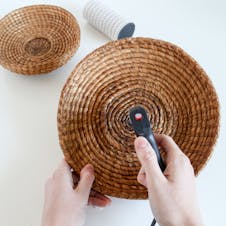
Take your large basket, and apply glue to the center of the base, then press your covered pot down firmly.
Leave to harden for a few minutes, then apply glue to the bottom of the smaller basket and press onto the top of your tub.
8
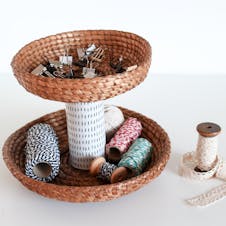
Leave to cool and set, then add to your desk and fill up with lovely crafty things!
