Crochet a colourful Moroccan-inspired floor cushion with our fab FREE pattern
Published on 18 June 2021 2 min readIf you're searching for a summery crochet pattern to transport you to a sunny poolside, this gorgeous Moroccan-inspired floor cushion ticks all the boxes! Emma Leith has shared the stunning pattern from her book, Colourful Crochet.
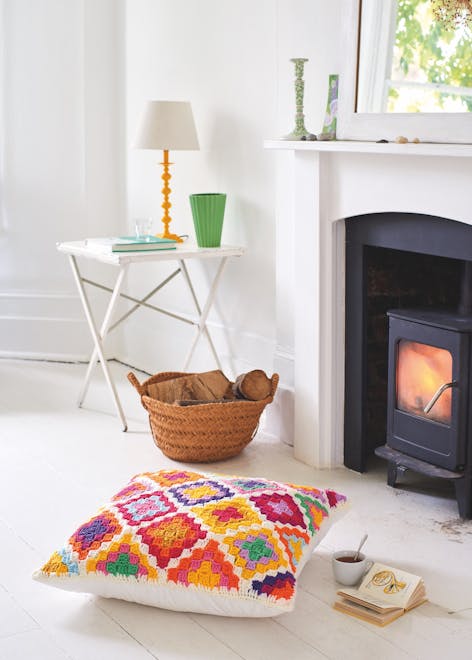
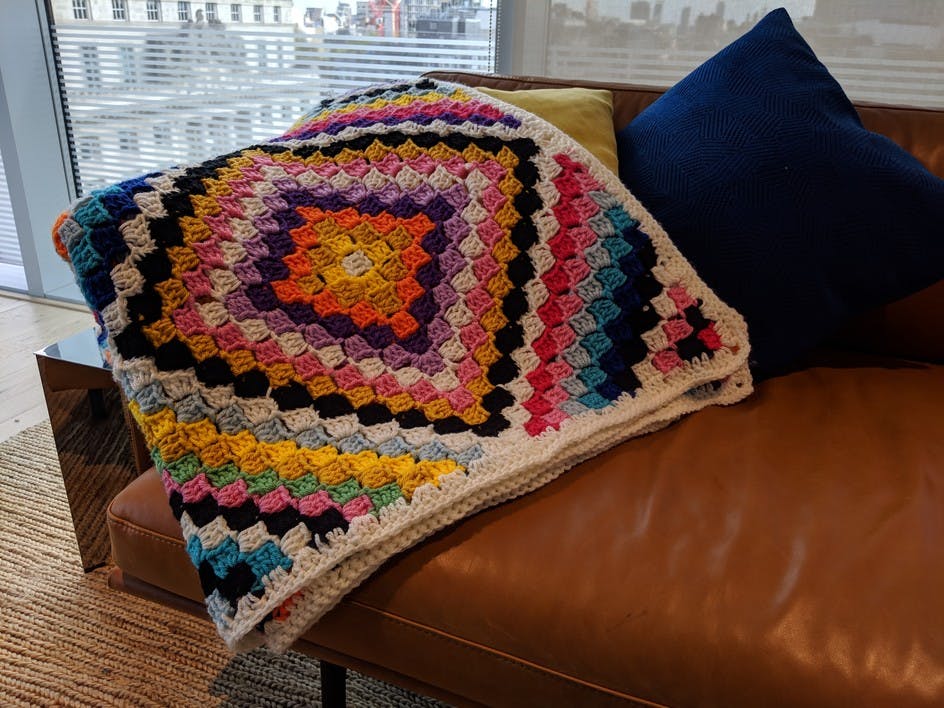
This cushion plays with the rich summer hues of mustard with orange, and deep pinks with mauve, and sets these against the occasional blue or dash of green - Emma Leith
Talking about this gorgeous summery pattern, Emma says: "Inspired by handmade Moroccan Boucherouite rag rugs, this project uses the familiar corner-to- corner (C2C) crochet technique for the triangles, while the squares use the same technique but with blocks of treble worked from the centre in rounds. I love the effect this creates, and the colour selection for each round has a significant effect on the overall pattern. The use of white pushes the colours forward, but this piece could look equally as good if the white were replaced by a rich purple... imagine if you will!"
Shop vibrant shades of Paintbox Yarns Simply Chunky
Moroccan-inspired floor cushion tutorial
This pattern is easy enough for beginners who are looking for a challenge and once you've made one you'll be totally hooked! Use them outside for picnics or summer BBQs, or for cosying up next to the fire.
Materials
- Paintbox Yarns Simply Chunky
- 2x balls Champagne White (302)
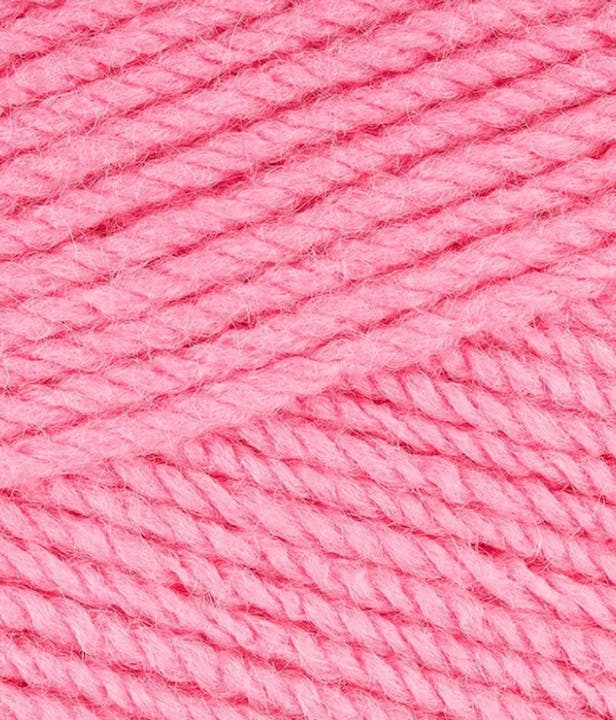
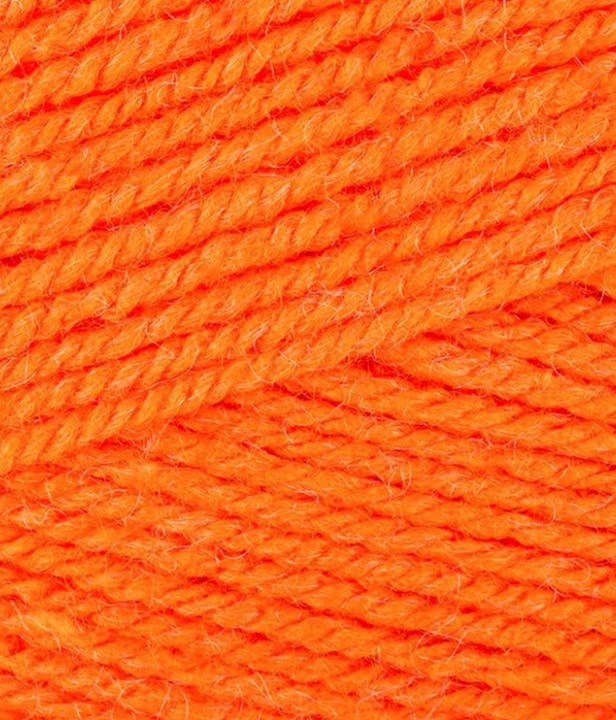
- 1x ball of each Blood Orange (319), Mustard Yellow shade (323), Buttercup Yellow (322), Spearmint Green shade (325), Lipstick Pink (351), Bubblegum Pink (350), Seafoam Blue (331), Raspberry Pink (343), Pansy Purple (347) and Tea Rose (342)
- 6mm (US size J/10) crochet hook
- Yarn needle
- Needle and thread
- 65x65cm (26x26in) cushion with removable plain fabric cover
The finished measurements are 65x65cm (26x26in). For tension, one smaller square (rounds 1–4) measures 14cm (5½in) square, using a 6mm (US size J/10) hook.
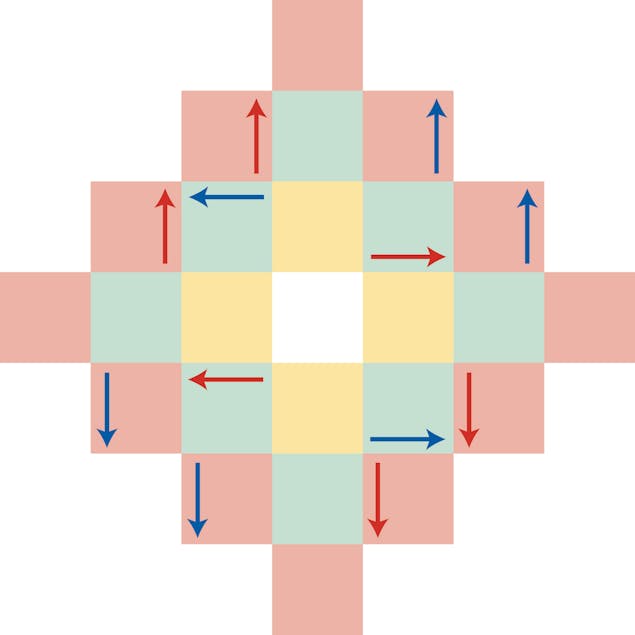
Note: ‘uphill’ and ‘downhill’ refer to different stitch sequences that are repeated for later blocks. With a downhill block you are working 3 trebles down into the side of a block from the previous round; with an uphill block you begin with ch3 and work the 3 trebles up from the side of a block from the previous round. This will become clear as you work after round 3.
How to make the cushion
1
Make 4 squares with rounds 1–4, make 9 squares with rounds 1–5.
2
Foundation block (counts as round 1): Ch7, 1tr in fourth ch from hook, 1tr in each of next 3 ch (5 posts)
3
Round 2: Block 2: *Ch3, 3tr around post of last tr worked in foundation block, ch3, ss in same sp as 3-tr to complete block (5 posts).
Block 3: Ch6, 1tr in fourth ch from hook, 1tr in each of next 2 ch, ss in ch-3 post sp of prev round to join (4 posts)
Block 4: *Ch3, 3tr in ch-3 post sp, ch3, ss in same sp as 3-tr to complete block (5 posts)
Block 5: Rep block 3. Fasten off.
4
Round 3: Round 3 forms the basic pattern, with uphill and downhill sequences being worked twice for each round.
Block 6: Join new colour in ch-3 post sp of last block (block 5), rep block 4 (5 posts)
5
Begin downhill sequence. Block 7: 3tr in ch-3 sp of next ‘step down’ block (block 2), ch3, ss in same sp to complete block (4 posts)
Block 8: Rep block 3 (4 posts)
6
Begin uphill sequence. Block 9: Working into same ch-3 post sp as last ss of prev block, ch3, 3tr in same sp at base of ch-3, ss in adjoining ch-3 sp in neighbouring block (block 3) to join (4 posts)
Block 10: Rep block 4 (5 posts)
7
Begin downhill sequence. Block 11: Rep block 7 (4 posts).
Block 12: Rep block 3 (5 posts).
8
Begin uphill sequence. Block 13: Rep block 9. Fasten off.
9
Round 4: Join new colour in ch-3 sp of block 12, rep round 3, working blocks 7, 9, 11 and 13 twice (25 blocks worked in total)
10
How to make the side triangles
1
Make 8 side triangles. Work in rows from right to left with RS facing throughout.
2
Foundation block (counts as row 1): Ch7, 1tr in fourth ch from hook, 1tr in each of next 3 ch (5 posts)
3
Row 2: Block 2: Ch3, 3tr around post of last tr worked in foundation block, ch3, ss in same sp as 3-tr to join (5 posts)
Block 3: Ch6, 1tr in fourth ch from hook, 1tr in each of next 2 ch, ss in ch-3 post sp of prev row to join (4 posts)
Block 4: *Ch3, 3tr in ch-3 post sp, ch3, ss in same sp as 3-tr to complete blocks (5 posts). Fasten off.
4
Row 3: Block 5: Join new colour in first ch-3 sp on block 2, ch6, 1tr in fourth ch from hook, 1tr in each of next 2 ch, ss in last ch-3 post sp of block 2 to join.
5
Begin uphill sequence. Block 6: Working in same ch-3 sp as last ss of prev block, ch3, 3tr in same sp, ss in adjoining ch-3 sp in neighbouring block 3 to join (4 posts)
Block 7: Ch3, 3tr in same sp, ch3, ss in same sp to complete block.
Colour therapy
Arrange your yarn in colour pairings so that you have the oranges with the yellows, the pinks with the lilacs, and the blues with the greens, and use these as your starting point for some of your squares. Notice the effect the central colour has on the pairings and play with the many combinations available. By using brighter or darker colours for the centre, they sit in contrast to the surrounding colours, thus creating a square within a square.
How to make the colourful blocks
1
Begin downhill sequence. Block 8: 3tr in ch-3 sp of next ‘step down’ block (block 4), ch3, ss in same sp to complete block (4 posts)
Block 9: Ch6, 1tr in fourth ch from hook, 1tr in each of next 2 ch, ss in last ch-3 sp of block 4 to join. Fasten off.
2
Row 4: Block 10: Join new colour in ch-3 sp of block 5, *ch3, 3tr in same sp, ch3, ss in same sp to complete block (5 posts)
Blocks 11–13: Follow downhill patt, working block 8 twice.
Block 14–16: Follow uphill patt, working block 6 twice. Fasten off.
How to make the corner half triangles
1
Make 4. Work in rows from right to left with RS facing throughout.
2
Foundation block (counts as row 1): Ch7, 1tr in fourth ch from hook, 1 tr in each of next 3 ch (5 posts)
3
Row 2: Block 2: Ch3, 3tr around post of last tr worked in foundation block, ch3, ss in same sp as 3-tr to join (5 posts)
Block 3: Ch6, 1tr in fourth ch from hook, 1tr in each of next 2 ch, ss in ch-3 post sp of prev row to join (4 posts)
4
Row 3: Block 4: Join new colour in first ch-3 sp of block 2, ch6, 1tr in fourth ch from hook, 1tr in each of next 2 ch, ss in last ch-3 post sp of block 2 to join.
5
Begin uphill sequence. Block 5: Working in same ch-3 sp of block 2, ch3, 3tr in same sp, ch3, ss in adjoining ch-3 sp of block 3 to complete block (4 posts)
Block 6: Ch3, 3tr in same ch-3 sp of block 3, ch3, ss in same sp to complete block.
6
Row 4: Block 7: Join new colour in ch-3 sp of block 4, *ch3, 3tr in same sp, ch3, ss in same sp to complete block (5 posts)
7
Begin uphill sequence. Blocks 8–9: 3tr in ch-3 sp of next ‘step down’ block, ch3, ss in same sp to join.
Block 10: Rep block 3. Fasten off.
How to finish and border the cushion
1
Position all the finished pieces together with WS facing to form a square and sew them together using A. Sew into the back loop stitches only so that the stitching is invisible when seen from the right side. Do not sew too tightly.
2
To create the border. Round 1: Join A in any ch-3 corner sp, ch6 (counts as first tr and ch-3), 1tr in same sp (first corner made), work 1tr in each st and 3tr in each ch-3 sp to next corner, *(1tr, 3ch, 1tr) in sp for corner, work 1tr in each st and 3tr in each ch-3 sp to next corner; rep from * twice, ss in 3rd ch of beg ch-6 to join.
3
Round 2: Ch1 (counts as first dc), (1dc, 3ch, 2dc) in ch-3 corner sp, 1dc in each st to next corner sp, *(2dc, 3ch, 2dc) in next corner sp, 1dc in each st to next corner sp; rep from * twice, ss in beg ch-1 to join. Fasten off.
4
Sew in ends. Sew the crochet piece onto the front of the cushion cover using a needle and thread.
