How to make stickers with Cricut
Published on 6 June 2022 1 min read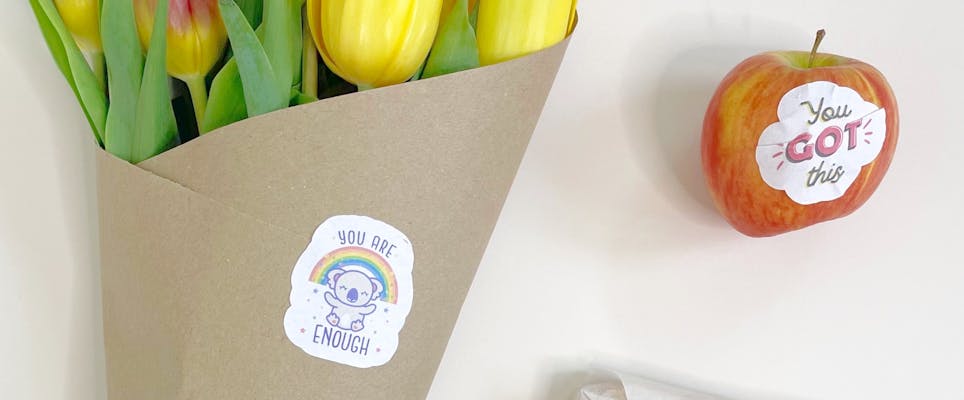
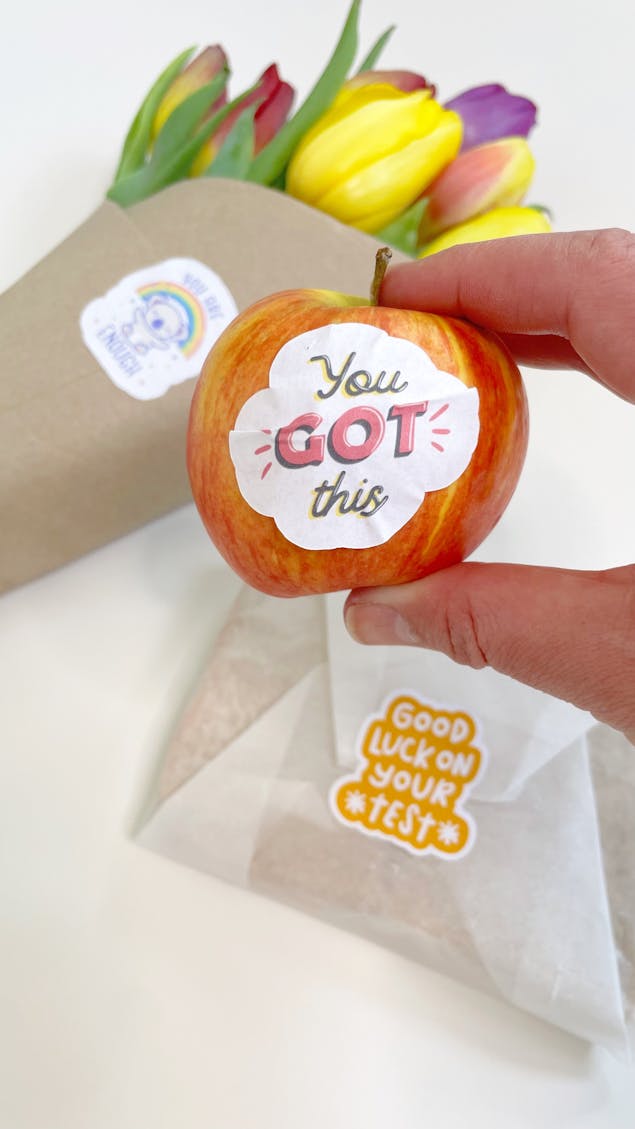
Whatever it is you need to say, you can always say it with stickers! Whether you're looking to decorate a diary with fun to-dos or get yourself out of a sticky situation with a big thankyou! Stickers are a wonderful way to celebrate small accomplishments and offer a loving reminder to a friend. Jane at Tea and Crafting shows you how to do just that with this Cricut sticker tutorial. Stick with us to learn how to make super cute and customisable stickers for all occasions with Cricut!
Materials
- Cricut Smart Sticker Cardstock
- Cricut Design Space
- A printer
- Cricut Maker
Follow these simple steps using your Cricut to make many amazing stickers
1
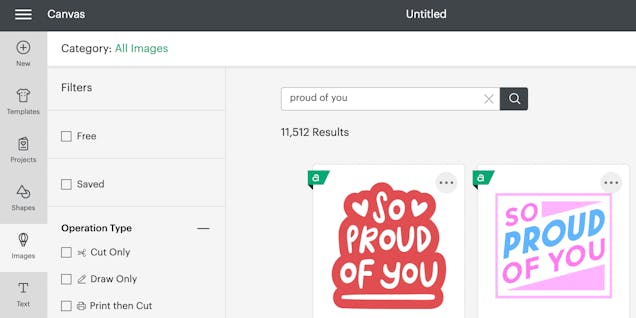
Start by choosing your image from Cricut Design Space. Add to canvas and turn it into a 'Print then Cut' image by selecting the correct operation type. You'll find this in the top left in Cricut Design Space. 'Print then Cut' prints with a black border for your Cricut to know where to cut.
2
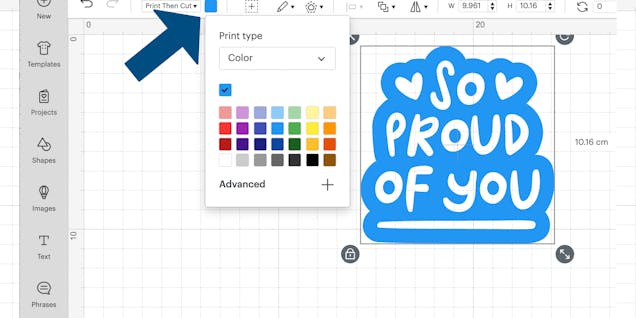
You can change the colour of your image to any colour you like by clicking on the colour box.
3
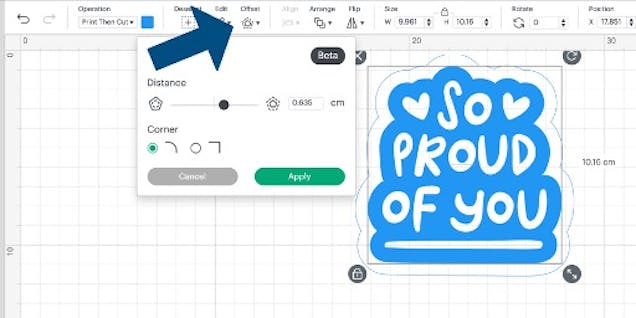
Now you use the 'Offset' tool to create a border around your image. The offset tool is very customisable so choose the border width that suits your design best. You can switch between a sharp corner or a curved corner. The outline gets filled in once you hit 'Apply'.
4
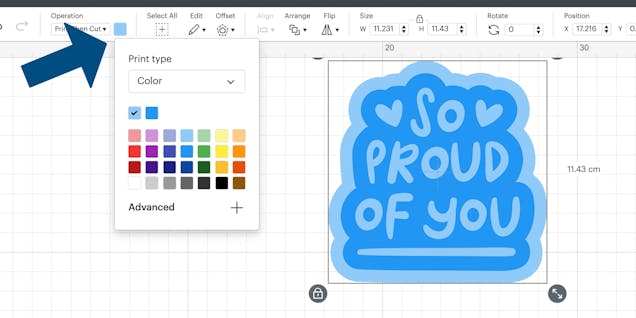
You can change the colour of the outline to any colour you like. For this sticker we chose a lighter blue border and kept our corners cute and round.
5
Resize your image to your prefered size. Then select both layers and hit flatten. This is important because if it’s not flattened Cricut Design Space will interpret it as 2 different cuts and prints.

6
Next hit 'Make It' top right and you will be taken here - check that its set to 'Print then Cut' on the left hand side.

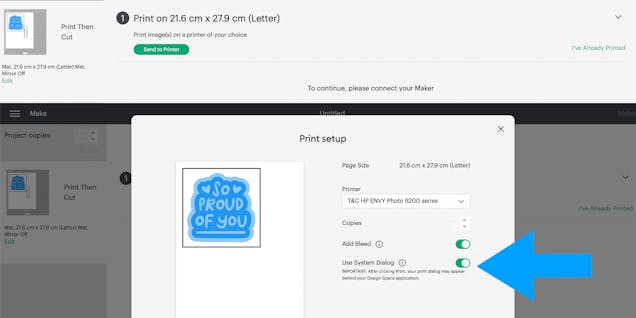
7
Go ahead and hit 'Send to Printer'. Click on 'System Dialogue' if you would like to print it using your system settings. This gives you more control over the print quality. Hit print!
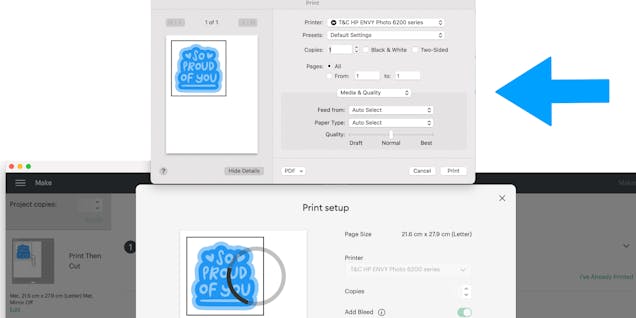
8
Move the Cricut Design Space window down so that you can see your printer window pop up. It always pop up behind Cricut Design Space, never in front. If you can't see it minimise all windows. Cricut Design Space should keep saying 'Preparing Print'.
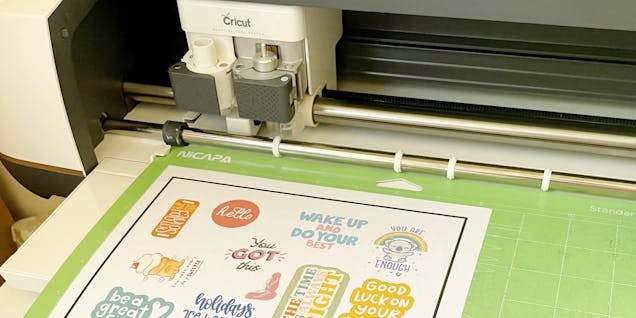
9
Once your design is printed - place your designs down on your Cricut mat. Aligned it to the left and get your mat ready for printing.
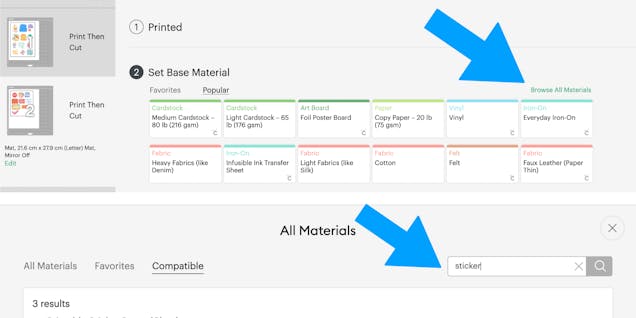
10
Then click 'Make It'! You will be taken here on Cricut Design Space. Check that its set to 'Print then Cut' on the left hand side. Then choose the option to 'Browse all Materials'. Type in 'stickers' and then click the paper below that best suits what material you are using.
11
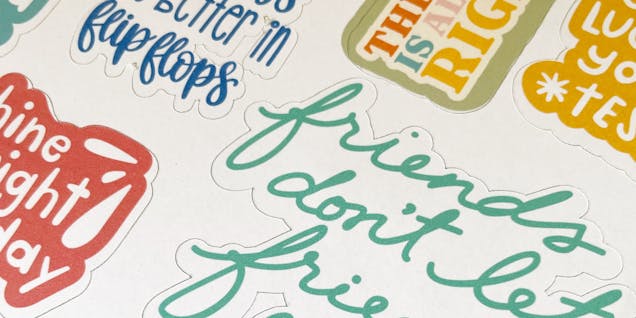
Once it printed you should have some nice clean cuts like this.
12
Now, all that's left to do is enjoy using your stickers!