Create an incredible custom cake topper with Cricut
Published on 4 August 2022 1 min read
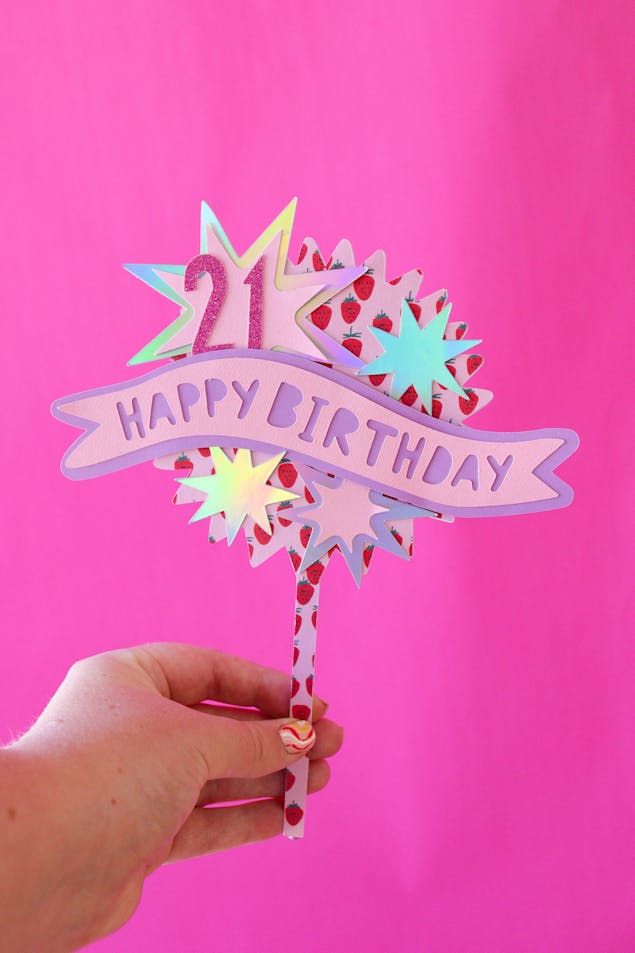
Add a bit of sparkle to your next bake with a handmade personalised cake topper! Follow Cricut wizz Emma Jewell's fun and easy how to make cake toppers tutorial for a perfect party topper to pop on your cakes. Customise your topper to celebrate a milestone age, decorate using their name or keep it classic with a Happy Birthday! This DIY cake topper will be the icing on the cake at your birthday celebration!
Materials
- Cricut Explore (Any Cricut machine will work for this project!)
- Cricut Lightgrip Cutting Mat
- Cardstock in 4 colours
- Lollipop stick
- Foam tape
- Glue gun and glue
- Cricut Design Space app installed on a laptop, PC, Tablet or mobile device
Let's celebrate good cakes. Ready, steady, create!
1
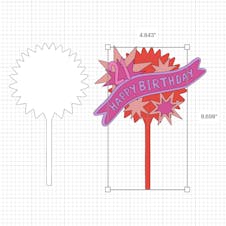
First off, open the project in Cricut Design Space. Edit the numbers to personalise the project for your party. You might need to resize the topper to fit the cake of your choice.
2
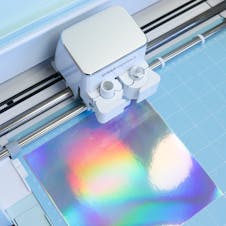
In Cricut Design Space, click make it and choose the material setting. Select the type of cardstock you have chosen then lay the card on the mat. Next load the mat into the machine to start cutting. Repeat these steps until all the pieces have cut!
3
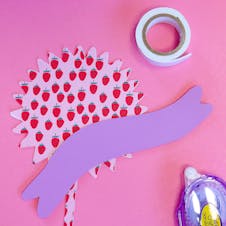
Remove the pieces from the mat. First glue the two base pieces on top of each other. Next use two pieces of foam tape to secure the banner into place.
4

Glue all the star pieces into place around the banner.
5

Next glue the ‘Happy Birthday’ sentiment on top of the banner. Then add the numbers to the top left-hand star.
6
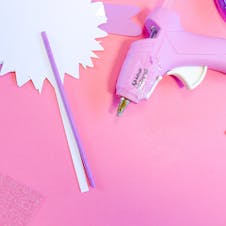
To finish, use a glue gun to glue the lollipop stick to the back of the cake topper. This will give it more stability in the cake. Now add the topper to your delicious cake and celebrate in style!
