Give it a go! An introduction to Bargello
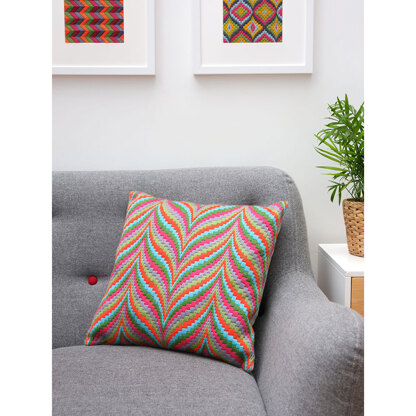
Published on June 1, 2021 3 min readBargello is a beautiful traditional needlepoint technique that can be used to create mesmerising modern homeware and accessories! Want to give it a go? Bargello expert and the creator behind The Bargello Edit, Nerrisa Pratt is here to get you started! Join Nerrisa as she guides us through this hypnotic craft. We dare you not to fall in love with these stylish and fizzy Bargello designs...
What is bargello?
Bargello is a type of tapestry with a long history. Initially thought to have been named after a pair of chairs that were found in the ‘Bargello Palace’ in Florence, Italy, the craft relies on layering up straight stitches to create geometric and very colorful patterns.
A simple and easy craft to master, Bargello is not only methodical and mindful, but once you know the basics, you’ll be creating your own patterns and color palettes in next to no time.
What materials do I need?
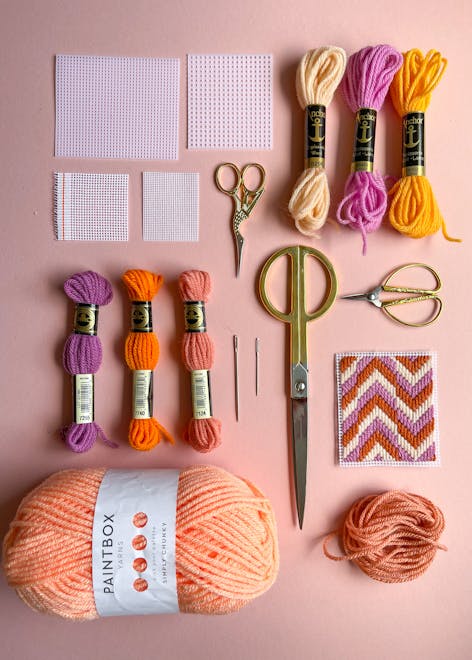
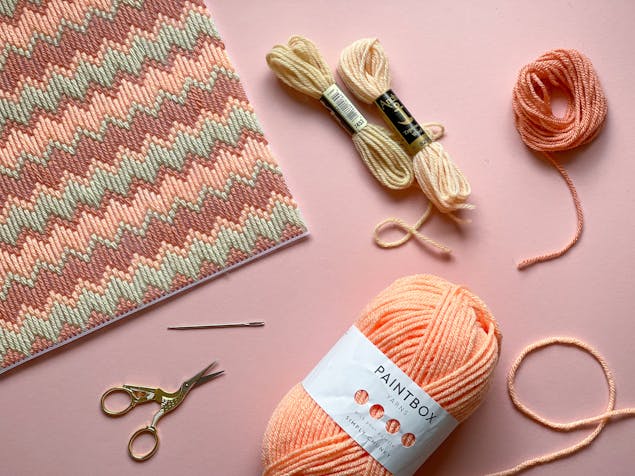
Traditionally created on canvas with tapestry wool, Bargello need minimal supplies to get started, here are the basic supplies:
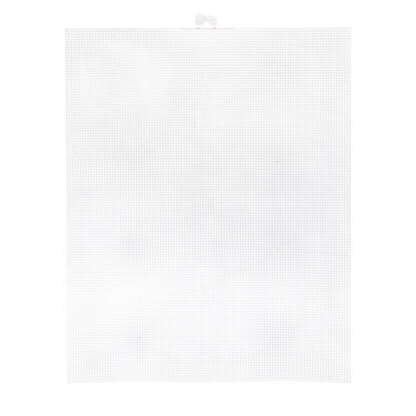
Plastic canvas
A fantastic canvas for beginners, its simple and easy to use as well as being available in a range of sizes. When it comes to picking the perfect canvas for your project, you’ll need to look for the ‘count’ this tells you how many squares there are per inch. You can also use the guide below to see what threads work best with what grids.
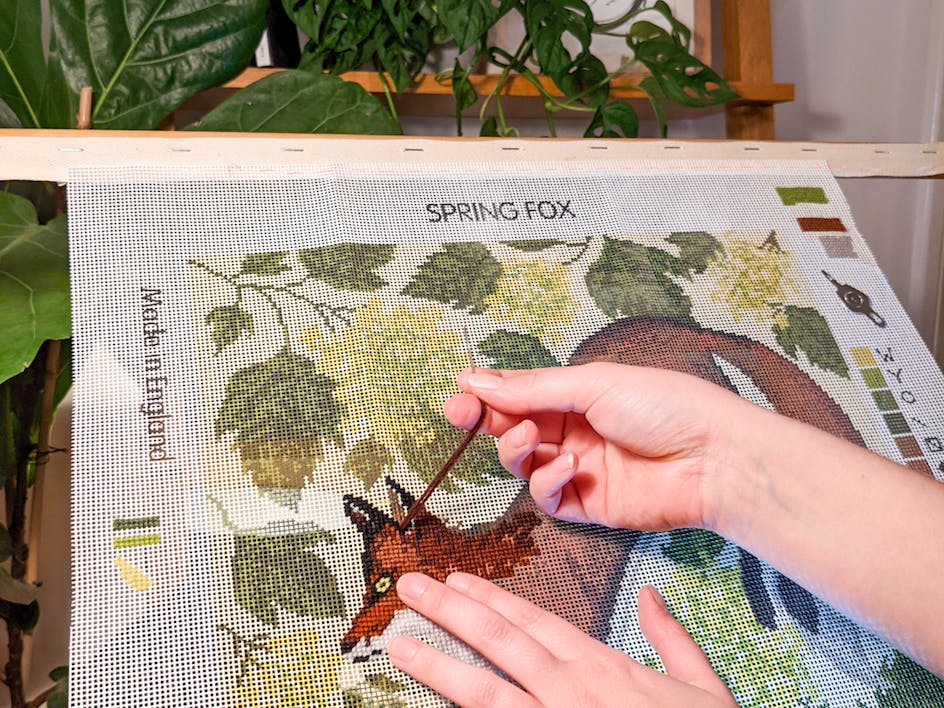
Tapestry canvas
The go to canvas for Bargello enthusiasts, this comes in two types that are commonly seen – ‘Interlock’ and ‘Duo’. As you can see, the Interlock canvas has multiple strands running through it that help the stitches sit closer together. With the duo canvas, there are nice clean squares that make it nice and simple to see where your pattern will sit.
Perfect for projects that need ‘flex’ like cushion covers and textiles, when it comes to choosing your canvas, it’s really down to your preference. Although not traditionally used for Bargello, you can also use Aida too.
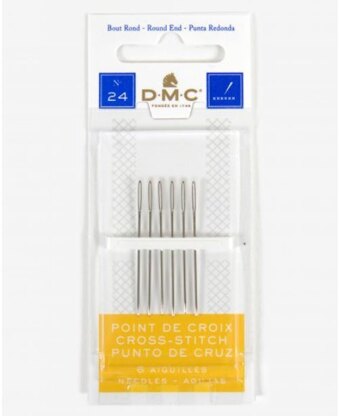
Needles
Your go-to for Bargello is a Size 18 Tapestry needle, it’s big enough to thread the chunkier tapestry wool and passes easily through the canvas too. When it comes to scaling up or down on threads, the handy guide below will let you know the tried and tested needles that will help your project come out perfect.
Essentials tools to get started

Perfect parings
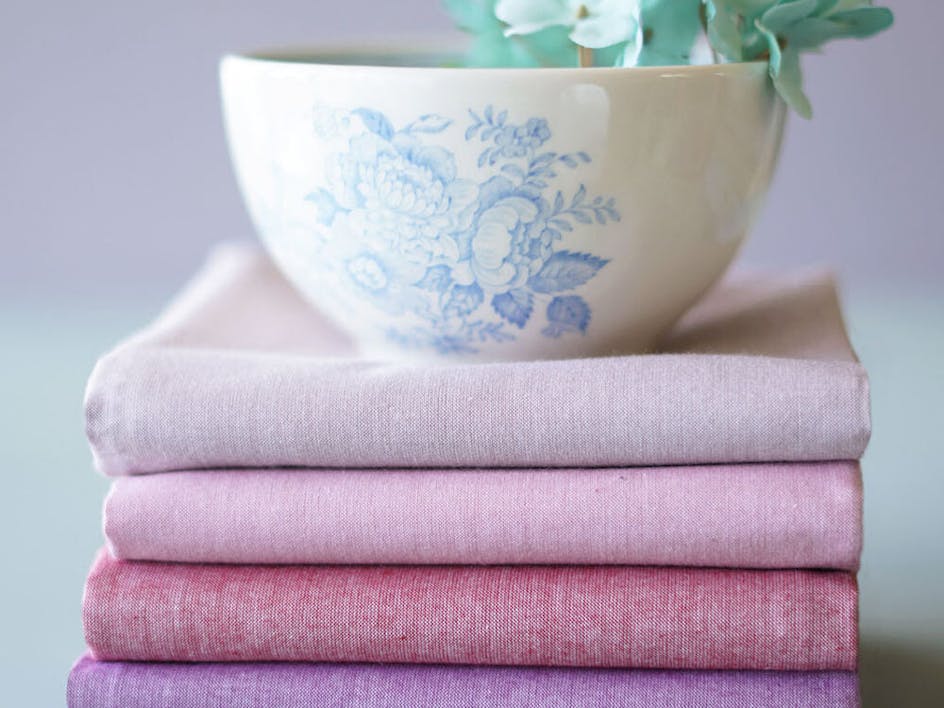
Bargello is a great craft for using up your stash or for using alternative yarns if you have allergies or prefer not to use animal products.
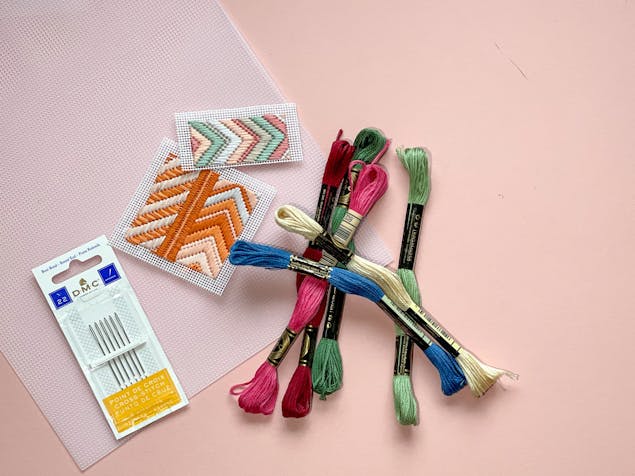
Here are just a few perfect pairings you can pick up:
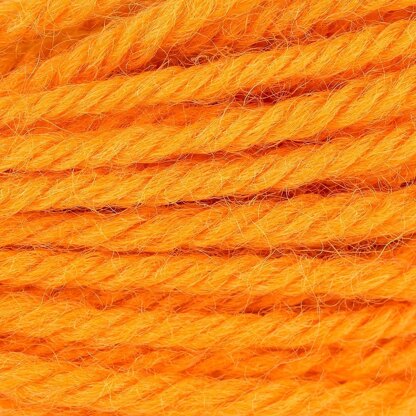
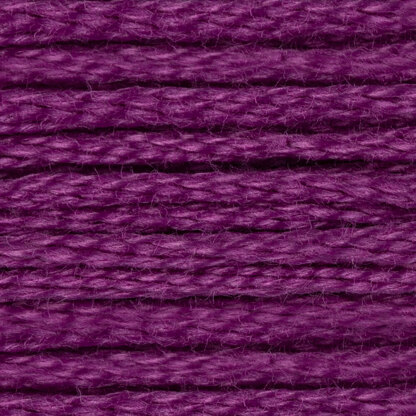
Tapestry wool and 10-count
Tapestry wool is the go to thread traditionally used for Bargello and when paired with a 10-count grid they’re a match made in craft heaven. For those who have allergies or prefer to use alternative material, DK wool is a great alternative
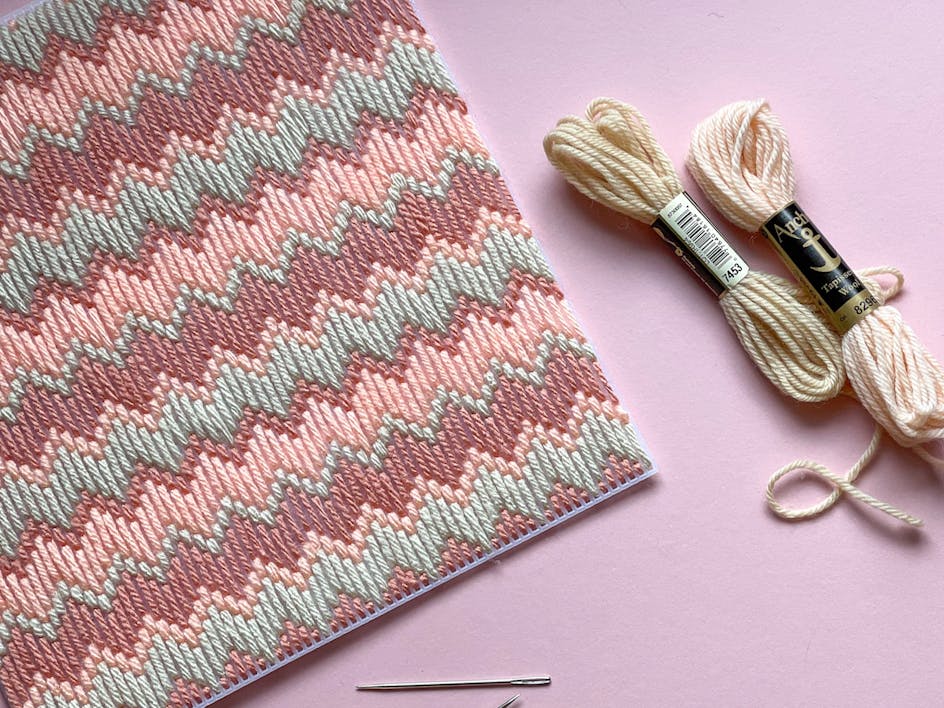
Chunky wool and 7-count
A great combination for beginners, it’s easy to pick up the repetitive stitches with this pairing thanks to the large holes and chunky yarn.
Embroidery floss and 14-count
Feeling confident? Pair some embroidery floss with a 14-count grid. This teeny tiny grid will look beautiful when paired with delicate stitches, perfect for those looking for a long-term project.
Once you know the basics of Bargello you’ll see how easily you can turn pretty much anything into a canvas, pair super chunky yarn with a rag-rugging canvas or even upcycle some rattan furniture – pretty soon the world will be your canvas!
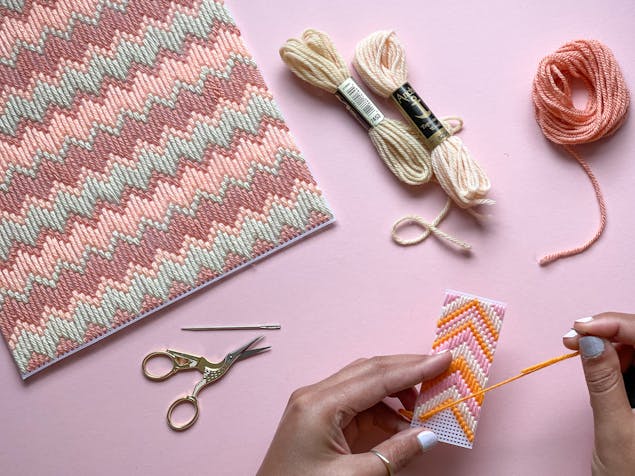
Getting started
Before you begin your Bargello project, there are a few simple rules you need to know. Once you know the basics, you can adapt and play with patterns and colors palettes – the possibilities are endless.
1
Starting your bargello project. The first rule of Bargello is there are no knots, so as you start your project, cut a length of thread, not longer than the length between your finger and elbow and thread your needle.
2
Coming up slowly through the canvas, stop fulling the thread through when there is about an inch of the thread end left and hold it in place with your thumb and finger as you stitch.
3
As you come to the edge of the canvas or run out of thread, ensure you leave around an inch of thread so you can weave your needle back under your stitches. This method keeps your stitches flat and even and also ensures that you don’t stitch through any knots.
4
To add more thread or to change colors, weave your needle under the stitches you just made pulling the thread gently thorough and catching the end before you begin stitching again.