Make a simple tote bag + free patterns!
Published on 27 April 2020 By Yaz 1 min readIf you’re looking to learn how to sew a simple bag, this super simple tote by Kate Owen is made for you! This tote bag sewing pattern is great for beginners and ideal for accompanying you on your weekly grocery shop or helping you get organised at home. Kate will show you how to make step-by-step with this free tote sewing pattern and tutorial!
Sewing a tote is the perfect quick make with a simple stitch. Grab some cute fabric, sewing machine and let’s get going! In just a few simple steps, you’ll be stitching up the perfect everyday tote.
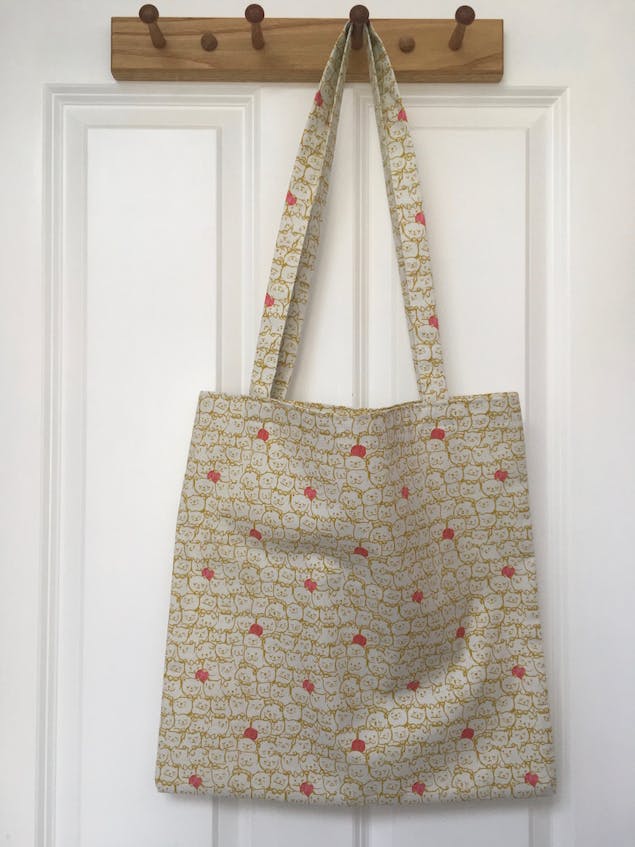
This is a great simple tote bag, with a few easy tips and tricks to get professional looking seams.
Materials
- 1 meter of fabric of your choice
- scissors
- sewing machine
1
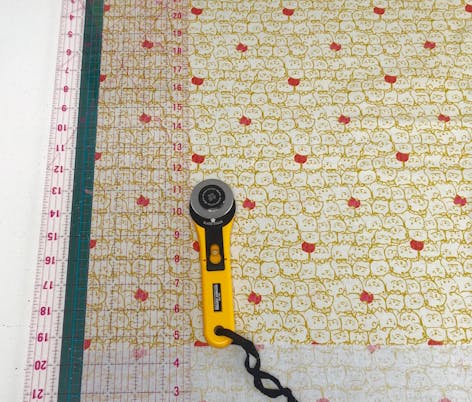
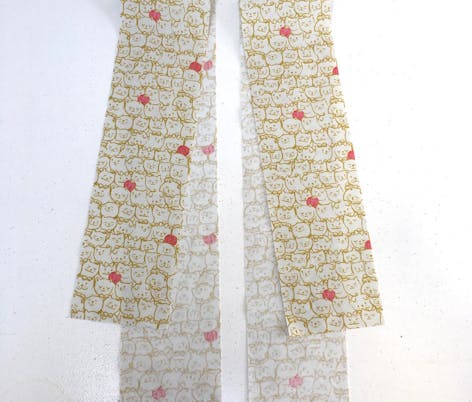
Start by cutting your straps, cut two strips measuring 90cm (35”) x 10cm (4”).
Pro Tip
If you have a quilters ruler and rotary cutter, these are really handy for this! You can fold your fabric in half and cut two 10cm (4”) wide long strips, then trim them to be 90cm (35”) long.
If not don’t worry, you can measure and mark with a pencil and cut with scissors, and you can also use the printable template.
2
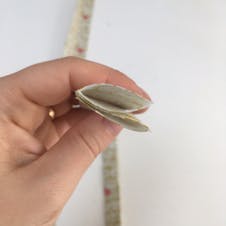
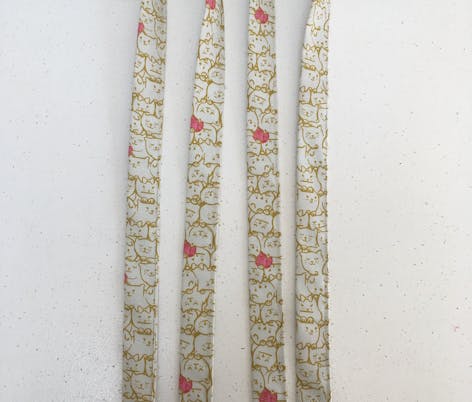
Press them folding the long edges first in half, then each half into the centre. Your straps will now be 2.5cm (1”) wide, and will have four layers of fabric making them nice and sturdy.
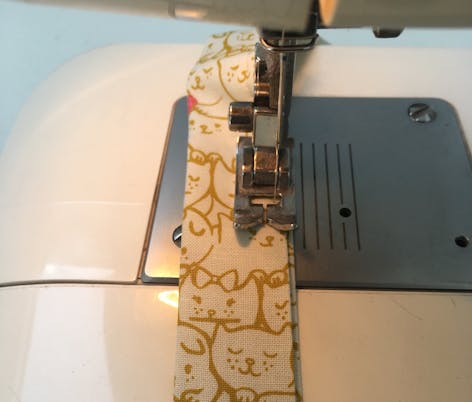
Stitch the open edge down about 0.5cm (1⁄4”) from the edge.
3
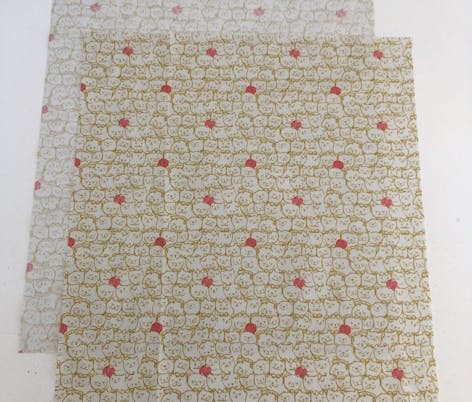
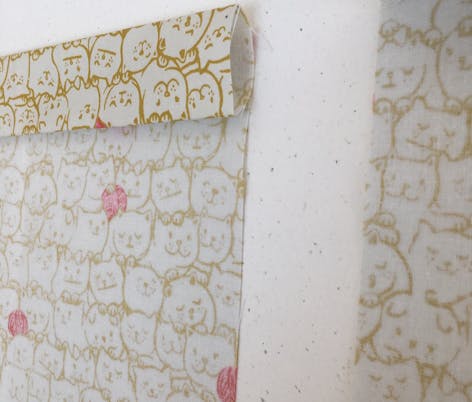
For the main body of your tote, cut two rectangles measuring 43cm (17”) wide x 48cm (19”) tall. On the top edge of each rectangle, fold over 2.5cm (1”) press, then fold it over another 2.5cm (1”) and press again.
4

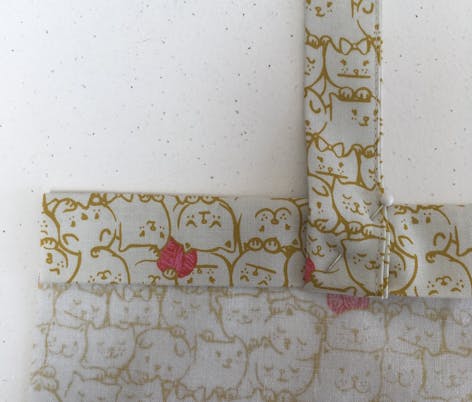
Starting with one of your rectangles and one of your straps, take the ends of your strap and tuck them under this fold, 9cm (3.5”) from either side, then fold them back on themselves over the fold so that they are sticking up from your rectangle. Make sure the strap isn’t twisted, pin them down and sew 0.5cm (1⁄4”) from the edge of both the top and bottom of your folded edge, sealing in the straps. This will keep your straps strongly secured.

5

Do the same with your second rectangle, laying it out to make sure your straps don’t get twisted and stay nice and straight.

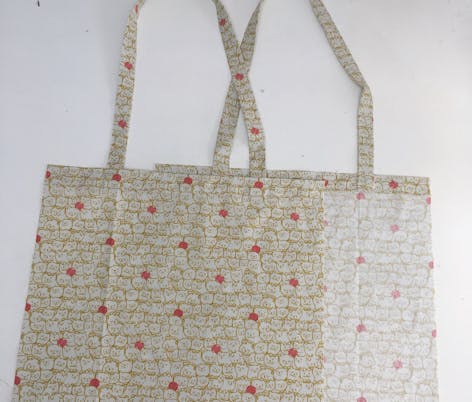
Now it’s time to sew your edges together to make a complete tote!
6
To do this, and to have lovely clean edges, we’re going to do French seams, which sound really fancy but are actually really easy. We’re going to first sew a small 0.5cm (1/4”) seam with your bag the right sides out. We’re then going to open your bag, press the edges flat, and then sew larger 1cm (1/2”) seam with your bag inside out. This means the first seam is concealed within the second seam, so you won’t have any frayed edges, and your seams will be really strong.
7
So, start by pinning your bag together with the face sides outside, and then sew that dainty 0.5cm (1/4”) seam around the sides and bottom.
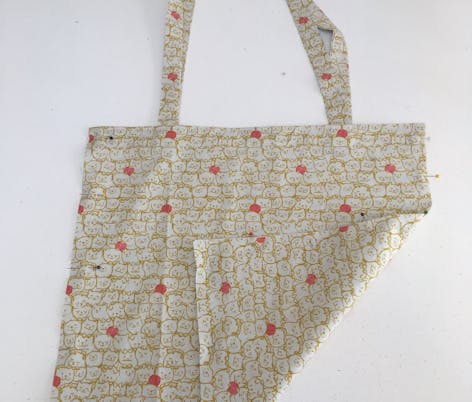
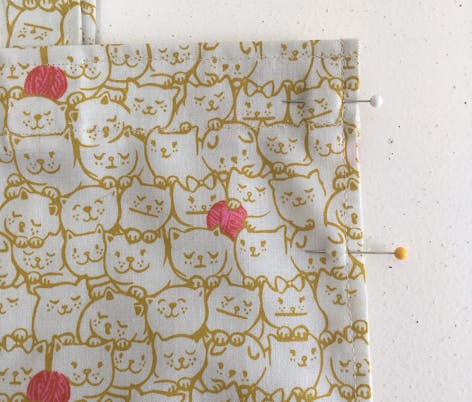
8

Now open up your bag so that it is inside out, press the edges so that they’re clean and flat, and sew your larger 1cm (1/2”) seam around the sides and bottom.

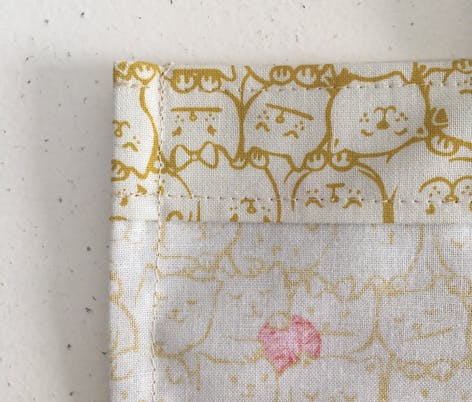
9
Turn your bag the right way out, and you’re all done! A beautiful tote bag with strong, beautiful seams. Well done!

