How to sew a bound seam
Published on 13 November 2018 By Emma 1 min read
The difference between sewing something that looks handmade and something that looks professional is the detail. It may take that little bit longer or be that little bit more fiddly, but if you’re treating yourself to something handmade it’s definitely worth that little bit of extra effort to give it a quality finish. This is why it’s good to learn how to bind a seam.
All a bound seam is, is a bit of bias binding stitched around all those messy seams to give a flawless and fuss free finish. If you’ve made something like a jacket with a lining and there are lots of raw edges where different layers meet, then binding the seam is the way to tidy this up and secure all those loose threads.
Here’s our step-by-step guide on how to show you how to bind a seam.
Binding a seam gives such a lovely, tidy finish that you'll want to add it to everything. It's also great to use on materials that fray easily as it stops all those threads coming apart.
1
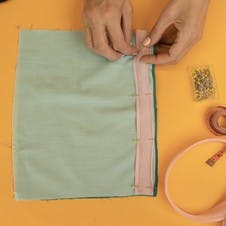
Lining it up. Open out one side of the binding and place so that the edge of the binding lines up with the edge of your seam.
2
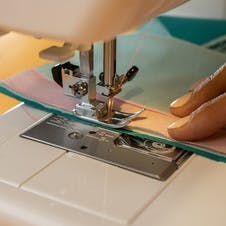
Pin and stitch. Pin your binding in place and stitch along the crease.
3
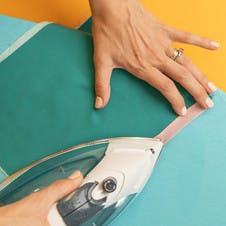
Fold & Pin. Fold the binding around the edge of your seams, and pin in place.
4
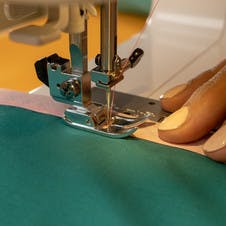
Sew in place. This is where your top stitching skills will be called in to play - sew along the edge of your binding ensuring that you’ve got all your seam edges neatly encased.
5
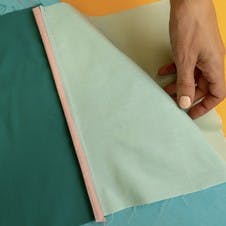
Press the seams. When you press the seams open the bound edge will naturally want to fall to one side.