How to make a super star appliqué cushion
Published on 2 April 2020 By Holly Butteriss 1 min read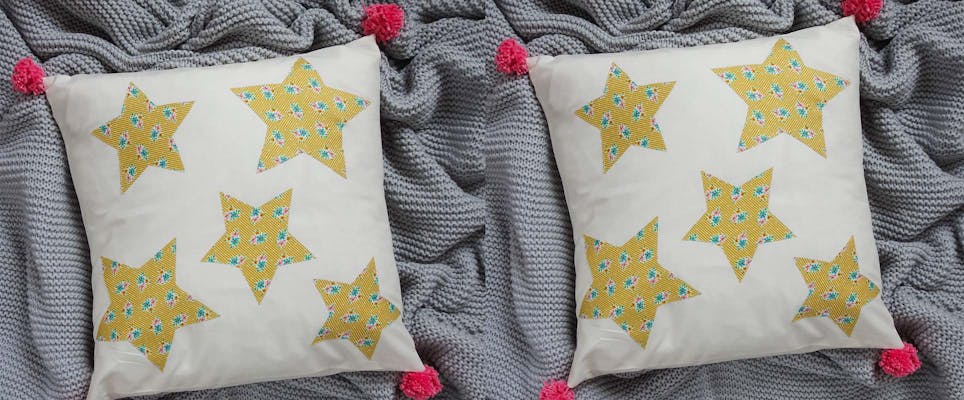
If you're looking for modern quilting and sewing inspiration, look no further than designer Lou Orth. Lou, who hails from Oxfordshire, picked up sewing as a hobby after her daughter was born, and was instantly hooked! Her fresh and colourful patterns will add instant style to your home. Find more inspiration over on Lou's Instagram.
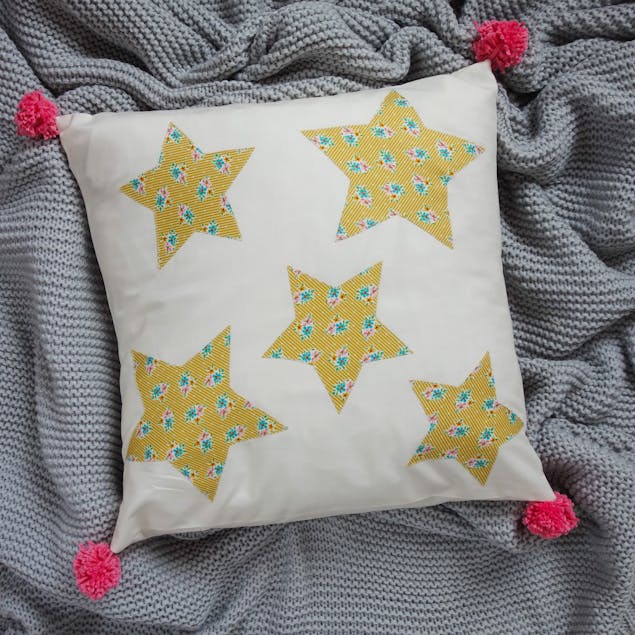
Every project is made better by the addition of pom poms! This fun and simple appliqué project is great for bringing a little colour to your sofa, download the template for the stars and get making! And if you are feeling the pom pom love, why not add a few more around the edges of the cushion?
Materials
- Tilda Apple Butter Nancy Yellow
- Robert Kaufman Kona Cotton
- Vlieseline Bondaweb: 120cm x 17.5cm
- Paintbox Yarns Cotton DK
- Addi Moon Pom Pom Maker
1
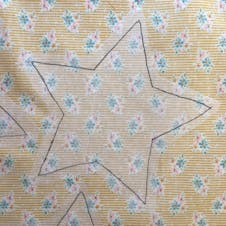
Choose the size and amount of stars you wish to use and trace out each star on to the paper side of the Bondaweb.
2
Cut around each star approx. 1/2” from the drawn line.
3
Using the manufacturers’ instructions, lay the stars, coated side down on to the wrong side of the fabric and use an iron to attach.
4
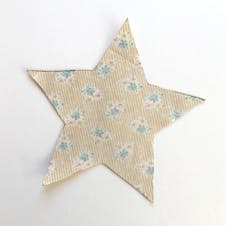
Cut each star out along the drawn line from step 1 and place to one side.
5
From your background fabric cut (x 1) 16 1/2” square (for the cushion front) and (x2) 16 1/2” x 11” pieces.
6

Carefully peel off the paper backing from the back of your stars.
7
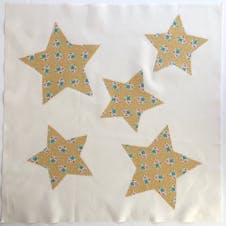
Lay the stars (right side up) on to your cushion front square. Move around until you are happy with the final layout. Make sure that none of the star points are within 1/2” of the edge of the cushion front.
8
Using the manufacturers’ instructions, use an iron to fix each star into position.
9
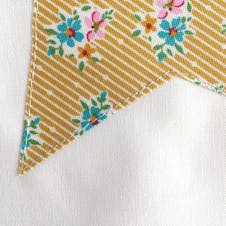
Using which ever stitch you like, sew down the raw edges of the star applique. I have used a straight stitch (2.5 length) but a zig zag or decorative stitch will also work well.
10
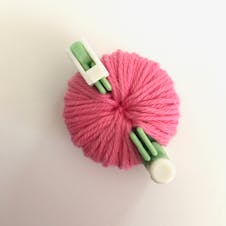
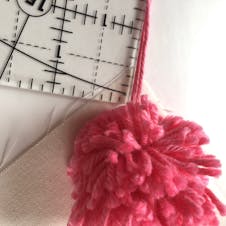
Now to make your pom poms using your pom pom making tool. You will need 4 pom poms with a finished size of approx. 1 1/2”.
11
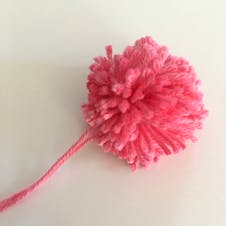
After you have cut open the pom pom, secure with a length of yarn approx. 9” in length. Tie the threads well and leave the ‘tail’ long. We will need this to secure the pom pom to the cushion later.
12
Position the pom poms, approx. 1/2” from the edge, so the main fluffy part is on the right side of cushion with yarn tail sticking out. Baste in place, repeat for all 4 corners.
13
Hem the cushion backs by folding over a raw edge (of the long side) by 1/4” and again by 1/4” so that the raw edges are enclosed. Stitch in place and repeat for the other cushion back piece.
14
With your cushion top facing up, lay your two backing pieces on top, right sides together. Make sure the hemmed sides overlap in the middle and the raw edges of the cushion top align with the raw edges of the cushion backs.
Pin/clip in place.
15
Sew all the way around with a 1/4” seam allowance, backstitching at start and finish. It will be bulky when you get to the corners. Be careful to not stitch on to any of the main pom pom. Carefully move the pom pom out of the way as you sew around the corners.
16
Turn the right way round, poke out your corners and admire your finished cushion!