How to make a monster purse
Published on 10 December 2018 By Christine Leech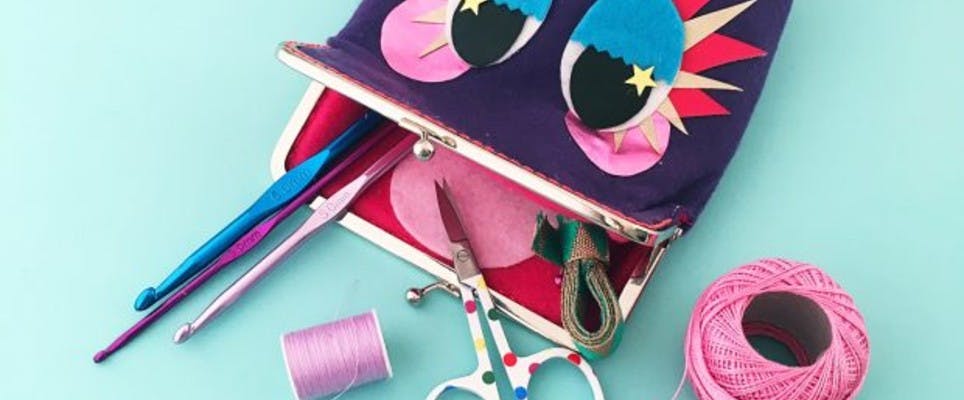
This great free tutorial by Christine Leech shows you just how to make your very own Monster Purse! Follow along as she teaches you how to make a scarily good storage solution for your needles and pins! Christine is a blogger and expert pom pom crafter at the Sew Yeah blog.
Materials
- Rico Felt Sheets Set Basic
- A medium sized sew-in purse frame
- A pencil
- Tailor's chalk or pen
- Pony Gold Eye Sewing Needles
- Strong sewing thread
- Hemline Rose Gold Embroidery Scissors
- Embroidery thread
- Fabric glue or Bondaweb
- Small pieces of vinyl fabric
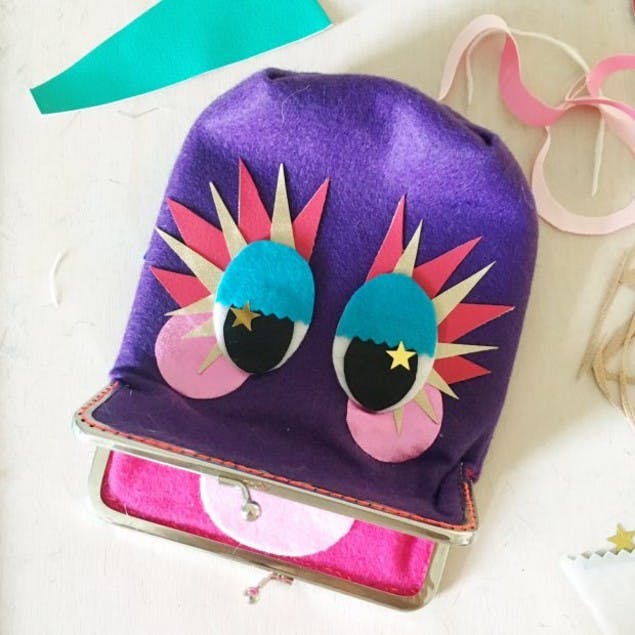
Say hello to my new best friend – Purdy the perfectly preposterous purse. She’s an ideal size to keep your sewing needles, pins, yarn and current project in (as long as it’s small -we’re talking mittens not jumpers!)
Making the purse
1
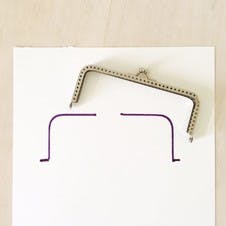
Take the metal purse clasp and using a pen or pencil draw around it on to a piece of paper.
2
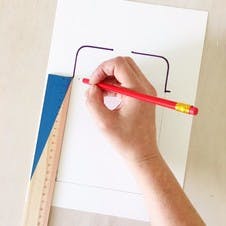
Using a ruler draw a rectangle 14 cm by 12 cm below the outline of the clasp.
Then mark the two points where the clasp hinges.
3
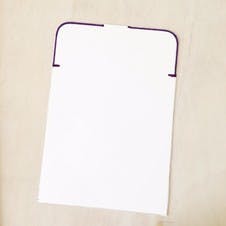
Cut out the purse pattern.
4
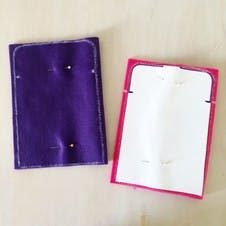
Take two pieces of felt and fold one in half horizontally.
Place the purse template onto the felt, pin in place and draw round.
Repeat with the second piece of felt.
5
Machine sew the three sides of the rectangle together on both pieces of felt.
On the felt that is going to be the outer colour of the purse try and sew on the drawn line.
For the felt that is going to be the inside of the purse sew about 5mm inside the drawn line.
Trim away the excess felt around the two purses. Then turn the outer purse right side out but leave the inner purse as it is.
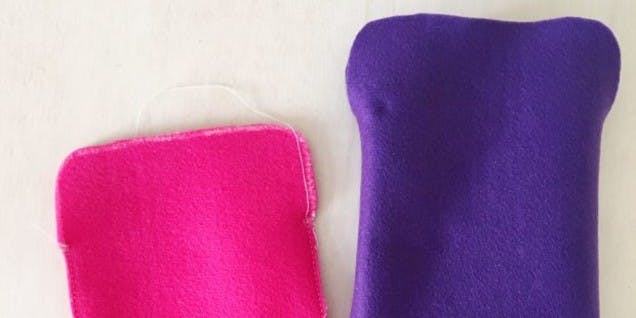
6
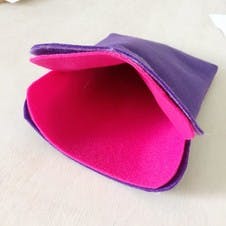
Take the inner purse and feed it inside the outer purse, they should fit snugly together.
7
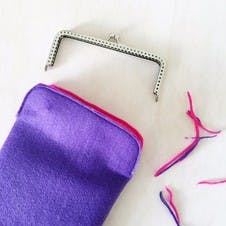
Line up the openings for the inner and outer purse, pin then machine sew together both pieces on both sides of the purse.
Sewing a gusset at the base of the purse
1
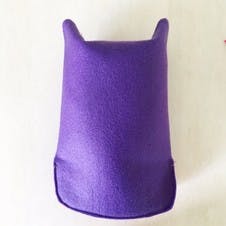
Holding the purse upside down take both of the base corners and pinch together to for two ‘ears’.
2
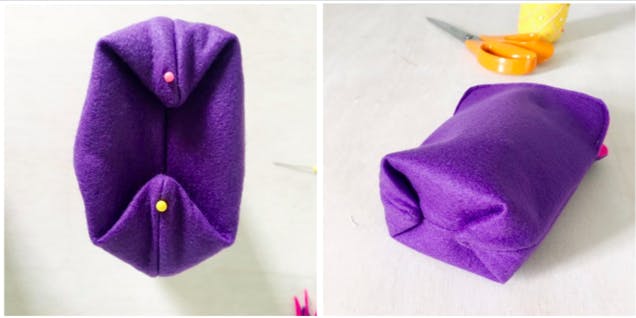
Fold the ears down towards each other so the base of the purse becomes 3D.
Pin the ears to the base and then hand stitch in place.
Adding the purse clasp
1
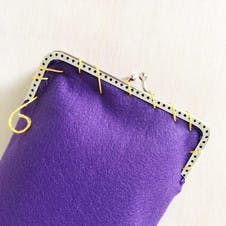
Open the clasp and starting with one side of the purse feed the raw edges of the felt into the metal channel – keep going till both sides are inserted.
Using a needle and piece of embroidery thread roughly sew the clasp to the felt.
This will stop the fabric slipping out when you sew it properly.
2
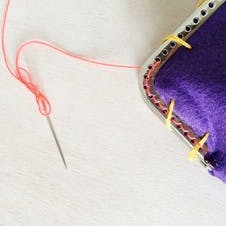
Starting on one side of the clasp with the needle coming up from the inside of the purse begin sewing the clasp and purse body together.
Push the needle through the felt at an angle and wiggle it till it comes out through one of the holes in the clasp front.
3
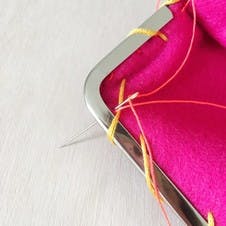
Then return the needle back through the next hole and continue sewing around the clasp inserting the needle into each hole twice to ensure the clasp and fabric are firmly fixed together.
4

You should be able to create a line of stitching where you can’t see the stitches on the inside of the purse.
To decorate your purse
1
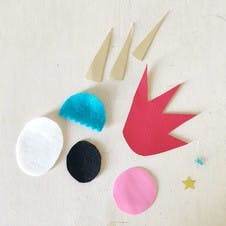
If you want to add eyes and a tongue like I have here cut out the relevant pieces from different coloured felts.
To add a different texture you could also use used some small off cuts of fake leather and vinyl.
The two stars in her eyes are small gold sequins.
2
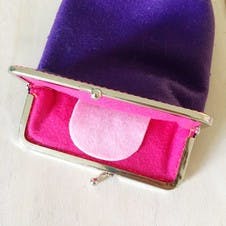
You can either use a thin layer of fabric glue to stick the pieces to the purse or use an iron on fusible paper like Bondaweb. If you use Bondaweb follow the manufactures instructions on how to fix the paper to the felt.
Take some time to play around with the eyes and tongue till you are happy with the expression then fix in place.
And there you have it! Now fill her up and pop her in your handbag for her next crafting adventure.
