How to crochet an easy market tote bag in Hoooked Ribbon XL
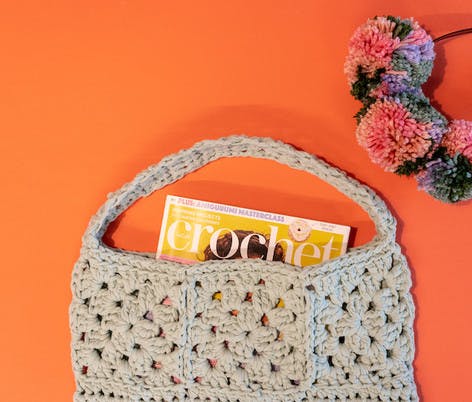
Published on 25 July 2019 By Merion 1 min readCrochet along with our market tote bag tutorial with Katie from The Queen Stitch - work it up fast with Hoooked Ribbon XL and an 8mm hook for a super quick crochet project!


For our fabulous market tote bag, you will need just 3 balls of Hoooked Ribbon XL, an 8mm hook, and a tapestry needle for sewing in ends. This tutorial uses US crochet technology, using the following stitches: chain, slip stitch, single crochet (UK double crochet), double crochet (UK treble) and half double crochet (UK half treble).
Katie has made her bag in the Early Dew shade, but there are 30 gorgeous colours to choose from in Hoooked Ribbon XL yarn.
Materials
- Hoooked Ribbon XL Solids
- KnitPro Waves Crochet Hook

1

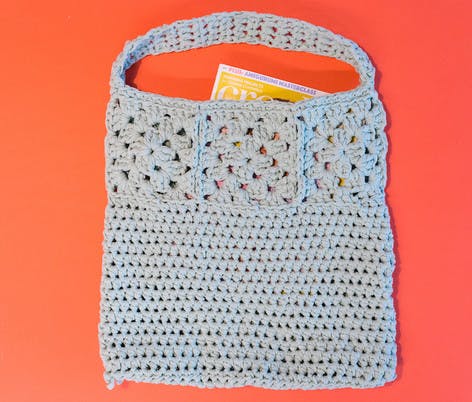
Make six granny squares (you can use our granny square tutorial, or follow along with Katie in this tutorial). The squares have three rounds, and should measure 5" square. If you follow this video, Katie uses the join-as-you-go method, but if you prefer to make each square separately and seam them, that's ok too! Join the granny in the round.
2

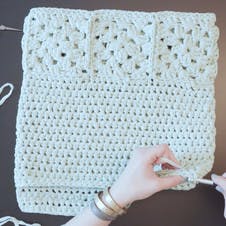
Work a half double crochet (hdc) stitch into the BACK LOOP ONLY (BLO) of each stitch working around the bottom of the joined granny squares.
Work 11 stitches along each granny square, so you will have a total of 66 stitches around the circumference of the bag.
When you reach the beginning of the round, begin working hdc stitches into every stitch but into the whole stitch, not just the BLO. Work in a spiral (do not slip stitch at the end of each round, just keep working in every stitch to avoid a seam. Work until the bag is as deep as you like - Katie worked 10" down from her granny square section.
3

Make the base: work 30 stitches in hdc in rows to make the base - Katie's bag base is 3 rows deep, but you can make yours as deep as you need.
When you've completed the 3 rows, turn and slip stitch the base to the other side of the bag, and then slip stitch the little gaps at the side. Weave in any ends.
4

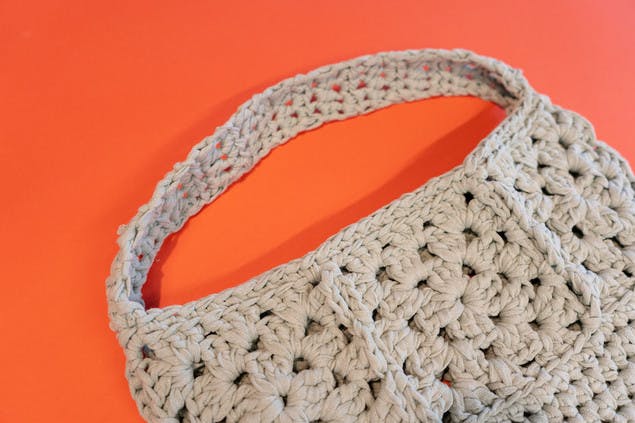
Work a row of BLO HDC along the top of the granny squares to neaten, ready for the handle.
Find the side seam on one side of the bag, and tie on. Work rows of 4 hdc stitches until your shoulder strap is long enough - Katie worked a strap of 20" long. When your strap is as long as you would like it, you need to attach to the opposite side of the bag - attach it wrong sides together using slip stitches.
Weave in ends.


