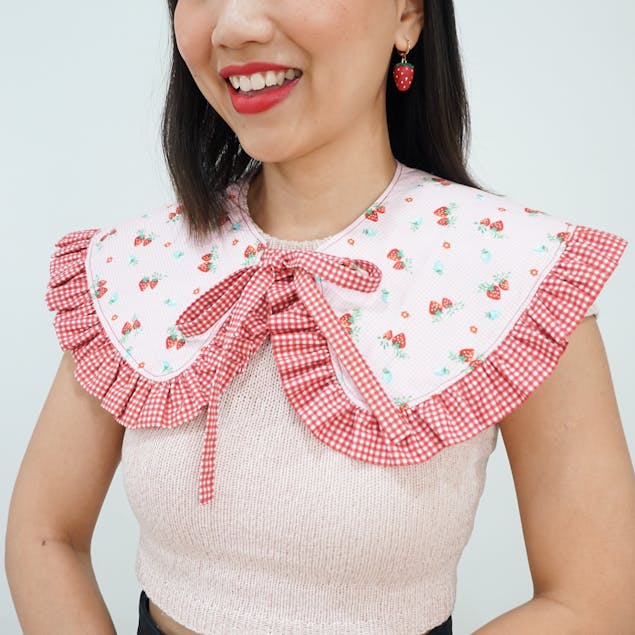
Learn how to sew a fabulous detachable frilly collar
Published on 24 May 2022 1 min read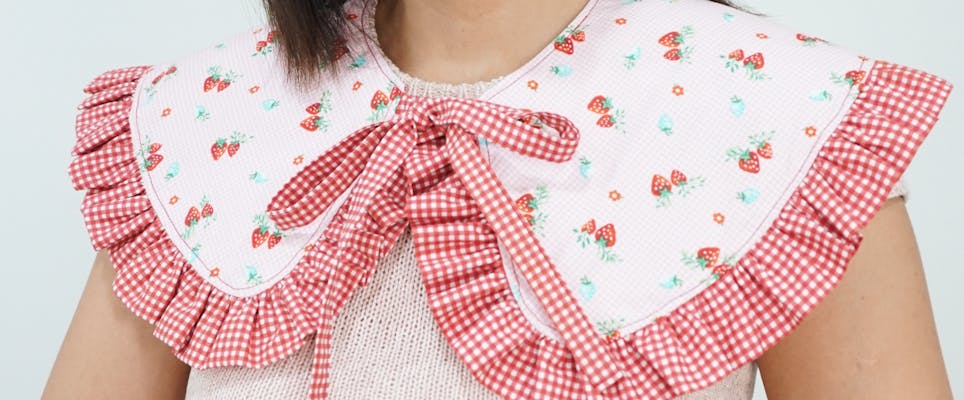
Calling all fashionistas! Make a statement this spring and summer with this quick and fun sewing project from the ever-stylish Instagram icon Gwenstella Made. Join Gwen as she walks you through a simple step-by-step tutorial to create this fabulously frilly detachable collar – perfect for brightening up any outfit!
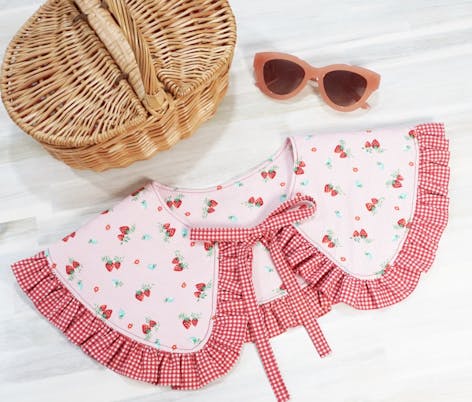
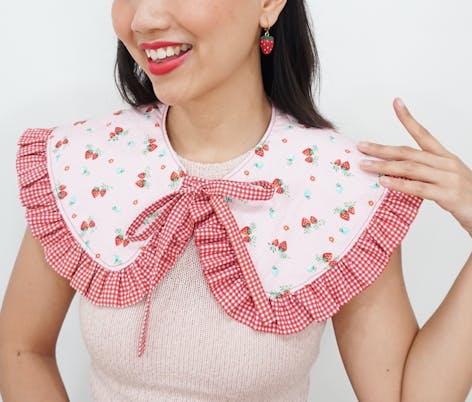
Materials
- FREE collar pattern, printed at 100% scale
- ½ yard of woven cotton poplin for the collar
- ½ yard of contrasting woven cotton poplin for the ruffles
- Prym Universal Ruler inch Scale 3 X 18 Omnigrid
- Vlieseline Quilter's Iron-On Interlining Grid - 90cm
- Iron
- Hemline Rose Gold 21cm Dressmaking Scissors
- Hemline Pins: Pearl Head: Assorted: 38mm: Nickel: 40 Pieces
- A sewing machine
Fantastic fabrics for frilly collars!
How to sew the detachable collar
Pro Tip
Abbreviations:
WS: wrong side(s)
RS: right side(s)
in: inch
1
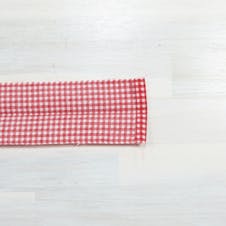
Start by making the double-fold neck ties. Use a straight ruler to measure and cut two rectangles, each measuring 2in x 16in. Fold and press one of the short ends ⅜ in towards the WS of the fabric
2
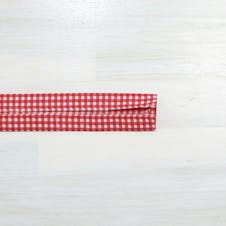
Fold and press the rectangles in half lengthwise, WS together. Unfold the fabric, then press the long raw edges of the fabric towards the centre fold line, WS together.
3
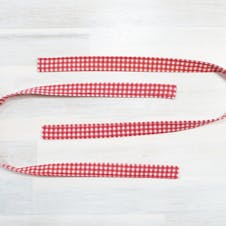
Fold the fabric back in half again to create a double-fold neck tie. Sew along the long and short folded edges of the neck ties
How to make the ruffles
1
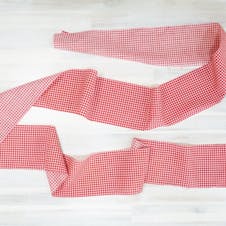
Cut a piece of fabric measuring 3.5in x 90in.
Pro Tip
Try sewing together shorter strips of different fabrics to make a total length of 90in if you are short on fabric!
2

Use a steam iron to fold and press both short ends of the fabric strip ⅜ in towards the WS, then press the fabric strip in half lengthwise.
3
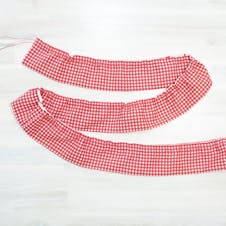
Use the longest stitch setting on your sewing machine to sew two rows of basting stitches along the raw edge of the ruffle strip. These rows of basting stitches should be about ¼in and ⅜ in from the raw edge of the ruffle strip. Leave a long thread tail of about 4in on each end.
4

Gather the ruffle strip by pulling a thread from each row of basting stitches.
How to sew the collar
1
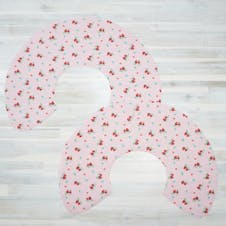
Use the printable collar pattern as a guide and cut two pieces of fabric and two pieces of lightweight fusible interfacing. Make sure to mark the notch on all of the fabric pieces!
2
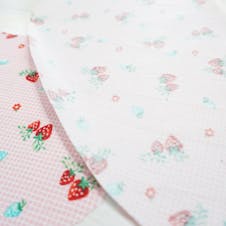
Apply interfacing to the WS of the fabric collar pieces, following the manufacturer’s guide.
3
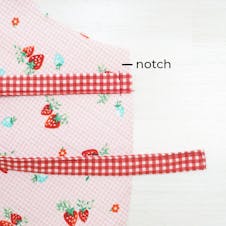
Baste the neck tie about ⅛in below the notch.
4
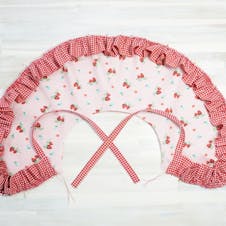
Pin the ruffle strip to the same collar piece. Align the raw edge of the ruffle strip to the raw edge of the collar piece. The ends of the ruffle strip should be placed over the neck ties. Make sure that short ends of the ruffle strip are placed next to the neck ties. Adjust the gathers of the ruffle strip as needed. Baste the ruffle in place. Remove pins after basting.
5
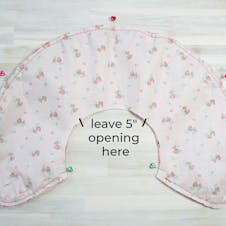
Pin both collar pieces RS together and sew all around. Don’t forget to leave a 5in wide opening along the neck circumference to turn the collar inside out!
6
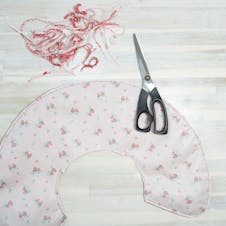
Use a pair of sharp fabric scissors to trim the seam allowance in half (except along the 5in opening). Pay special attention to the corners of the collar.
7
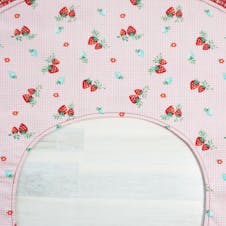
Turn the collar RS out, press the seams flat and topstitch all around.
8
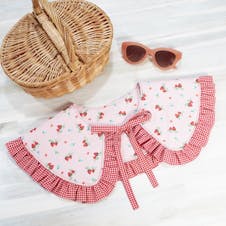
To finish, use a seam ripper to carefully remove basting stitches on the ruffles
