Crochet a beautiful bead bracelet
Published on 14 September 2020 1 min readIf you fancy a quick and easy make this weekend then this has got to be the perfect project. The colour possibilities are endless and once you start you’ll find these little crochet beads are seriously addictive to make!
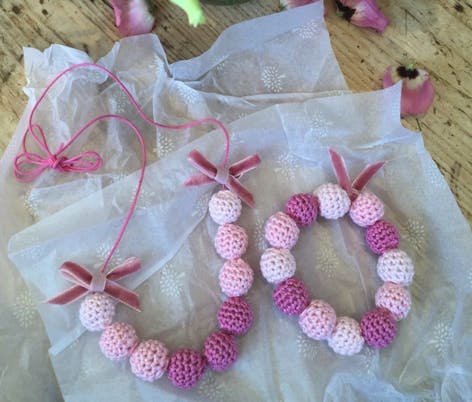
Materials
- DMC Petra Crochet Cotton Perle No. 3
- Choose 4 colours!
- 2.5mm crochet hook
- KnitPro Waves Crochet Hook
- Threading elastic or beading cord
- Ribbon
- Trimits Toy Stuffing - 200g
This pattern uses UK crochet terminology. To convert to US terms, you can use our handy conversion charts!
How to make the beads
1
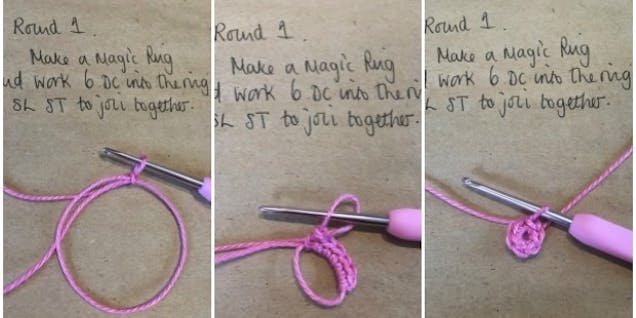
Round 1: Make a Magic Ring and work 6 DC in to the ring. Join the ring together with a SL ST.
2
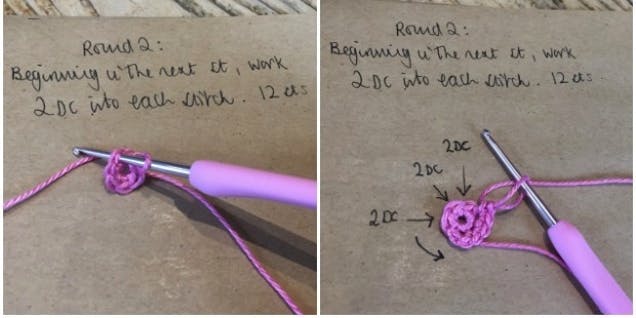
Round 2: Work 2DC in to each stitch all the way around. 12 sts.
3
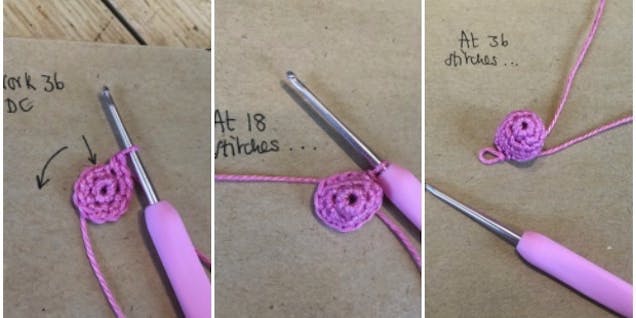
Round 3: Now continue on working around, and work another 36 DC.
4
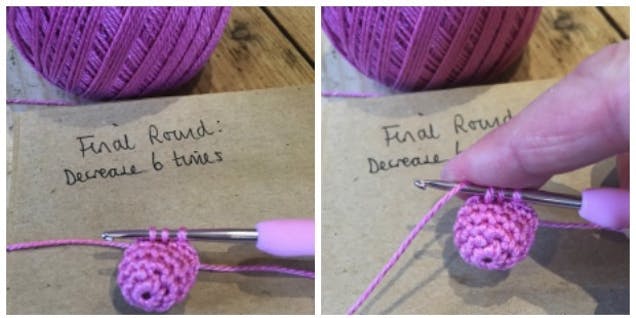
Round 4: Decrease 6 times. To work a decrease pick up the next 2 loops/stitches on your hook, yarn over and pull through all three loops.
5
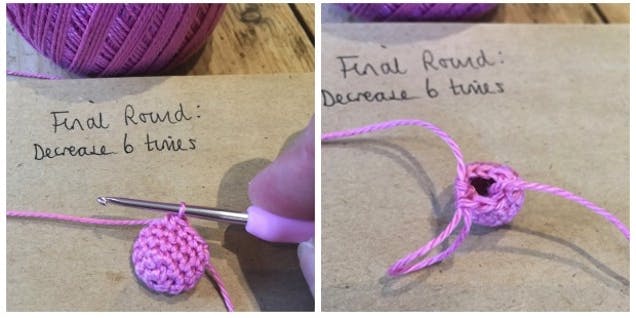
Finish off and leave a tail long enough to finish sewing the end of the bead together once the bead has been stuffed.
6
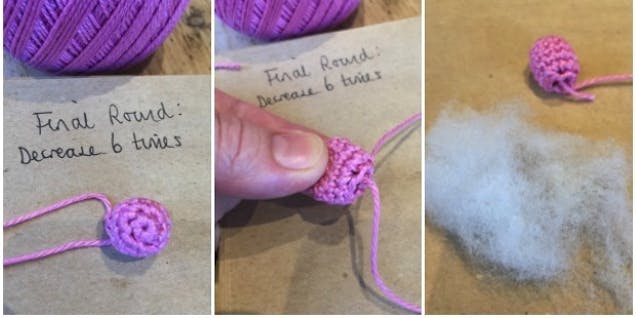
Before stuffing your bead, hold the top of the bead between your finger and thumb and gently, but firmly, pull the inner yarn to ensure the hole at the top of the bead is fully closed.
7
Using a small amount of stuffing stuff the bead until it has a solid and firm feel to it.
8
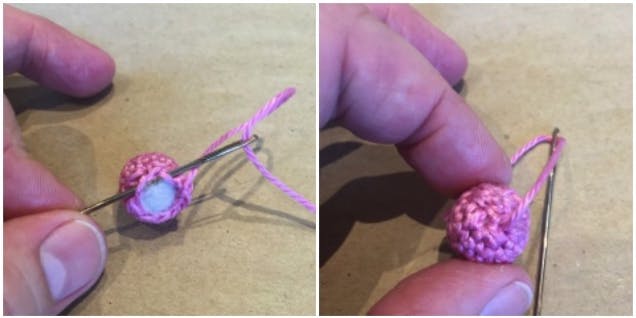
Once the bead is stuffed use the end of the yarn to run a gathering thread around the bottom of the bead, pull this up to close the hole and finish off.
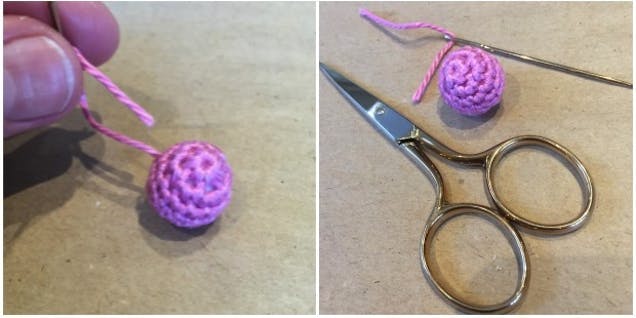
Pro Tip
I found it worked well to thread the last end right through the centre of the bead, and then snip the remaining yarn off.
9
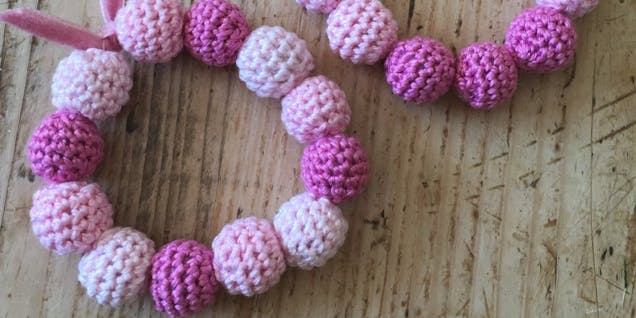
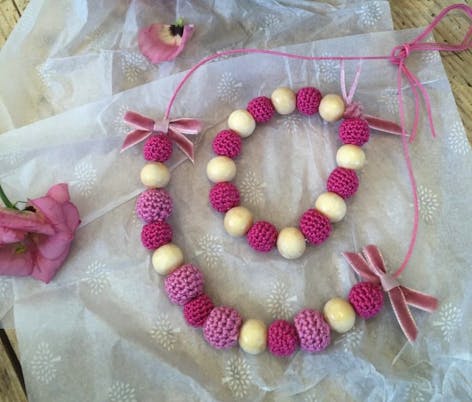
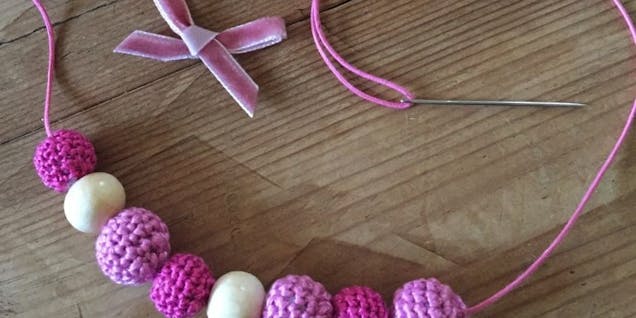
Once you have made your beads it is entirely up to you how you choose to put them together on your bracelet or necklace. I used some wooden beads in this one below as I liked the mix of textures. For the necklaces I only used a few beads and for this reason I used pink beading cord to make it part of the finished necklace.
10
For the bracelets I used a regular elastic thread. The cord/thread is simply threaded from the centre top of the bead through to the centre bottom of the bead. I joined the cord/elastic together with a firm knot. For the finishing touches I added some matching velvet ribbon bows to the necklaces and tied a small piece of ribbon around the bracelet elastic.
