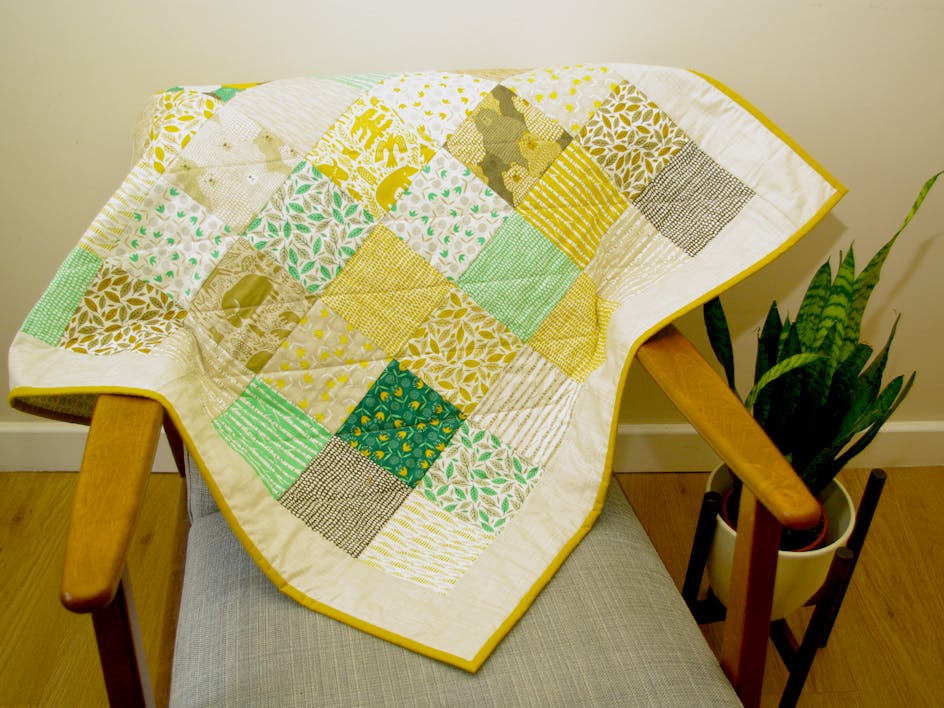
Create a quilted work of art to hang in your home!
Published on 31 March 2020 By Holly Butteriss 3 min read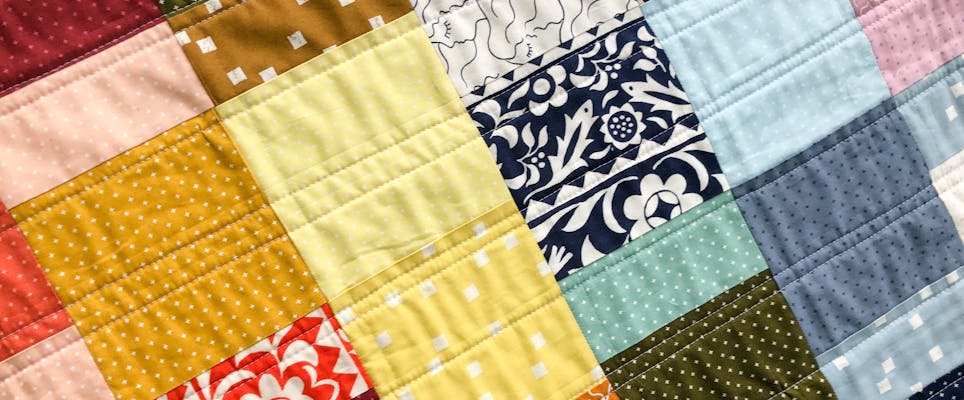
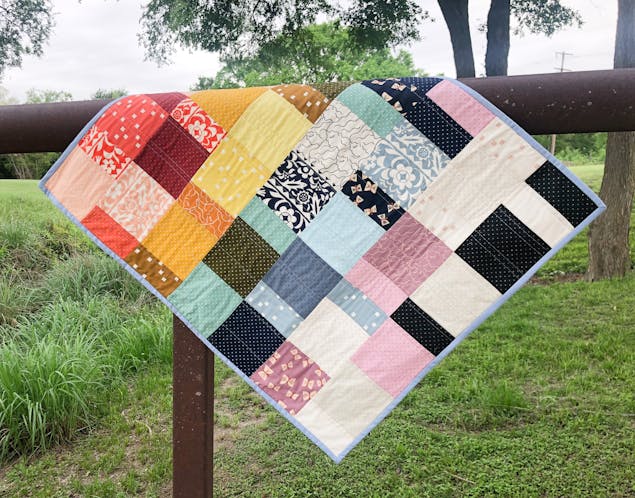
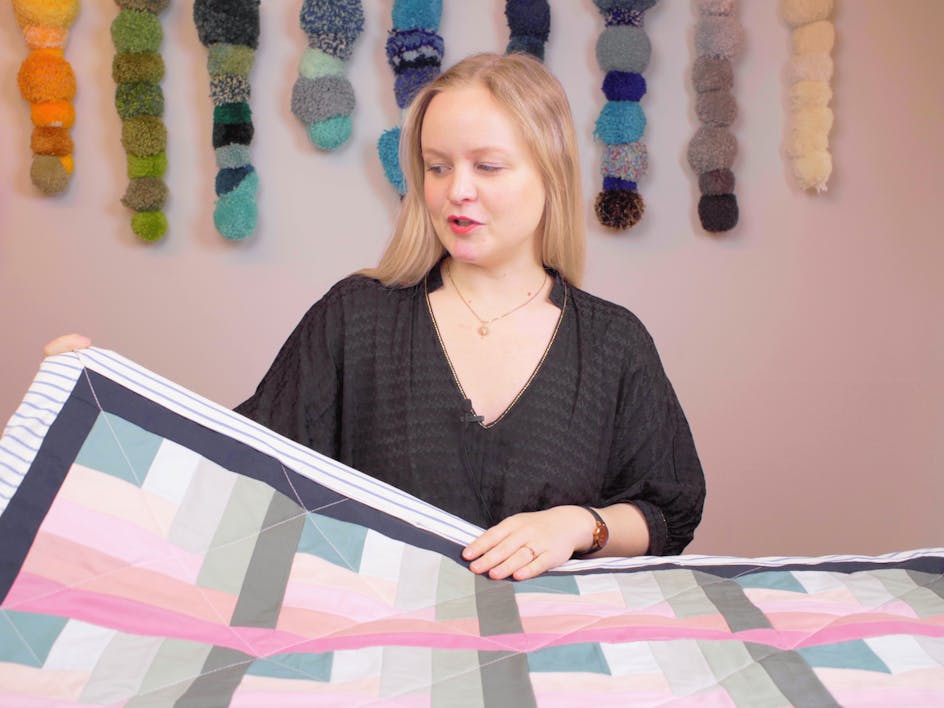
Raye, the amazing maker behind The Homebody Company, is a quilting Queen! Make your house a home with Raye's tutorial for a gorgeous quilted wall hanging, perfect for bringing a burst of colour into any room.
Materials
- 5" charm pack
- 1 yard of fabric for backing and binding
- Batting
- Thread
- Rotary cutter
- Ruler
- x1 26" wooden dowel
- Rope for hanging your masterpiece!
Cutting
The cutting for this project is super simple! Choose 14 squares from your charm pack to cut in half (finished measurement = 2.5” x 5”)
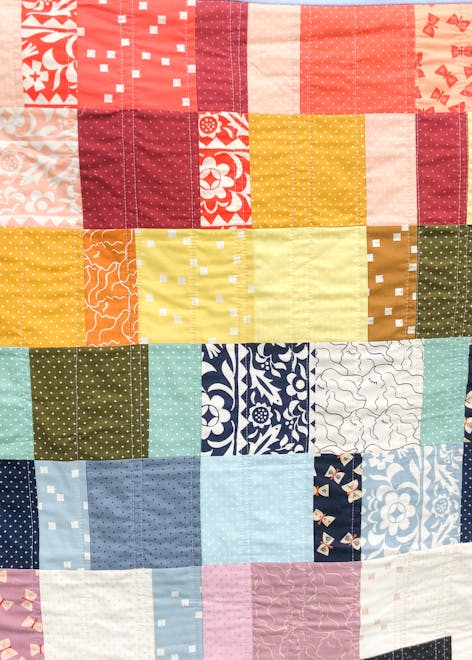
Layout
This wall hanging can be laid out however you like as far as fabrics and the patterns in each with just one requirement: each row must contain 4 squares of fabric and 4 rectangles of fabric. You can use this colouring chart to colour in your own design with the same layout I used!
Piecing
Piecing is simple! I prefer chain piecing to make the process go by quicker, but it is your preference. Use a ¼” seam allowance while piecing. As you piece rows together, make sure to iron your seams.
For the seams of each row, iron them to the side. You will have a few seams line up throughout your quilt top, so it is best to press each row in a different direction. As you sew your rows together, press those seams open to make sure the quilt top lies flat.
Quilting
How you quilt this is 100% up to you, but there are a few things you will want to be sure of when putting it all together:
- When making your quilt sandwich make sure to keep the backing, batting and pieced top as close to the top left corner as possible. We will be using the leftover backing for other parts of the project!
- When you are done quilting, sew around the edge using a ⅛” seam allowance to secure the top.
Need to brush up on your quilting know-how?
How to make your hanging supports!
1
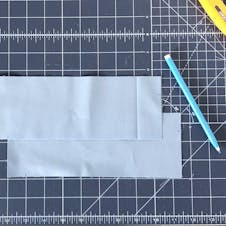
This is the most involved part of the project, but I promise it's still easy!
Begin by cutting 2 9 ½” x 3 ½” rectangles from your leftover backing fabric.
2
Mark an inch from top right corner and bottom left.
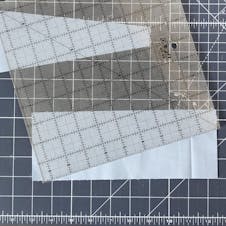
3
Using your ruler, line it up with the marks made and cut across diagonally on both pieces.
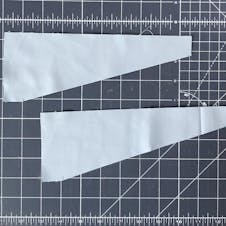
4
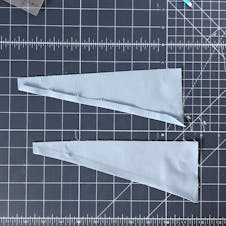
Along the diagonal, press ¼” of the fabric over and iron. Stitch across to secure in place.
5
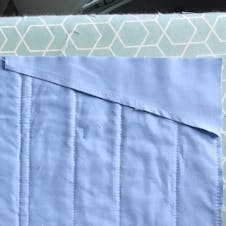
Place each support on the top corners and pin in place.
6
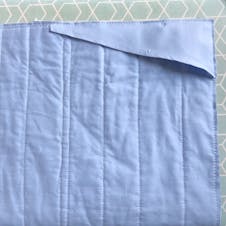
Stitch edges with an ⅛” seam allowance to secure.
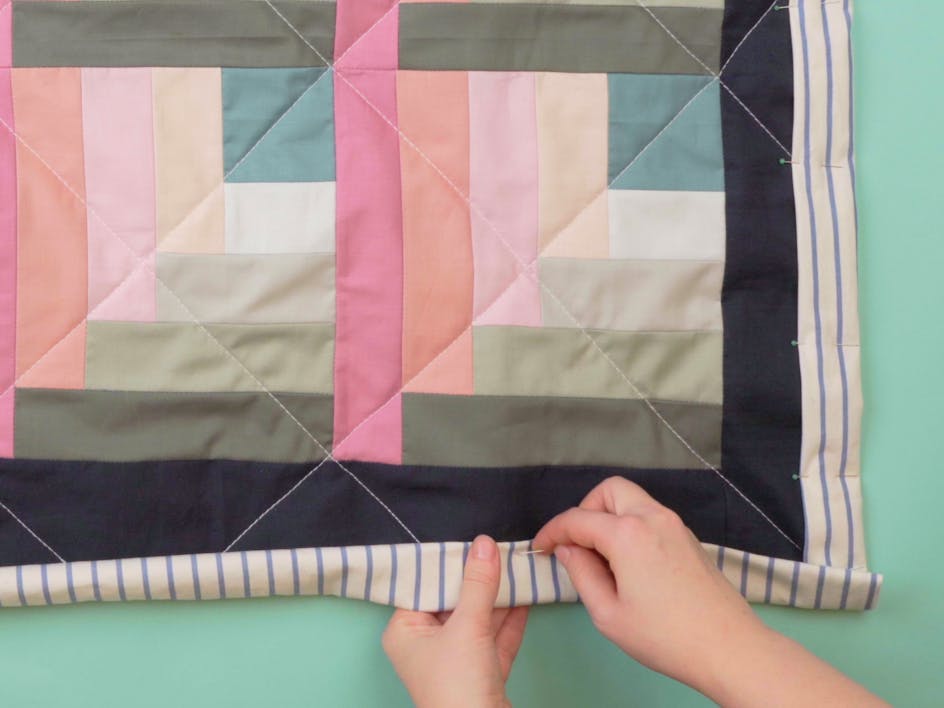
Binding
The binding is also made from leftover backing fabric. You will need 116 inches total of binding. From my leftover backing I achieved this by cutting 1 strip from the width of fabric X 2 ½” and 3 strips from the length X 2 ½”. However, this can be achieved in many ways! Find the way that works best from your leftovers. I’m all for using as much fabric as I can with each of my projects.
Finally, sew the binding on as desired making sure to cover all outer edge stitching.
Hanging
To hang your finished masterpiece, place an end of the wooden dowel into the hanging supports on each side and if you have decided to use rope to hang your wall hanging, secure this to the dowel with a knot or hot glue and ta-da! One gorgeous quilted wall hanging to make your home feel extra cosy.