How to sew a curved seam
Published on November 13, 2018 By Emma 1 min read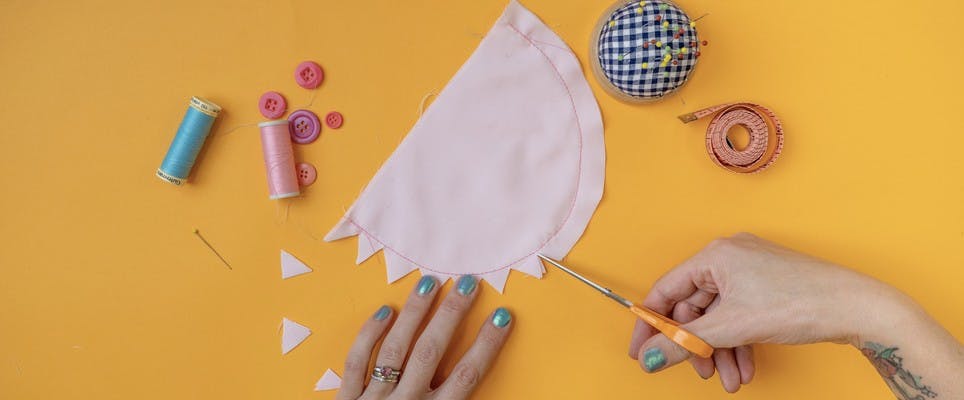
Let’s face it, there aren’t any straight lines on a body so learning how to sew a curved seam is one of those things that you’re going to need to know how to do sooner or later. And don’t think you quilters are getting out of it either, there are plenty of quilting designs that use a curved edge too!
The secret of getting a nice smooth seam is all in the clipping. Clipping is where you snip out little triangles from the edge of the seam that takes out all of the bulk, and allows the fabric to move from convex to concave, or in simple terms, changes the curve from outwards to inwards.
Here’s our easy guide to how to sew a curved seam.
If you’re quilting and sewing a curved design (in quilting circles this is known as sewing a curved seam on a flat plane), it’s a little bit more technical. Because you want the pieces to lie flat when you’ve finished, the art is all in the pattern cutting, and working really carefully with the fabric as you sew it.
How to sew a curve on a flat plane
1
Cut Out. Cut your pieces out so that you have one with a convex curve, and one with a concave curve.
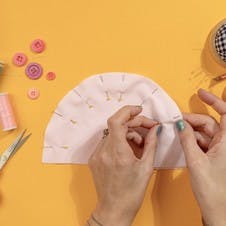
2
Pin. With the right sides facing, pin only the ends of the concave curved pieces to the edges of the convex ones.
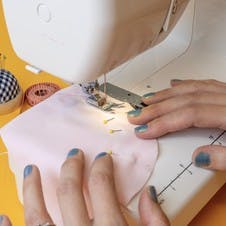
3
Sew. Take your time, focus only on the material just in front of the foot and stitch the two curved edges together. One side of the fabric will want to bulge out, so gently but firmly keep it in hand and work it into the curve. Don’t worry if you don’t get it right first time, this takes a lot of practise to get right.
4
Snip. Cut slits along the fabric edge toward the seam line making sure you don’t snip your stitches.
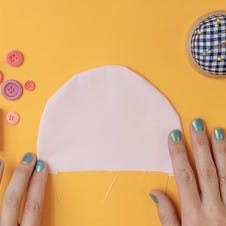
5
Press. Press with an iron and voila!
1
Pin in place. Place your fabric so that the right sides are together and pin in place.
2
Sew the curve. Sew along the edge of your seam line, just as you would when sewing a straight line, using your hand to control the fabric so that the needle follows the line of the curve.
3

Clip the seams. Snip into the material between the edge of the fabric and the seam line, ensuring that you don’t go too far and cut any of your stitches. Cut out little triangles all along the curved edge.
4
When you turn your fabric out the right way it should lie flat and smooth without any bulkiness from the seam edge.