The Tip Jar: Slipping the first stitch
Published on February 3, 2014 By Amy Kaspar 4 min read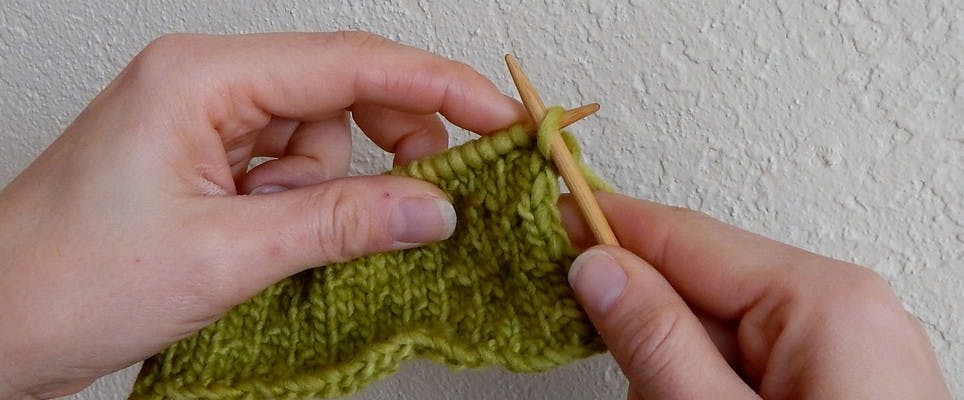
Have you ever been asked to slip the first stitch in every row of a knitting pattern and thought to yourself, “Why the heck would I do that?!” Well, there are several good reasons to do so, but before I bother singing the technique’s praises, let me show you how to do it.
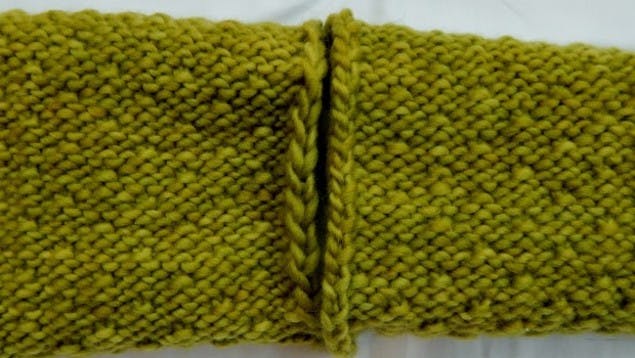
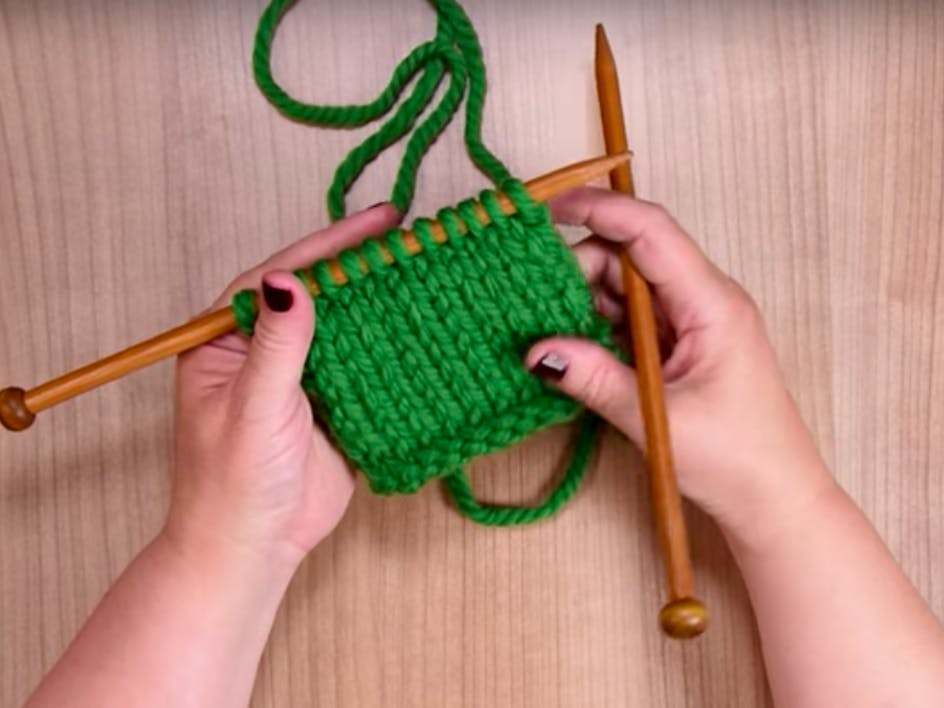
The two swatches in the image above are the same pattern, except one swatch has slipped stitches at the beginning of each row, and one does not.
The pattern is simple:
Row 1 – K4, *(P1, K3) to last two sts, P1, K1.
Row 2 – Purl all sts.
Row 3 – K2, *(P1, K3) to end.
Row 4 – Purl all sts.
First and foremost, unless the instructions indicate otherwise, slipping stitches is always done purlwise. The only way to keep the correct “leg” facing forward in your knitting is to slip the stitch as if to purl, and it doesn’t matter if you are on the right side or the wrong side of your work.
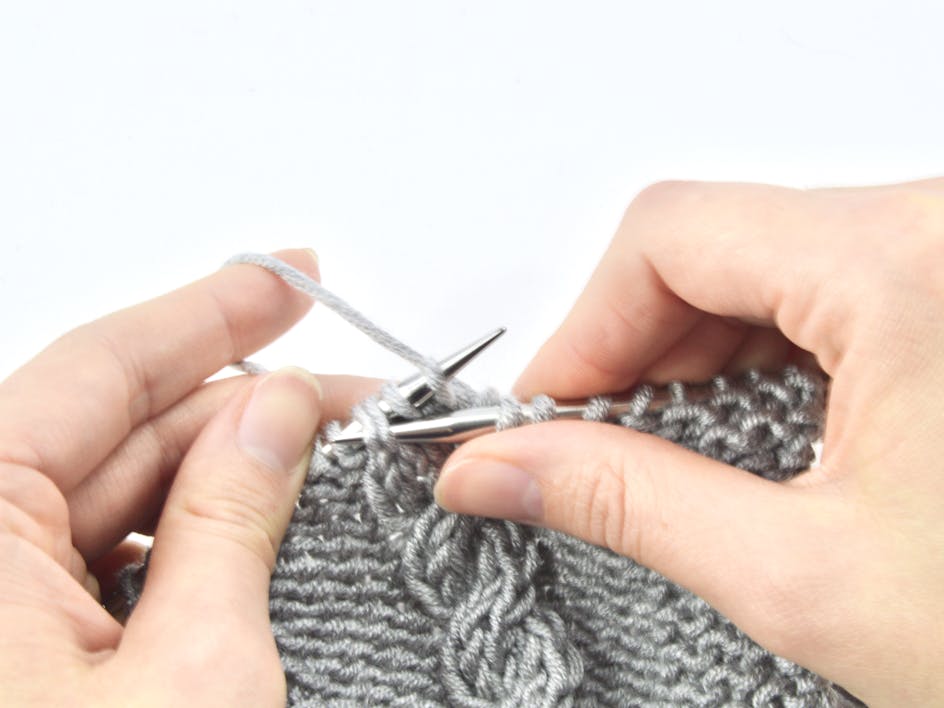
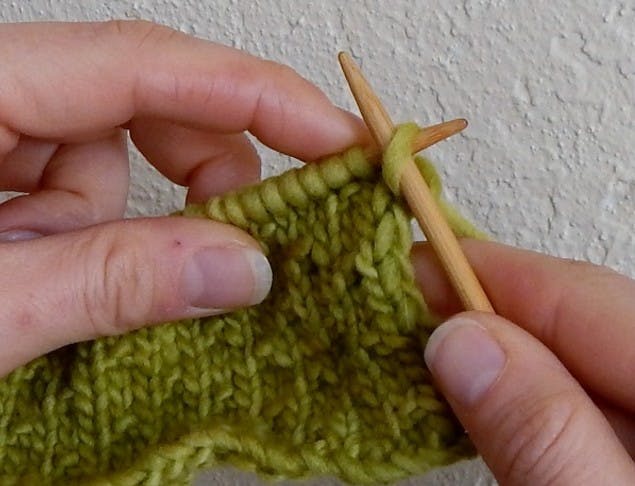
In this first photo, I am getting ready to purl across the back of the work, and I am slipping the stitch the same way I would purl.
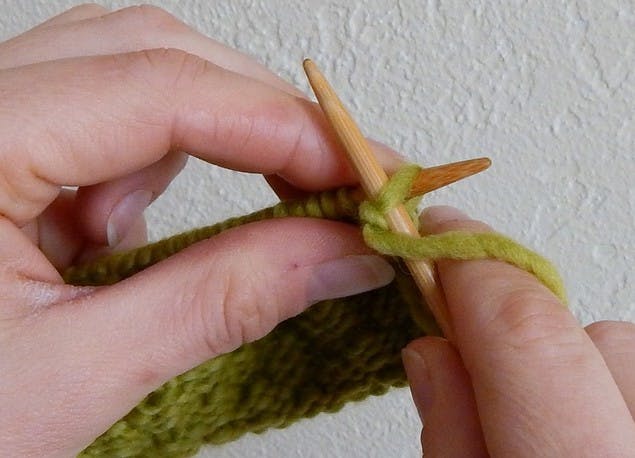
In this second photo, I am getting ready to knit the pattern on the right side, but the first stitch still gets slipped as if to purl. On the knit side, the yarn stays in back because I am getting ready to knit the next stitch.
Pro Tip
Knit the first stitch after the slip slightly more loosely than normal, since you are pulling the yarn back across that first stitch, and you don’t want it to pucker.
That’s really all there is to it.
Now back to the original question…
Why would you do such a thing?
Slipping a stitch and then either knitting or purling it on a later row will create an elongated stitch. When it comes time to knit the slipped stitch, you will pull the yarn up to whatever row you are knitting from that slipped loop in a lower row. Does that make sense? It is a great design element in the middle of a row, but it serves many special purposes at the beginning of a row.
My favorite reason to do it is plain and simple: It’s really pretty! Slipping the first stitch makes a great edge to a piece where the edges are seen and not seamed together, like a scarf or dishcloth.
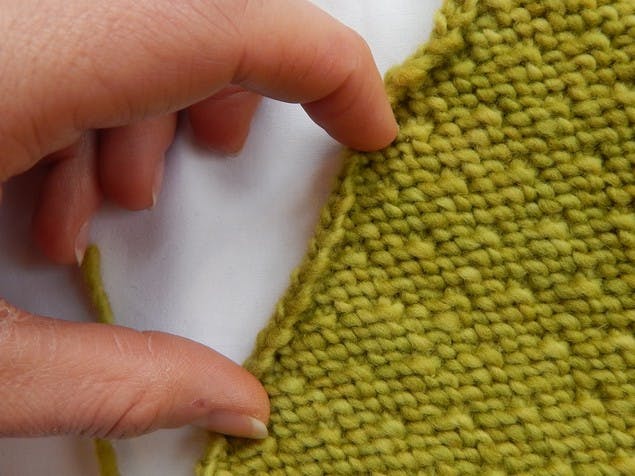
Here is the edge of the first swatch, as seen from the back, with every stitch knit or purled:
And here is the second swatch, also shown from the wrong side, with the first stitch in every row slipped purlwise and then knit or purled in pattern on the following row.
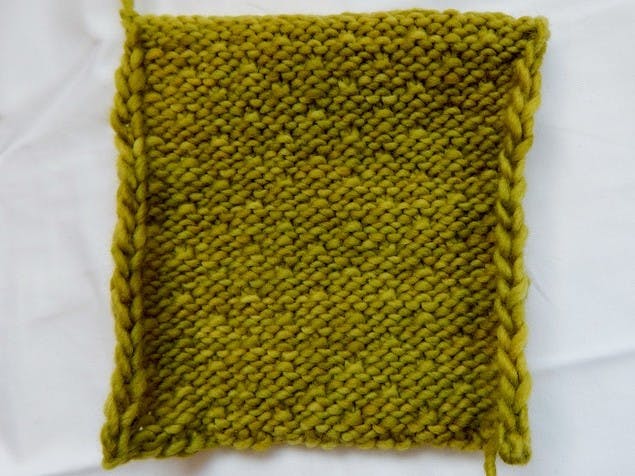
Those long, loopy stitches make a beautifully finished, crisp edge. Also, I photographed the backs of the swatches because stockinette stitch (or stocking stitch to the Europeans) tends to curl. Slipping the first stitch causes stockinette stitch to curl much less than knitting and purling all stitches.
Here are the swatches next to each other, and you can see the slipped-stitch swatch (on the left) is flatter, even though the same number of rows was knitted for each swatch. This may not matter as much if you are knitting with wool, cotton, or silk, as plant and animal fibers are great for blocking. If you are knitting with a man-made fiber such as acrylic or polyester, however, the fibers may not block as easily so minimizing the roll makes a difference.
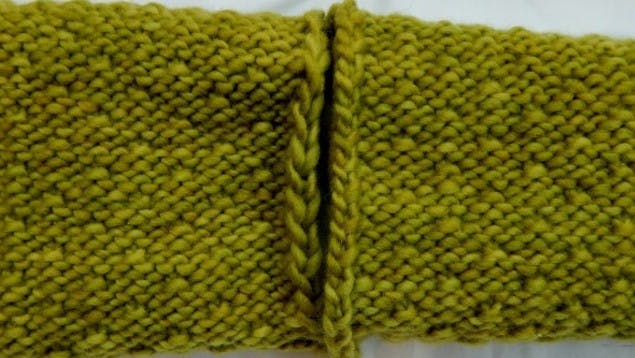
Slipping the first stitch makes it much easier to count rows on a piece as well. Every loop caused by slipping the first stitch in each row represents two rows. By looking at the swatches above, you can see there are twice as many edge stitches on the right than on the left. Another great reason to slip the first stitch is that the row of slips gives a great edge for both seaming and for picking up stitches.
When making a standard pair of socks, the heel flap often involves slipping the first stitch on each row and then picking up and knitting stitches into the slips; the slipped stitches are durable enough to handle your heels!
If you have a pattern which does not ask you to slip the first stitch of every row, you can easily add the element by increasing the number of cast on stitches by two, and using the first and last stitch as your slips. If you do this, just remember to knit that last stitch on the right side and purl the last one on the wrong side so you have an elongated stockinette (or stocking) stitch border.
