How to crochet a crop top + free pattern!
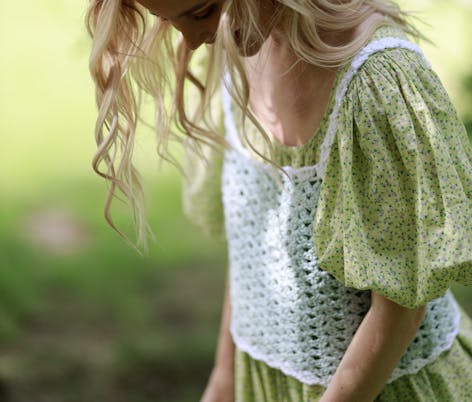
Published on July 26, 2021 1 min readWhether you're hitting the beach or going to town, you'll love this easy DIY crochet crop top pattern! Join designer Abby Davies of Calm Homemade and learn how to make this cute Iris stitch top step-by-step using simple beginner crochet stitches. So what are you waiting for? Pick your fave shades Paintbox Cotton Aran, find a spot in the shade and make this summer wardrobe staple in a single weekend!
Materials
- Paintbox Cotton Aran in 2 shades of your choice:
- Paintbox Yarns Cotton Aran
- Scissors:
- We R Memory Keepers Detail Scissors
- Crochet hook - 5mm:
- Susan Bates Silvalume Crochet Hook
- A smaller hook to weave in the ends
- Measuring tape
- 2 stitch markers:
- KnitPro Locking Stitch Markers
In this tutorial Abby will be making measurement A (a small size crop top). There are plenty of instructions on how to make different sizes in the size guide, which can be found in the free pattern download!
This pattern uses US terminology. To make your crochet crop top you'll use the slip stitch, the chain stitch, single crochet (sc) and double crochet (dc), which, when combined, will make the beautiful Iris stitch. So let's get started!
Making the body
1
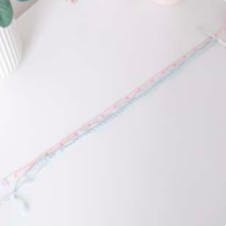
Choose the color you want the body of your top to be and ch a multiple of 4 (for me [size small] I chained 64). Ch 3, turn your work.
Pro Tip
You will be adding a border at the top and bottom, so allow for the extra coverage when deciding on the length.
2
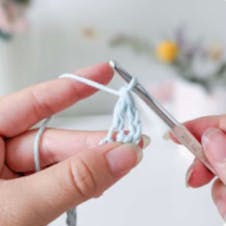
In the 5th ch from your hook, (place 2 dc, ch 1, 2
dc) all into the same ch st *Skip 3 sts, (place 2 dc,
ch 1, 2 dc) in the next ch.* Repeat from ** across
until 2 chs remain. Skip 1 ch, dc in last. Turn your
work.
3
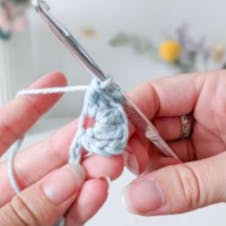
Ch 3, skip 3 sts *(2 dc, ch 1, 2 dc) into the ch 1
space* Repeat until end of the row. place 1 dc into
the last st. Turn your work.
4
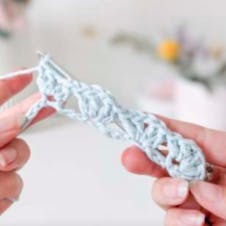
Repeat step 3 inside the ** until your piece is the
desired length for you. Ch 1 and fasten off. For size
small I created 17 rows.
5
Repeat steps 1-3 for the same amount of rows to
create your second panel.
Pro Tip
If you want your top to be body hugging, decrease your hook size when you reach the lowest part of your bust / where your underbust is, this will create a fitted look.
Attaching both panels and adding new color
1
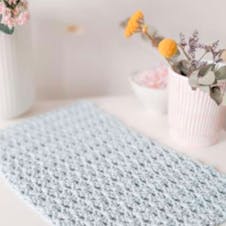
Lay both panels one on top of the other.
2
Attach your yarn to one of the top corners, going through both the front and back panels of your top. (Note: weave the tail in as you go - this will save you having to at the end). Ch 1, then sc into each ch space gap twice (making sure to go through both ch 3 spaces of the top and bottom panel; See photo for guidance). Ch 1 and fasten off.
3
Repeat step 2 on the other side of the top.

4a
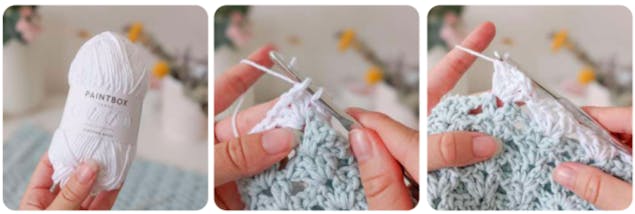
Change color. Turn your top the right way out so the sc seam is on the inside. Using your second color attach your yarn into the ch space next to the seam of your top.
4b
Ch 3, place 1 dc, ch 1, 2 dc. Skip to the next Iris cluster *place 2 dc, ch 1 2 dc* (into the cluster ch space), repeat** all the way around the body 'til you reach the 1st cluster of the round. Sl st into the top of the ch 3. Ch 1 and fasten off.
5a
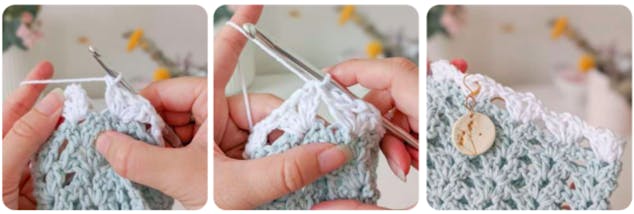
Repeat step 4 a & b for the bottom of your top.
Attach your yarn to the ch space between an iris cluster, chain 3, 1 double crochet, chain 1, 2 double crochet in the same chain space, turn your work sl st into the chain 1 space from the previous row.
5b
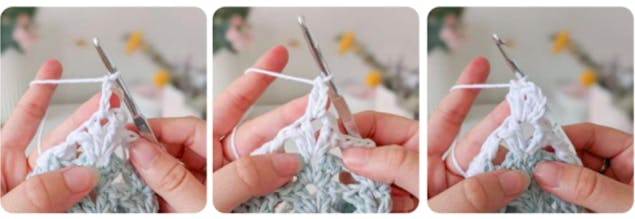
Chain 3, place another double crochet into the same chain space. Chain 1 and create 2 more double crochets into the same chain space.
6
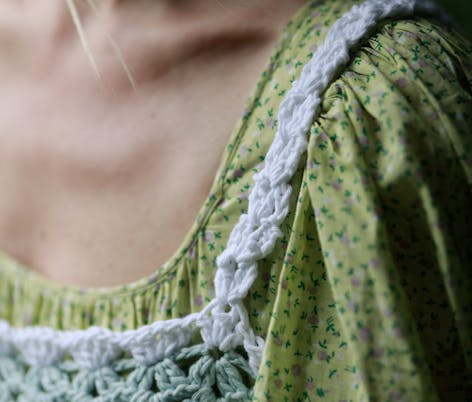
Turn your work slip stitch into the chain 1 space. Repeat these steps *chain 3,1 double crochet, chain 1, 2 double crochet in the same chain space, turn your work slip stitch into the chain 1 space*. This pattern will create the Iris stitch strap.
Attaching the straps
1
Try on your top and using stitch markers, mark where you want your straps to be. Make sure they are the same amount of sts/clusters from the seams (for size small I marked 4 clusters from the seam). It's up to you if you have the starting ch at the top or bottom.
2
Attach your yarn to the ch space between an Iris cluster, chain 3, 1 double crochet, chain 1, 2 double crochet in the same chain space, turn your work sl st into the chain 1 space from the previous row.

3
Continue this pattern 'til you reach your measurement B (shoulder strap length). Making sure the strap isn't twisted, line it up with the cluster that your stitch marker is in. Fold the bottom of this strap up, ready to connect to the back of the top. Remove your hook, making sure to keep the yarn still looped, and twist your work around so the loop is at the working end. Place your hook back into the loop. Go through the ch 3 of the strap, and back through the loop at the ch 3 of the back. Create a sc. Sl st to attach to the back panel of the top all the way along to the last st (4th st of the cluster).
4
Repeat steps 2-3 for the other strap.
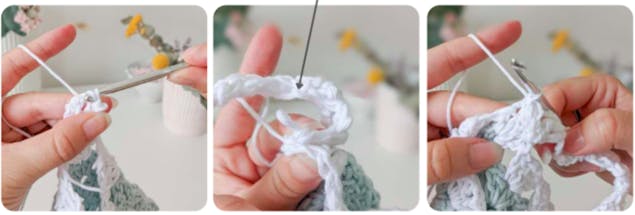
5
Final step. Weave in all the ends and you're all done. All that's left to do now is show it off to the world!
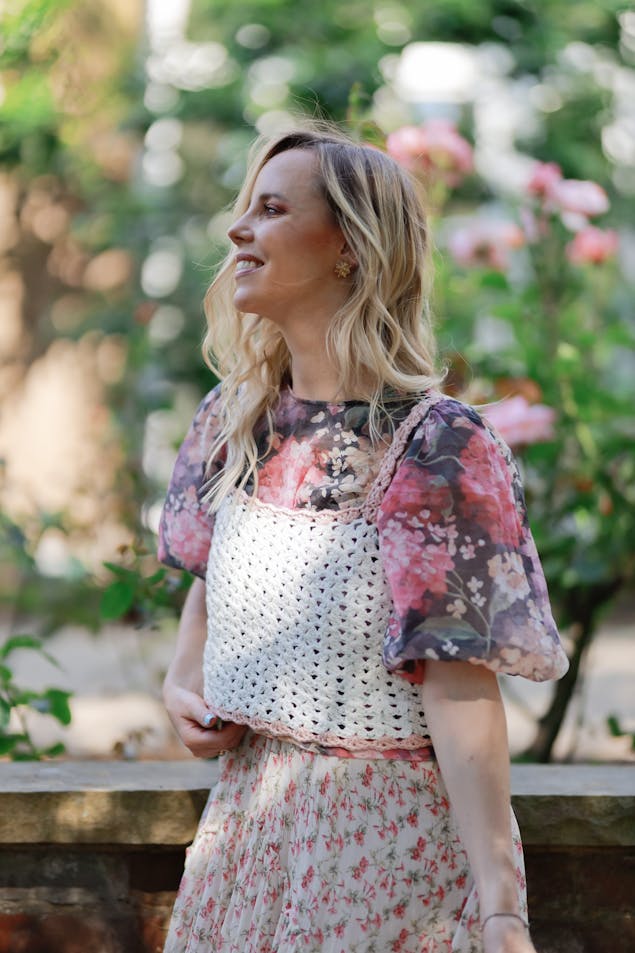
Be sure to tag me on Instagram so I can see your wonderful creation!

