Stay cozy with this pomtastic punch needle cushion tutorial
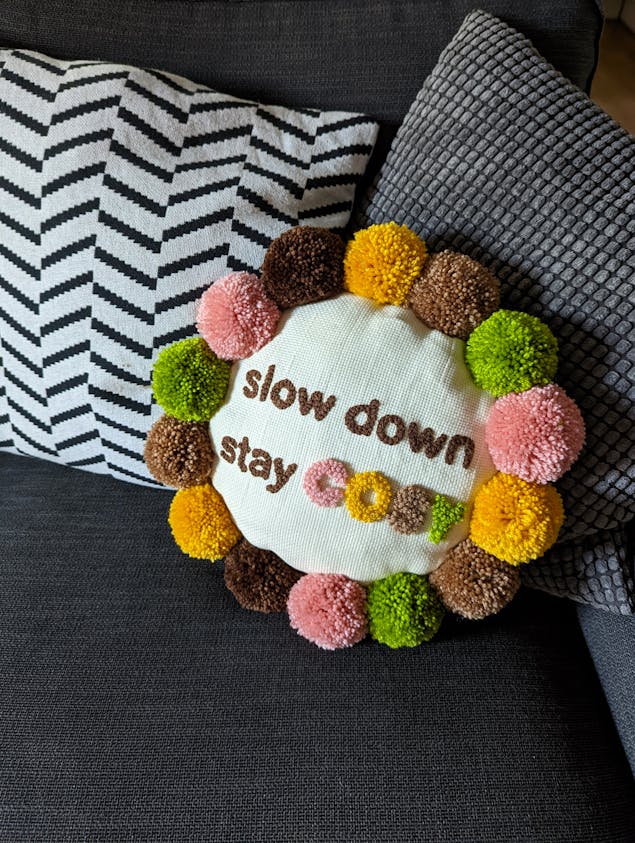
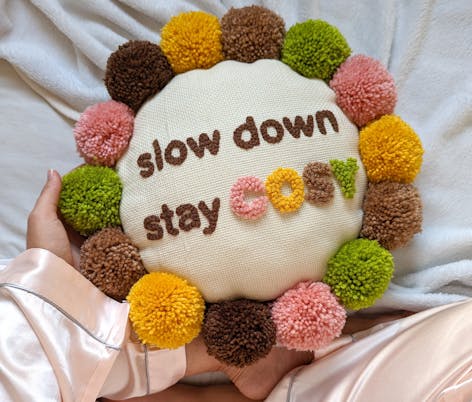
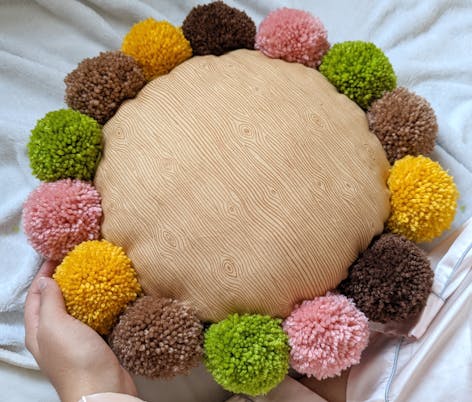
Published on October 18, 2022 1 min readIf you’re looking for a snuggly project to hibernate with for the cooler days to come, then this punch needle cushion by LoveCrafts maker Saphia Barros is the one for you! Complete with fluffy pom poms and wood grain patterned fabric, you’ll learn how to stitch cuddly decor packed full of texture!
Materials
- 12 inch embroidery hoop:
- Elbesee 12 inch (30.48 cm) Wooden Embroidery Hoop
- Monks cloth in Natural:
- DMC Monks Cloth 2.5yd
- 3 mm punch needle:
- Rico Wooden Punch Needle
- Cotton fabric of your choice for the back of the cushion
- Cushion filler/stuffing
- Vanishing fabric marker pen
- Paintbox Yarns Simply DK in Blush Pink, Coffee Bean, Soft Fudge, Lime Green, Mustard Yellow (one each):
- Paintbox Yarns Simply DK
- Fabric scissors
- Paper scissors
- Punch needle fabric glue:
- Rico Punch Needle Fabric Glue 250ml
- Paint brushes (one small, one medium)
- Pointed large eye sewing needle:
- Hemline Chenille Needles - Sizes 18 - 22 (6)
- Pom pom maker (85 mm)
- Dressmaker pins
- Sewing thread
- Sewing machine
How to make the punch needle cushion
1
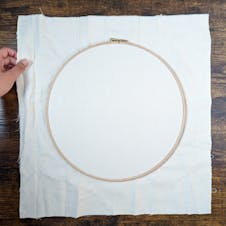
Stretch your monks cloth onto the embroidery frame until it feels drum tight in the middle. Cut out a generous square around the hoop.
2
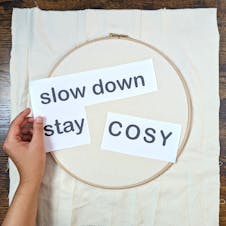
Print template, making sure to select ‘fill entire page’ on printer settings. Cut out template so that ‘slow down stay’ and ‘COZY’ are separate.
3
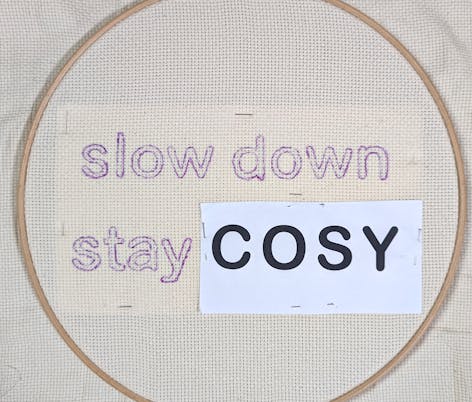
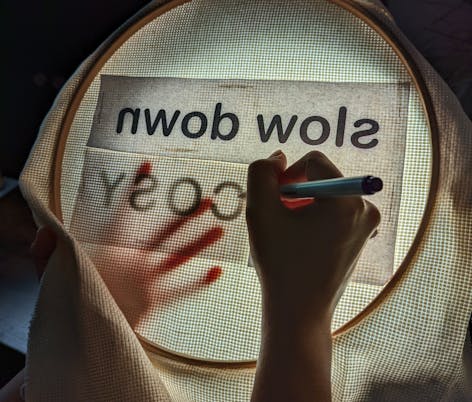
Pin the ‘slow down stay’ to the back of the fabric and trace with the fabric marker pen against a light source or window. Pin the ‘COZY’ to the front of the fabric, making sure it aligns where it was cut off from the rest of the phrase (place against a strong light source to help align) and trace onto the back of the fabric.
Pro Tip
When embroidering, leave some yarn loose from the yarn ball to ensure there is no tension when punching your stitches. Keep your embroidery tidy as you go along by trimming yarn ends on the opposite side of the fabric.
4
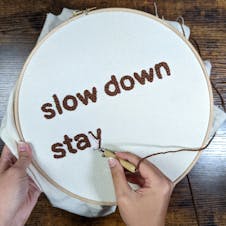
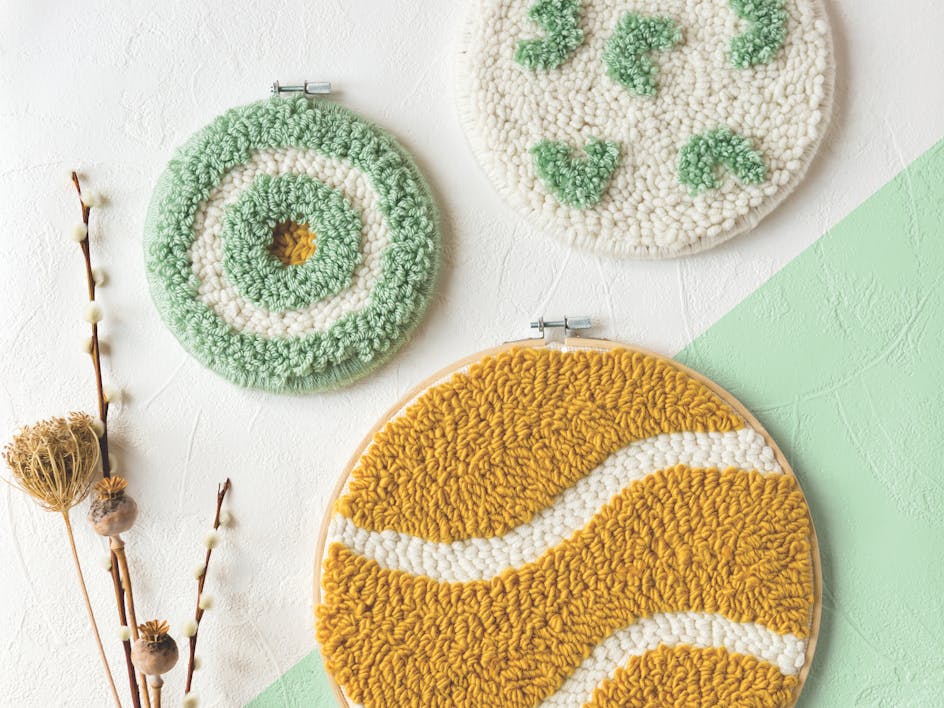
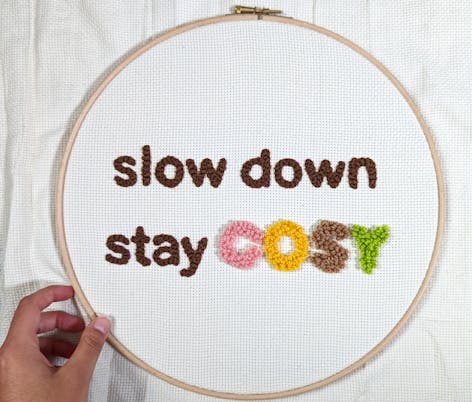
Set your punch needle to an approx length of 3 cm, and thread it with Paintbox Yarns Simply DK in shade Coffee Bean. Embroider ‘slow down stay’.
5
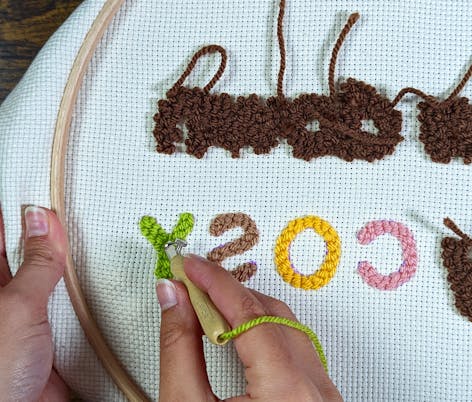
Turn your hoop to the back and embroider ‘COZY’ in the other yarn colors.
6
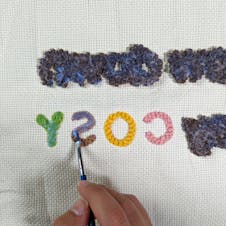
Paint fabric glue on the wrong side of your stitches, using a medium brush for the loops, and a small brush for the flat stitches. Let it to dry overnight.
7
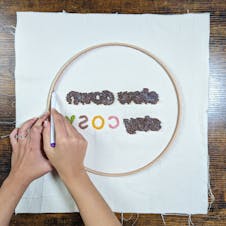
Remove the embroidery frame from the monks cloth. Position the smaller inner hoop onto the back of the design, making sure the quote is central. Draw a circle with the fabric marker pen.
Pro Tip
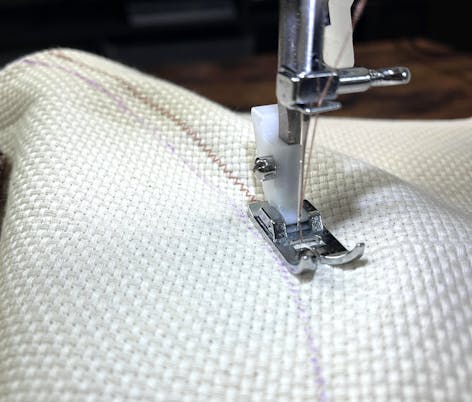
Monks cloth is a very loose even weave fabric which frays very easily. A zigzag stitch will prevent this from happening. Alternatively, you can use fabric glue.
8
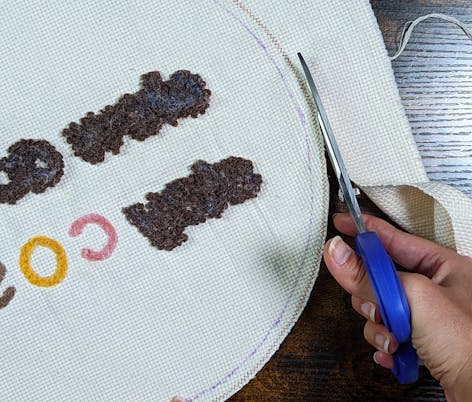
Stitch a zigzag stitch on the outside of the circle. This will be your extra seam allowance when stitching the cushion together. Cut closely beside the zigzag stitch to finish the front side of your cushion.
9
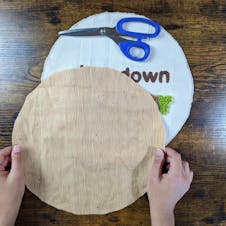
Pin the embroidered circle onto your patterned fabric to cut out another circle for the back of the cushion.
10
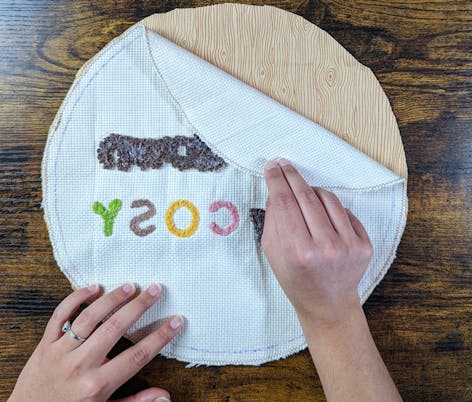
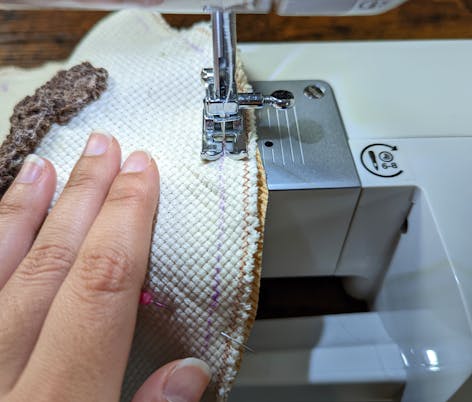
Pin the front and back with right sides facing together. Stitch a straight stitch on top of the drawn circle line. Be sure to not stitch the whole circle. Leave an approx 14 cm opening for stuffing.
11
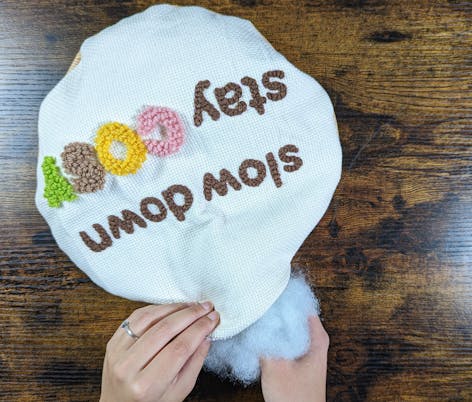
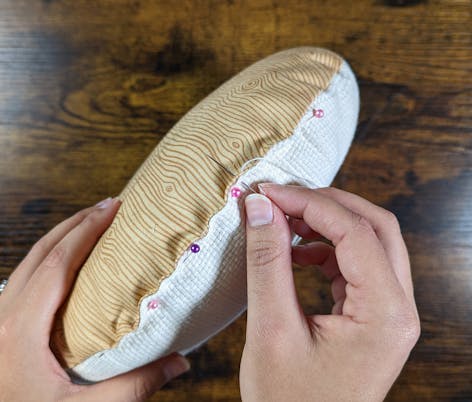
Turn inside out and stuff the cushion generously. Pin the opening together and close with a whip stitch.
12
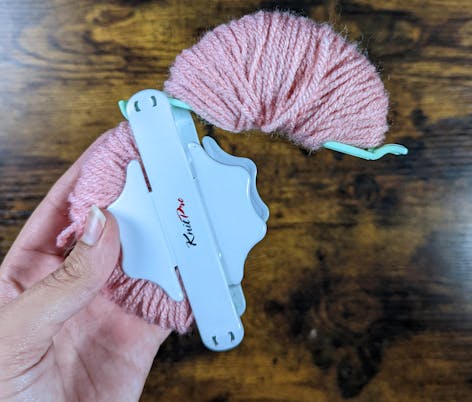
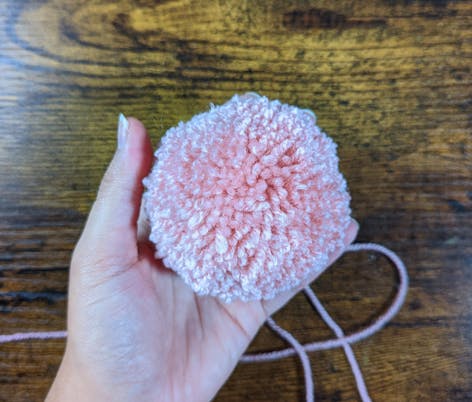
Using the pom pom maker, make 3 pom poms each in Mustard Yellow, Blush Pink, Soft Fudge and Lime Green. Make two pom poms in Coffee Bean. Be sure to leave long yarn tails when securing the pom poms with a knot.
13
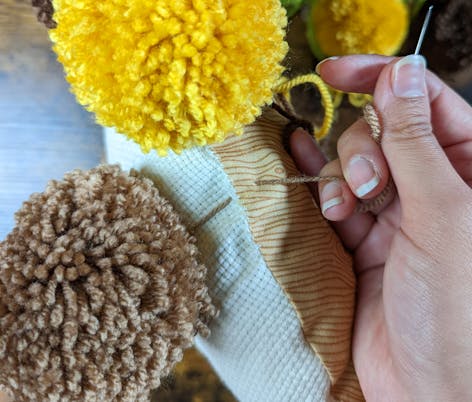
With the large eye sewing needle, thread one yarn tail from each pom pom and stitch through front to back on the edge of the cushion cover. Stitch the other yarn tail from back to front. Tie both tail ends together. Thread both tails and stitch back into the center of the pom poms. Trim to hide tails and finish.
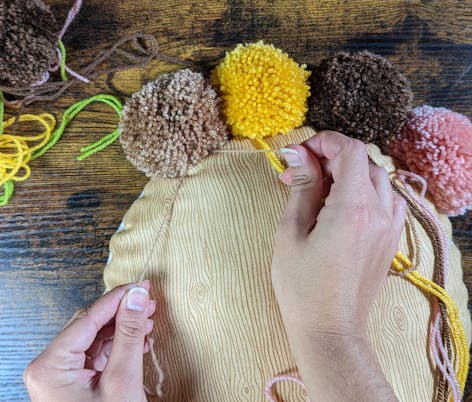
TA-DA! Time to make a hot drink and snuggle up on the sofa with your new cushion!
