Learn how to finger knit
Published on June 27, 2019 By SarahFinger knitting is the technique of making yarn crafts using only your fingers. Knitting without needles is great for cosy blankets and scarves, and big knit cushion covers. For beginners, choose a bulky yarn to perfect your technique. You can produce fabulous finger knitted scarves, cowls and blankets. For hats, toys and ornaments, a worsted or aran yarn is a great choice!
Learn how to finger knit using two or four fingers, with this simple and fun tutorial from expert Anne Weil of Flax and Twine.
Materials
- Worsted weight yarn
- Aran & Worsted
How to knit with four fingers step-by-step
1
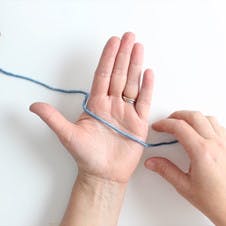
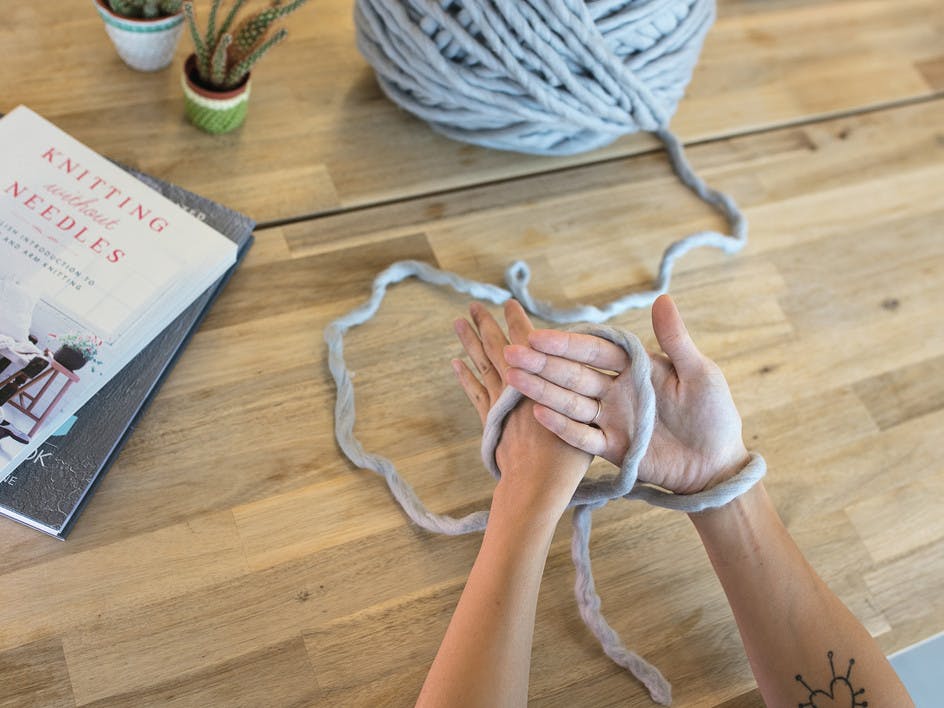
Lay it. Lay the yarn over your hand leaving a four or five inch tail.
2
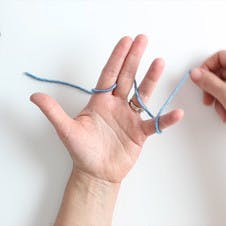
Create a line. Bring the yarn up and over your forefinger, behind your middle finger, over your ring finger and behind your pinky. This creates the first line. Now continue back in the other direction using this ‘under and over’ sequence.
3
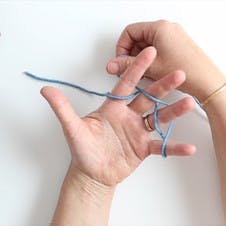
And again! Repeat one more time so you have two strands wrapped around each finger. Now you’re ready to start knitting your first row! (In this pattern the working yarn refers to the yarn which goes to the ball, and the tail refers to the end.)
4
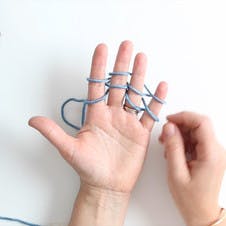
Up and over. Bring the lower strand on each of your fingers up and over the upper strand.
5
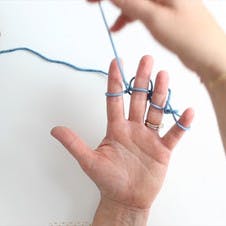
Lift the tail. Bring the tail over so it falls between your forefinger and middle finger leaving one strand remaining on each finger.
6
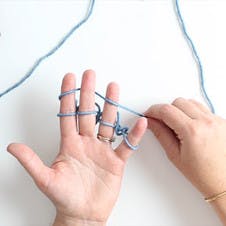
Work that working yarn. Now take the working yarn, and bring it around the forefinger repeating the up and over sequence, so you have two strands on each finger again.
7
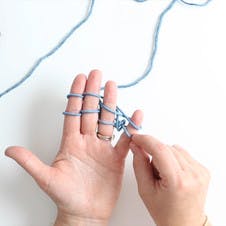
Repeat. Repeat step 3, bringing the lower strand on each of your fingers up and over the upper strand.
8
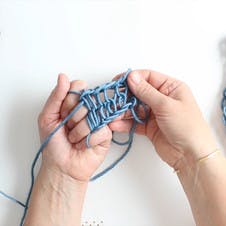
Keep going! Keep repeating this sequencing. You’ll start to find your rhythm producing loosely knit fabric behind your fingers.
9
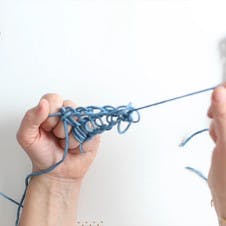
Tighten those stitches. Pull the tail of yarn to tighten the stitches.
10
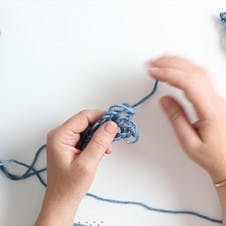
Bind off! To bind off, thread the tail of yarn through each of the stitches on your fingers starting with your pinky finger, followed by your ring and forefinger (missing out the middle finger), and then back to ring finger. Take your work off your fingers and pull the tail to tighten the stitches.
How to knit with two fingers step-by-step
1
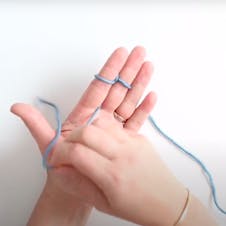
Loop it. Loop the yarn around your fingers using the ‘under and over’ sequence, except this time you are only using your forefinger and middle finger.
2
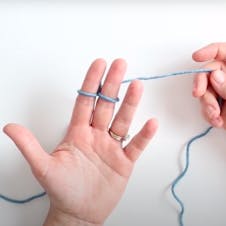
Up and over. Bring the lower strand on your forefinger up and over. Bring the tail over.
3
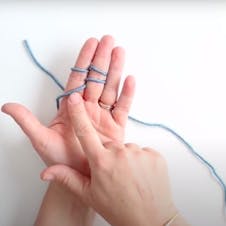
Wrap that yarn. Wrap the working yarn around forefinger and then around the middle finger so you have two strands on each finger.
4
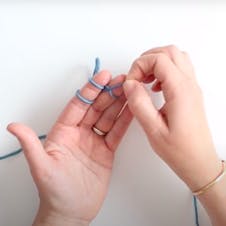
Up and over. Bring the lower strand on each finger up and over.
5
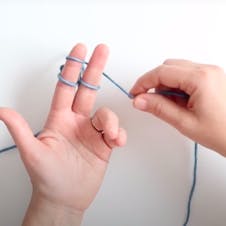
Keep going. Repeat these steps!
6
Bind off! To bind off take the tail under the forefinger followed by middle finger. Pull the tail to tighten the stitches.
Pro Tip
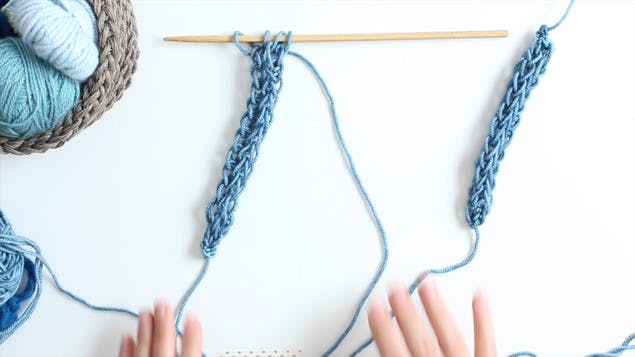
If you want to stop in the middle of your finger knitting project, take an object such as a pen or similar to use as a holder (Anne likes to use a chopstick). Take your holder, and thread up and under each stitch on your fingers. Once all the stitches are on your holder, lift the yarn off your fingers and place aside.
