Buttons and easy button holes
Published on December 19, 2018 By Amy Kasper 5 min read
Why are button holes so intimidating? Amy Kaspar shows you two easy methods to make it simple!
I hate sewing zippers, so I substitute all zippers with buttons on cardies. There are several different ways to make button holes, but because of space and time, I thought I would highlight two different ones, and you can choose which would work best for your next project.
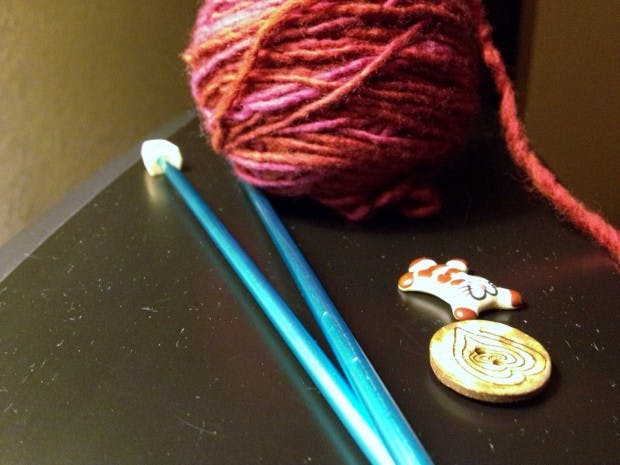
First things first: does your pattern call for a button hole? Take a look at your pattern, because way more often than not, there are specific instructions on how to make a button hole for a pattern which calls for buttons. Follow the instructions to the letter if it is your first time; button holes are like socks in the sense that you will want to stay in compliance with the pattern the first few times around. Once you understand how button holes are constructed, go crazy and make them your own way.
Next consideration: which buttons do you want to use? If the pattern calls for a specific size button, it is probably because of the size button hole you will have you make. This is easily altered, but the best thing in the world you can do for yourself is practice the called-for button hole on a swatch, and make sure the buttons you chose fit through the hole the pattern wants you to make.
If you do what I do, which is find cute buttons first and then find a pattern, keep in mind: yarn and yarny stitches are pretty stretchy! When making a button hole, aim for a hole that is 50-75% the width of the button. If your button hole is the same width as the button, your knitted piece may not lay as flat when it is all buttoned up.
Finally, the material of the button makes a difference. If you are using heavy glass or ceramic art buttons, a drapey fabric may not be the appropriate knitted match. You may want to save those buttons for outerwear, or a tighter-gauge knit, so the buttons will not weigh down the fabric.
Now, you should be good to go. Here are two easy button holes to try.
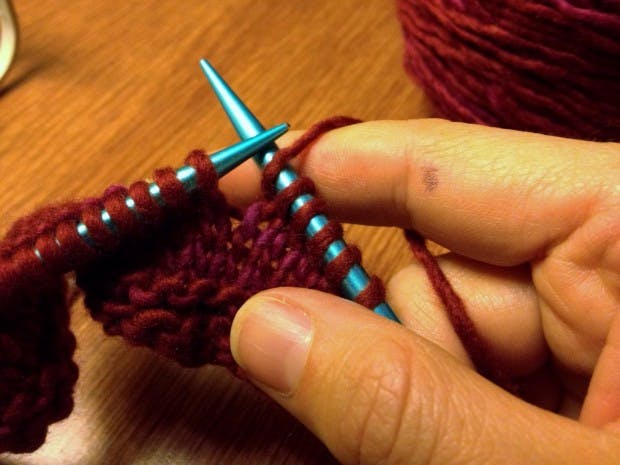
Easy yarnover button hole
The first one is super-easy, and it is a good one for oblong and three-dimensional buttons as well as flat ones. When you get to the place in the pattern where you would like a button, do a yarnover. Seriously. On your way back on that row, either knit or purl the yarnover together with the next stitch, depending on what pattern stitch you are using.
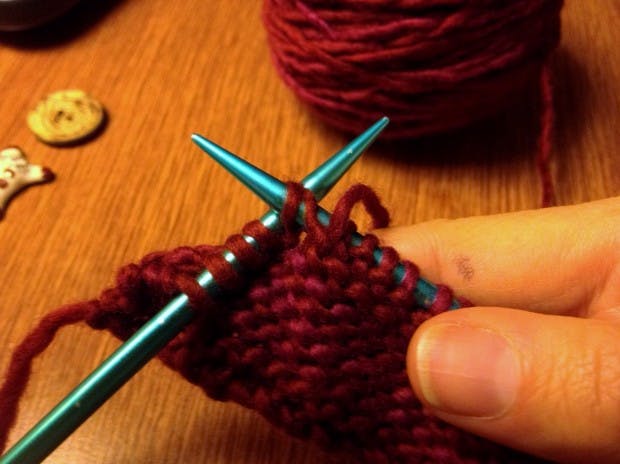
That is literally all there is to it; you will have a hole with a teeny slant to it, and it will be both pliable enough for a button to fit through, and stable enough to hold your fabric. Poof!
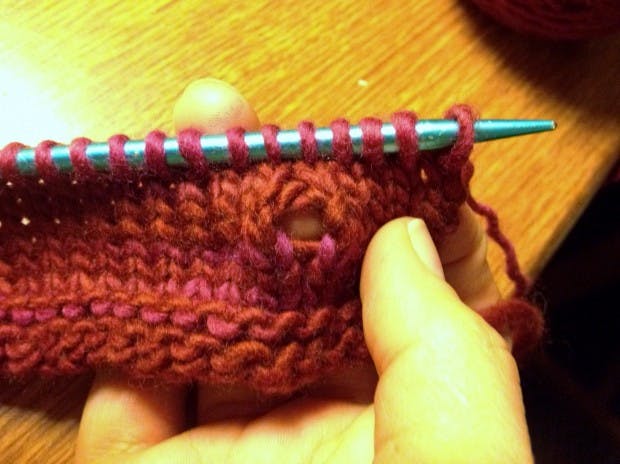
Traditional button hole
The second one is slightly more complicated, but still easy. If you want to make a more traditional, slit-style button hole, this method works for both side-to-side knitting and for a picked-up band. The slit will be horizontal on flat knitting, and vertical if you are picking up the front bands on a cardie.
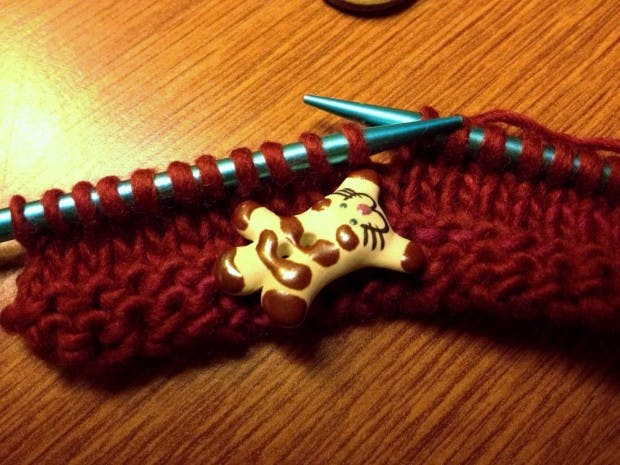
Lay your chosen button down on your fabric. Both of the buttons I have chosen are about five stitches across, so using the 50-75% rule, I will make a three-stitch button hole. When you get to the place in the fabric where you will be placing your button, cast off the number of stitches appropriate for your button hole.
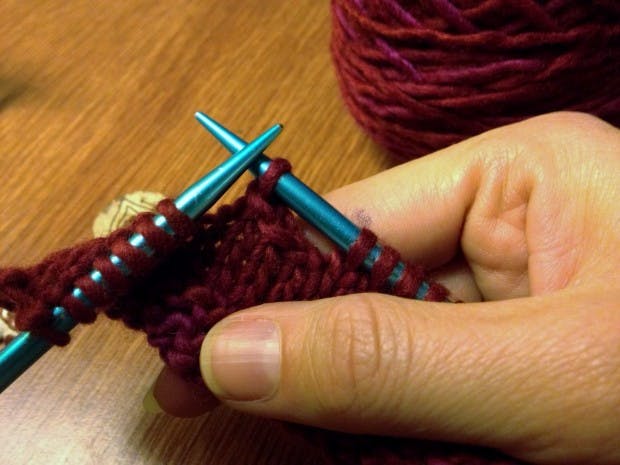
You will now have a gap on your needle. When you knit or purl back, cast on the same number of stitches you cast off when you arrive at that gap. You can use literally any cast-on method you want; some people tie some scrap yarn to do a long-tail cast on, and others use a tight backward-loop because it is quick and easy. Still, others prefer the cable or knitted cast-on. Just keep in mind that whatever cast-on you use, you need to make sure your working yarn continues in the direction of your knitting, so you may have to turn your needles around. I did the cable cast-on, so I had to turn my work around, cast on three stitches, and turn my work back to keep knitting in the correct direction.
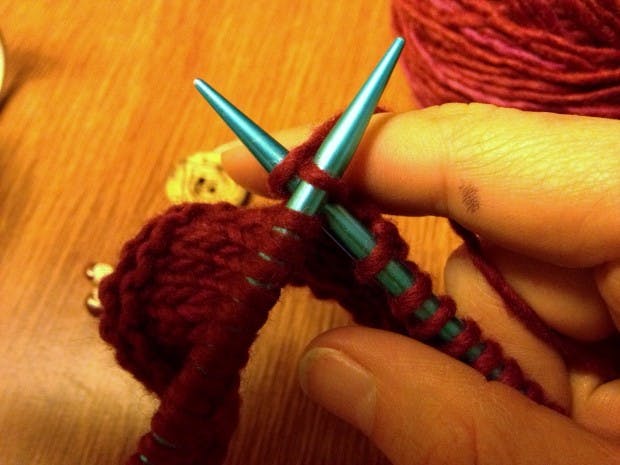
At this point, give yourself a quick double-check. Does the yarn cross over from one side of the button hole to the other, or do you just have continuous stitches? Continuous stitches = good. Diagonal bit of yarn crossing over the button hole = bad.
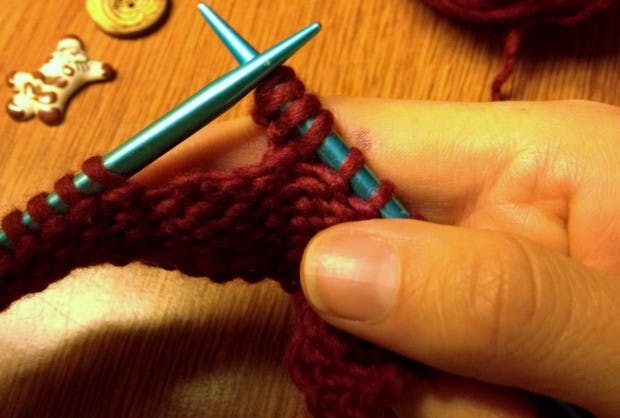
Then, literally just go about your business and keep knitting. If you did not do the practice swatch I told you to do, then knit two more rows in pattern and check the diameter of the button hole by sending the button on through. Perfect fit in my case.
If you are unhappy with the way your button hole looks, you can either choose a different cast-on method, or go back and finish the button hole with a tapestry needle and waste yarn from your project. If you make your button hole too big, you can also use waste yarn from your project to sew up a couple of the end stitches to make the hole smaller.
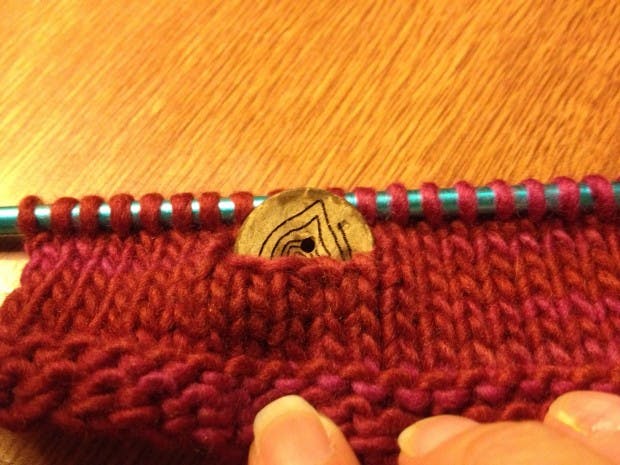
If your hole is two small, you have two choices: rip back and make another button hole, or get smaller buttons. Ripping back is actually easier than it sounds, because you can rip back right to that gap and just pick back up where you left off, with no complicated counting necessary.
Throw some buttons on your next project. They're easier than you think, and let’s face it: there are some great buttons out there. The least we can do is attach them to our knitting!


