Make a Christmas wish come true with these festive sewing tutorials
Published on October 28, 2021 1 min read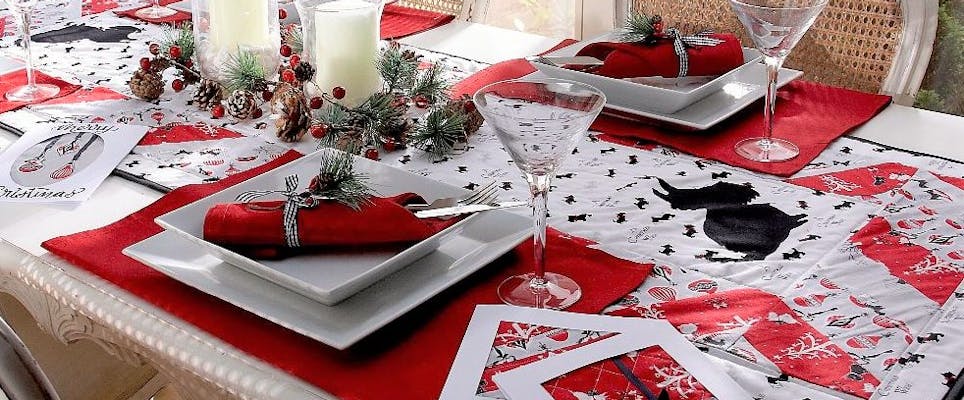
With the holiday season on the way, these beautiful festive sewing tutorials by Kimberly Hind are a Christmas wish come true! Choose from a timeless Christmas themed table runner or whip up your own DIY Christmas cards with this merry trio of patterns with left over trimmings.
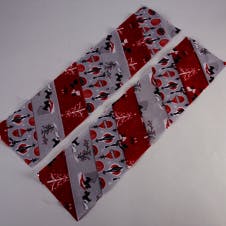
How to make a festive table runner
This beautiful table runner will steal the show this Christmas with its stylish festive design and signature scottie dog detail. In this tutorial, designer Kimberley Hind will take you through the steps, so you can make your own.
Finished size:
55cm x 160cm
Use ¼” seam allowance
Materials
- 112cm x 70cm centerpiece fabric
- 112cm x 50cm baubles fabric
- 112cm x 50cm mistletoe or festive tree fabric
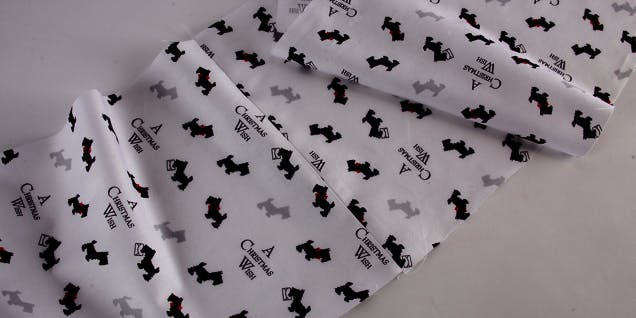
- 112cm x 50cm Christmas scotty dog fabric
- 440cm of 2.5cm wide bias binding
- 160cm x 190cm wadding (you could use heat reflective if you wish)
- Basting spray or pins
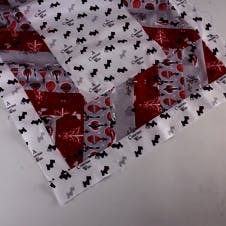
How to make step-by-step
1
For the center, 2 pieces of fabric measuring 25cm x 70cm. Trim off selvedges. Sew the top ends together, right sides together, with the pattern facing in opposite directions. Press the seam open.
2
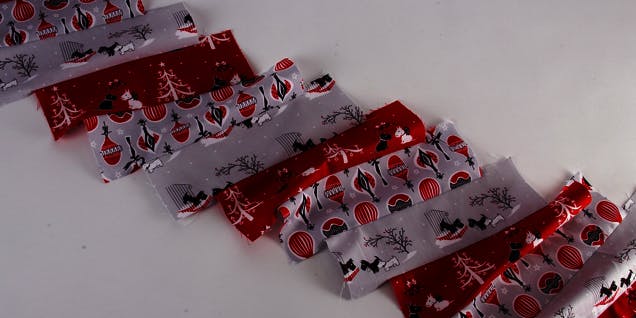
Cut 5 strips of baubles fabric, 5 Christmas trees fabric and 5 Scotty dog fabric each, measuring 112cm x 8cm. Cut these into 23cm pieces. Stagger the strips to create 4cm ‘steps’.
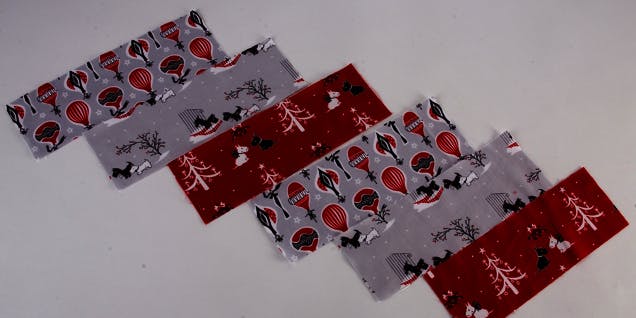
3
Sew right sides together into a staggered strip. 20 for each side for each side of the runner.
4
Press the seams all to one side, then trim the sides to create a 13cm wide strip. Square off the ends.
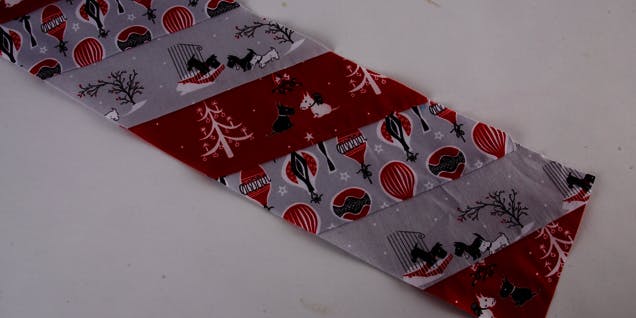
5
Sew right sides together to the center panel, trim the ends if necessary.
6
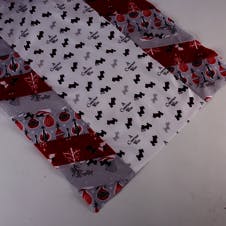
Sew 9 pieces together in the same staggered way for the top, and nine for the bottom. Sew right sides together to the runner. Again, trim the ends if necessary.
7
Cut two strips of centerpiece fabric each measuring 6cm x 70cm, sew the short ends right sides together with the print mirror images. Press the seams open.
Sew right sides together to each side of the runner. Trim if necessary and press.
8
Cut two strips of centerpiece each measuring 6cm x 60cm, sew right sides together to the top and bottom of the runner and trim.
9
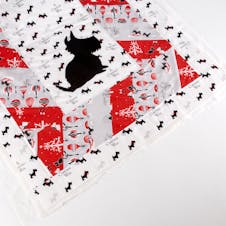
Cut your wadding 10cm larger all around than the runner. Place the runner over the wadding, use a basting spray or pins to secure. Place this over the wrong side of a piece of backing fabric slightly larger than the wadding. Quilt as you like, I simply stitched around the center and border sections.
10
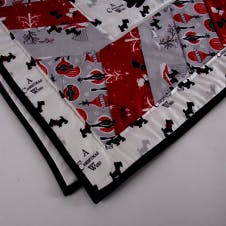
Trim the wadding and backing fabric to the size of the top piece. Apply bias binding all around, overlapping the ends to make neat and mitring the corners.
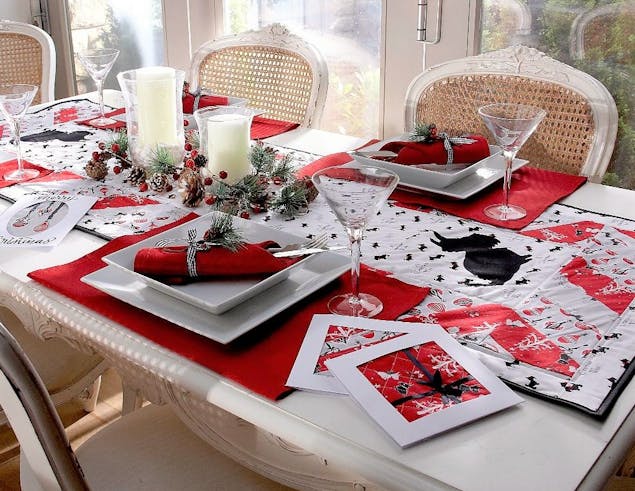
That’s the table runner finished! You could make matching placemats or cushions for extra details to you Christmas table décor. Happy sewing!
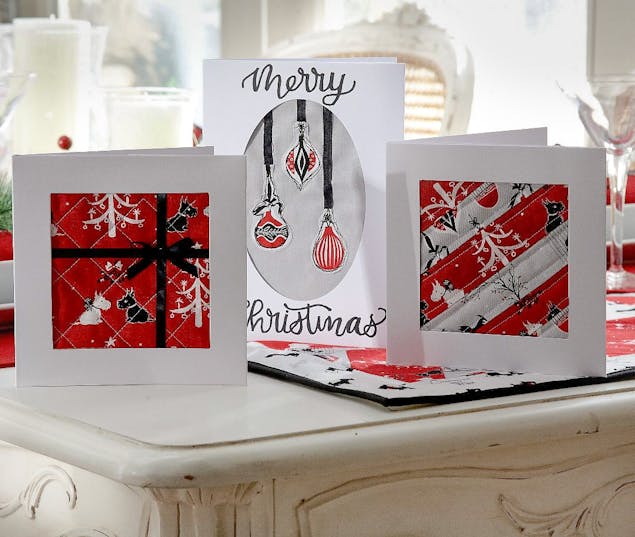
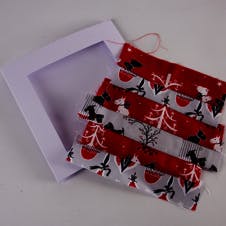
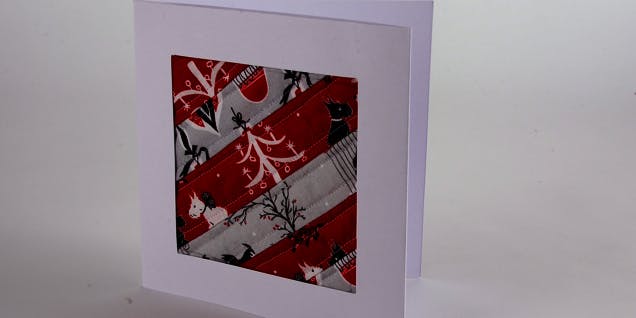
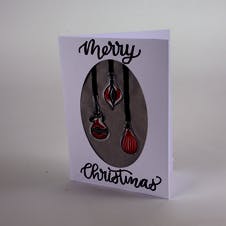
How to make a scottie dog and bauble Christmas card: 3 designs to choose!
Don’t waste any of your scrap fabric this Christmas! These quick and easy cards use small pieces of fabric and wadding to create unique cards for your special ones. Add ribbon, decals or calligraphy on the front of the cards to personalize or leave blank for a minimalist look. You can make these cards in any sizes; I’ve listed below what sizes I’ve used.
How to make the quilted lines card
Materials
- Strips of fabric 4cm wide
- Wadding (80/20) measuring no bigger than the card
- Strong double-sided tape
- Spray glue
- Erasable marker
- Prym Aqua Trick Marker Water Erasable
- 5.5” square aperture card
1
Sew together strips of 4cm wide fabric until it is slightly larger than the aperture.
2
Cut a piece of wadding slightly larger than the fabric, place the fabric over the wadding and quilt by stitching along the seams.
3
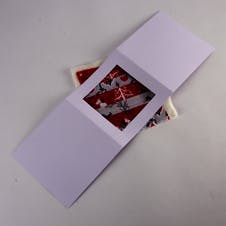
Place the fabric behind the aperture at an angle to create the diagonal lines. Draw the shape of the aperture onto the fabric.
4
Cut the fabric slightly larger than the aperture marks. Adhere to the inside of the card with double-sided tape.
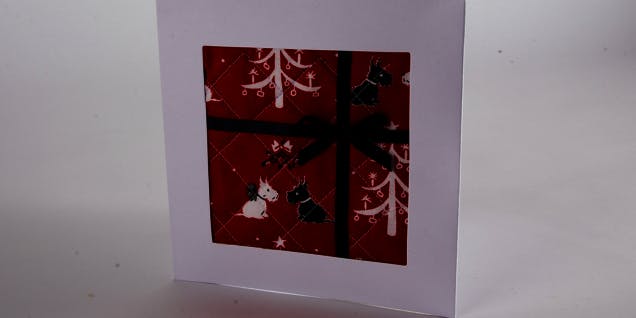
How to make the quilted present card
Materials
- Fabric and wadding (80/20) measuring slightly bigger than aperture shape
- A ruler and erasable marker for quilting
- Ribbon
- Wet glue (I’ve used Gutermann HT2)
- Spray glue (I’ve used Odif 505)
- Strong double-sided tape
- 5.5” square aperture card
1
Cut the fabric of choice slightly bigger than the aperture.
2
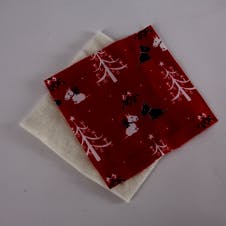
Cut a piece of wadding to the same size.
3
Use a spray glue (505) to adhere the wadding to the back of the fabric. Place behind the aperture and draw around the shape.
4
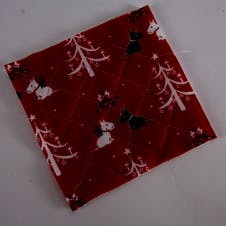
Draw diagonal 1” lines across the square using an erasable marker and ruler. Sew over these lines to quilt.
5
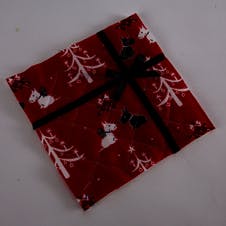
Cut 2 pieces of ribbon slightly bigger than the quilted square. Use a wet glue (HT2) to adhere the ribbon to the square. Glue one piece lengthways and the other widthways to create a wrapped present look.
Cut a third piece of ribbon. Tie a bow with the ribbon and glue to the crossover point of the ribbon on the square. Trim the tales if needed.
6
Use double sided tape to stick the quilted square to the inside of the card.
How to make the bauble card
Materials
- A piece of fabric for the background of the card measuring slightly bigger than the shape of the aperture. I’ve used a light grey cotton.
- Bauble print fabric
- Iron-on adhesive on transfer paper – I’ve used ‘Bondaweb’
- Ribbon
- Strong double-sided tape
- Erasable marker
- Marker pen for sentiment (optional)
- A5 oval aperture card
1
Cut a small piece of fabric that features the baubles you’d like to use for the card. Adhere your fabric to the Bondaweb following the instructions on the packet.
2
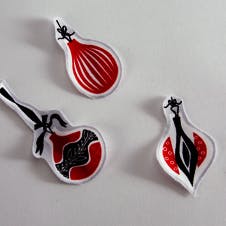
Cut out the bauble shapes. These are now your applique pieces.
3
Draw the shape of aperture onto the background fabric.
4
Cut 3 strips of ribbon at different lengths.
5
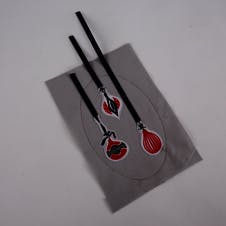
Iron the baubles in place inside of the aperture shape with ribbon tucked slightly behind to look as though they are hanging.
6
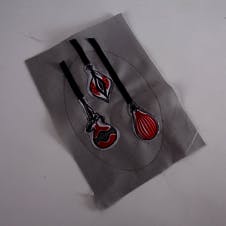
Free motion stitch around the baubles and along the ribbon.
To free motion sew, you’ll need a free motion/darning foot for your sewing machine. Alternatively, you could use a straight or satin stitch.
7
Use double sided tape to stick the bauble panel inside the card. Add any sentiments you wish.