What is a yarn over? (yo)
Published on November 10, 2020 By Merion 2 min readIn knitting, a yarn over (abbreviated to "yo") can be used to create an extra stitch on your needle (increase) or a small hole in your fabric - but don't panic, that little hole might be a decorative part of a lace pattern, or a tiny button hole! This simple stitch is easy to learn and amazingly useful, so it's a great one to learn to up your knitting game. Read on to learn more about the yarn over and how to yarn over in your own knitting project!
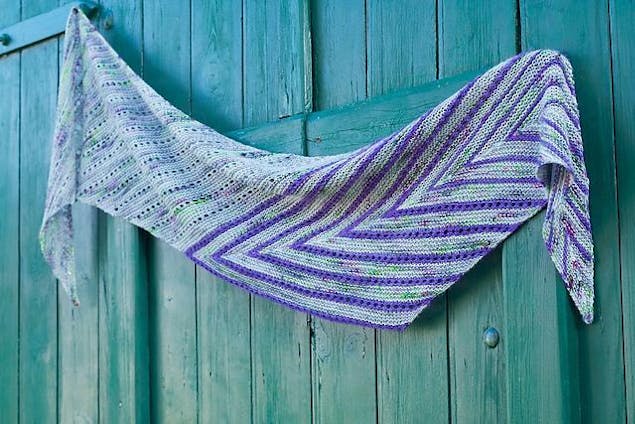
Why might you use a yarn over?
Yarn overs are used for decorative AND practical purposes. They can be used to increase a stitch, create a button hole or as part of a lace motif. Yarn overs are often paired with k2tog when used as a decorative stitch, because a yarn over adds a stitch, and a k2tog will be used to even up the stitch numbers. Yarn overs are particularly useful as button holes in clothes where you need little tiny buttons for babies or toys' clothes.
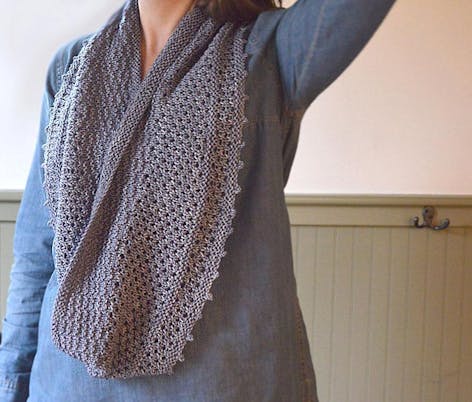
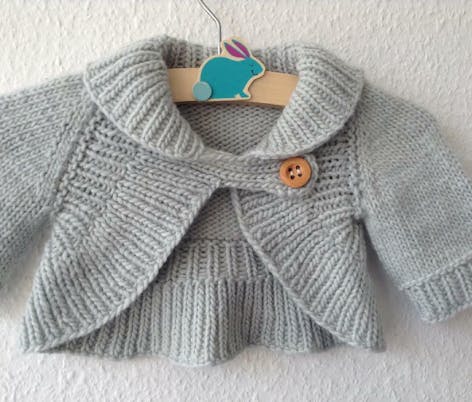
Above: Sarai by Wendy Chapman and Miss Daisy by Frogginette
How do I work a yarn over?
It's very simple! When the instruction YO appears in a pattern, simply wrap your yarn around the needle, bringing it under and over the needle between two stitches.
Whether you are yarning over between knits or purls, the action is the same, to make an extra loop on your needle, but if you are yarning over between purl stitches, you will need to bring the yarn over the top of the right hand needle and then underneath and over to create that extra single loop.
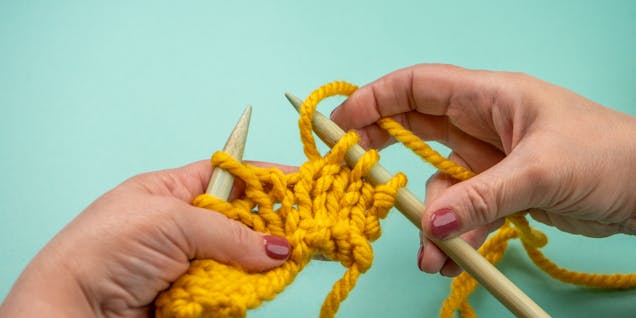
When you're yarning over after a knit stitch, you bring the yarn forward to the front of the work, and then knit the next stitch:
Yarn over after a knit stitch
1
Bring the yarn under and over the needle, and knit the next stitch.
2
This is what the yarn over looks like after you've knitted the next stitch.
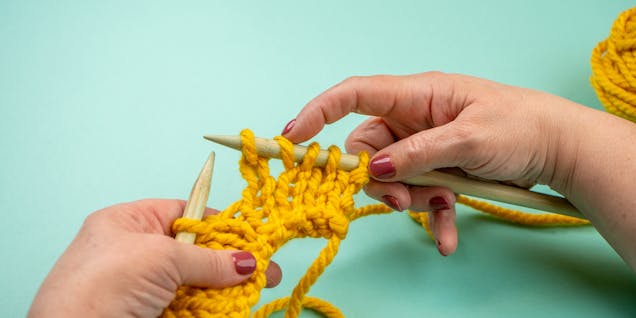
When you are yarning over after a purl stitch, your yarn is already forward, so you need to take it over to the back of the work and bring it forward again to work the next purl stitch:
Yarn over after a purl stitch
1
This is how your stitches look when working a purl row.
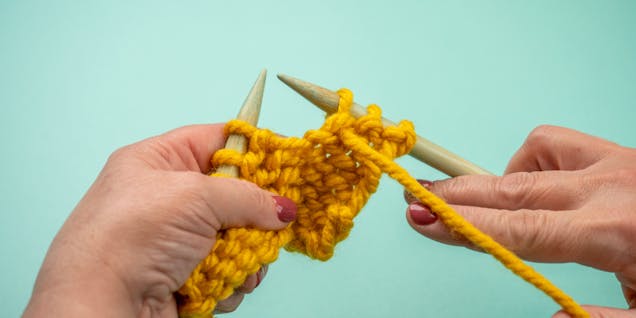
2
Bring the working yarn over and under the needle, and then work the next purl stitch.
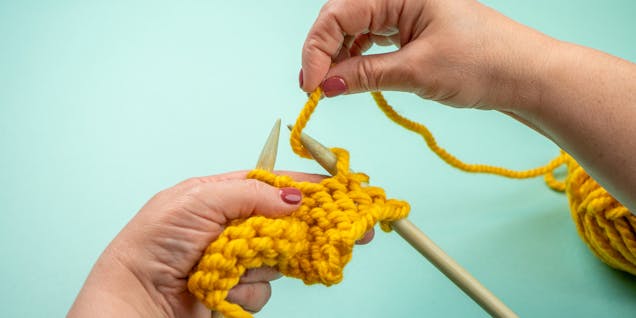
3
This is what the yarn over looks like after you have purled the next stitch. Now you can bring the yarn back to the front of the work and carry on purling.
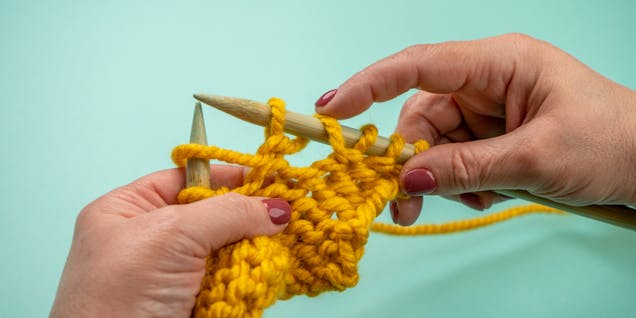
What about a double yarn over?
A double yarn over creates a bigger hole. Abbreviated to YOYO, this stitch technique is great if you're adding larger buttons or toggles to your cardis. For knitters, this can be a trickier stitch and one you need to concerntrate on when you knit. But, not to worry, our handy tutorial on how to double yarn over will help you out!


