How to sew a princess seam
Published on May 27, 2020 By Sophie Brown 1 min read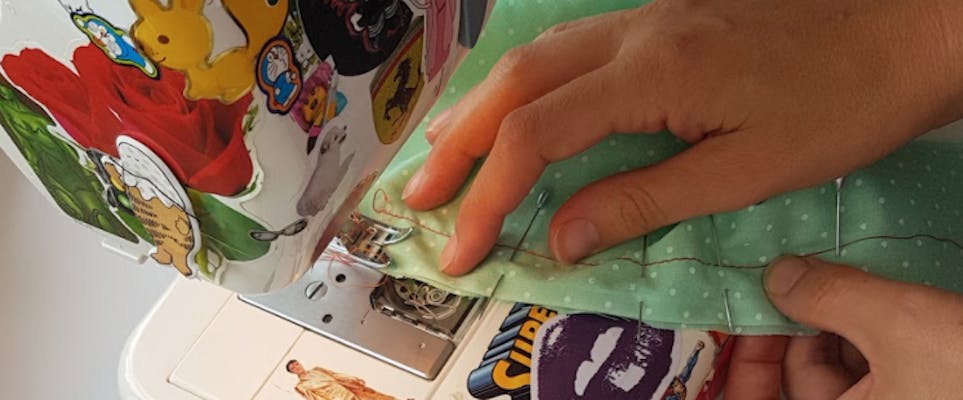
Well there’s nothing going to make you feel more ladylike than wearing something with a princess seam! Sadly this doesn’t entitle you to a tiara, but it is a great way of creating a curve (usually over the bust) without the need for darts, which is ideal if you have a delicate fabric or something that a bulky dart could ruin.
Learning how to sew a princess seam takes a bit of practise. Having confidence and a knowledge of how fabric moves is a great start! If you don't crack it first time, keep at it. You will go to the ball, and we’re here as your fairy godmother.
1
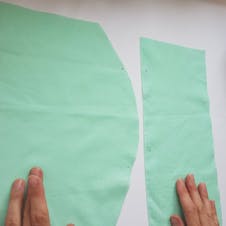
Line up the notches and cut out your pattern out ensuring you get the notches in the right place. It wouldn’t hurt to sew a line of stay stitch along the straight edge between the notches to prevent the fabric from stretching, as you can never be too careful with curves.
2
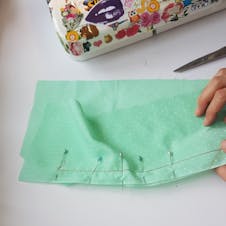
Pin in place with the right sides facing each other, pin together at the notches. Then pin in the middle and then ease the fabric into place along the seam edge and pin the rest in place.
3
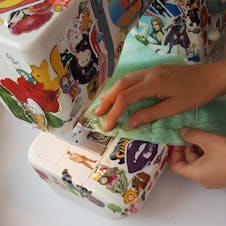
Sew slowly along the seam edge using your hand to control the curve. When you've finished, you’ll see that the edge is puckering.
4
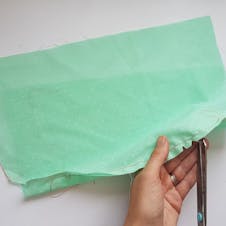
Clip the seams and snip into the material between the edge of the fabric and the seam line, ensuring that you don’t go too far and cut any of your stitches. Cut out little triangles all along the curved edge.
5
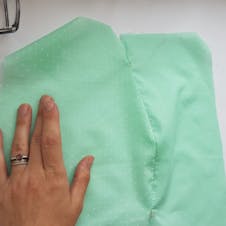
Press. Now when you turn it out the right way you’ll see that it’s not trying to pucker anymore and will lie nice and flat against the body.
This technique can be a bit tricky at first, so it can be a good idea to have a practise on some fabric scraps. Once you've mastered it you'll be making bodices, blouses, shirts and maybe even a ball gown.

