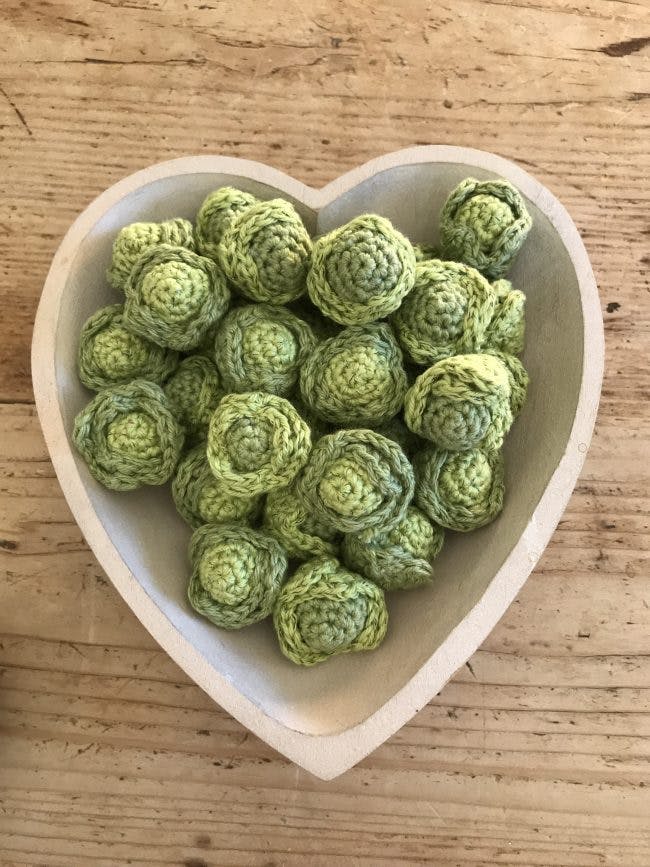
Crochet fabulously festive little sprouts
Published on October 29, 2019 2 min read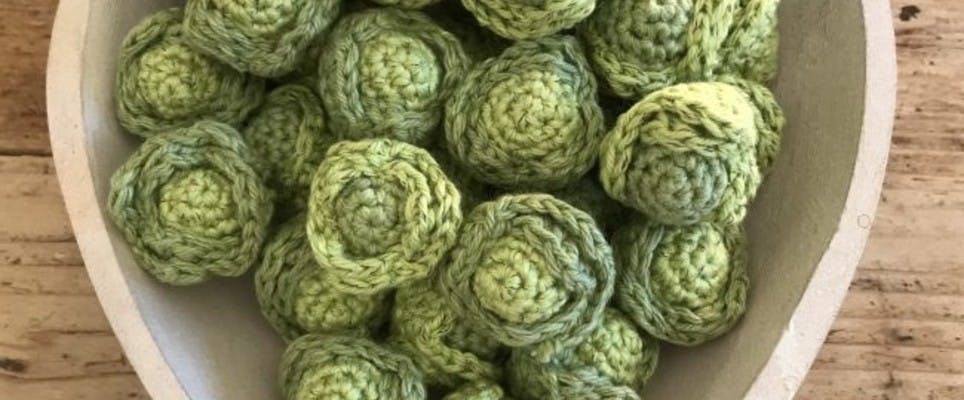
We don’t know about you, but we love a good sprout come Christmas! This year, you don’t have to limit your veggie loving to the dinner table. Go crazy for greens this Christmas and decorate your home with these fabulously festive sprouts!
Kate Eastwood has come up with the best crochet pattern for these gorgeous little greens. They’re so easy to make that you can crochet a bunch of them; then they’ll be sprouting up all over your home!
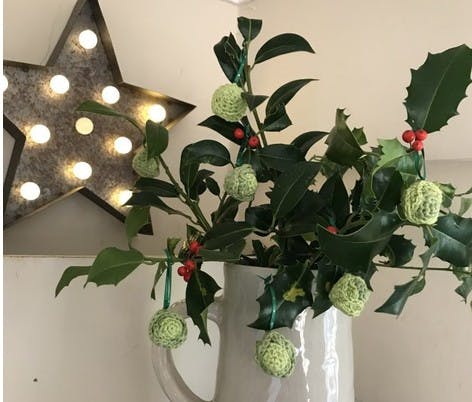
Whether you thread them with ribbon to hang on the Christmas tree; use them to decorate a wintry wreath or hang them from brilliant branches as a stunning centerpiece – these tiny but mighty sprouts are guaranteed to make an impression on festive visitors!
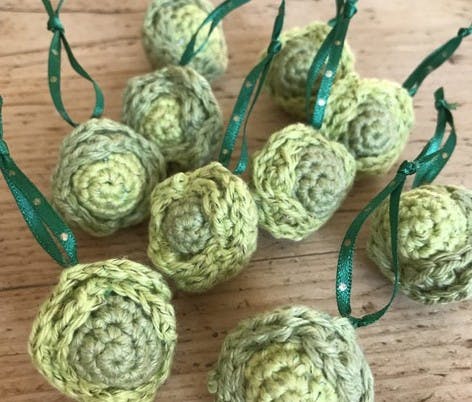
Each crocheted sprout is made up of two separate parts – a ball for the center and a frilly wrap around outer layer for the leaves. The finished sprout measures approx 3.5 to 4cm.
Love them or hate them – you can’t deny that sprouts certainly make the perfect fun and quirky festive decorations! Here’s how to crochet them…
Materials
- Light green DK yarn
- Darker green DK yarn
- 3mm hook
- Toy stuffing
- Stitch marker (optional)
- Coordinating ribbon (optional)
- Wreath base (optional)
How to make the inside of the sprout (in a continuous round)
1
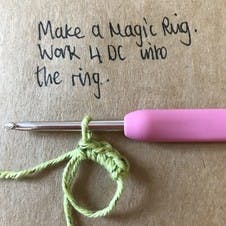
Round 1: Using one of the greens make a Magic Ring and then work 4 DC in to the ring.
2
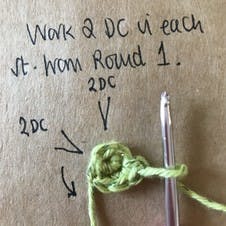
Round 2: Work 2 DC in to each of the stitches from the first round, 8 sts.
3
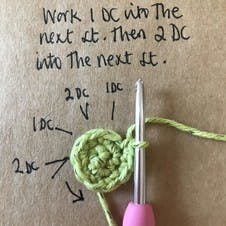
Round 3: *Work 1 DC in to the first stitch, followed by 2 DC in to the next stitch*. Repeat from * to * all the way round, 12 sts.
4

Rounds 4 and 5: DC 12.
5
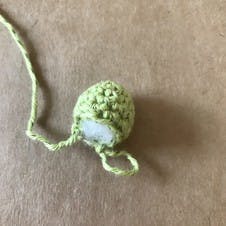
Round 6: Work 1 DC, then decrease by working the next 2 stitches together with 1 DC, 8 sts.
Now stuff your sprout tightly.
6
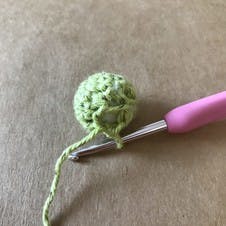
Round 7: Decrease by working 2 DC together all the way around, finish off using the end of the yarn to sew the hole closed tightly.
How to make the outer leaves of the sprout
1
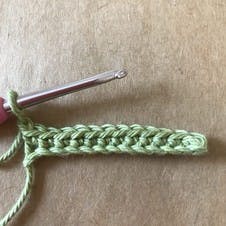
Row 1: Using the alternate green to the inside of your sprout, work a chain of 13.
2
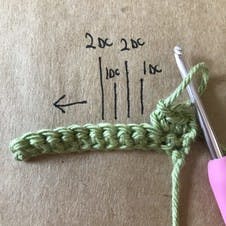
Row 2: Starting in the second chain from the hook work a row of 12 DC. Chain 1 and turn.
3
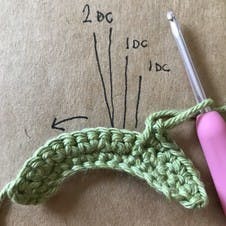
Row 3: *Work 1 DC in to the first stitch followed by 2 DC in to the next.* Repeat from * to * to the end of the row, 18 sts. Chain 1 and turn.
4
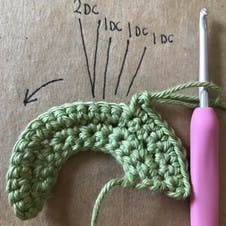
Row 4: *Work 1 DC in to each of the first two stitches followed by 2 DC in to the next.* Repeat from * to * to the end of the row, 24 sts. Chain 1 and turn.
5
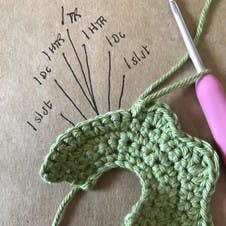
Row 5: *Work 1 DC in to each of the first three stitches followed by 2 DC in to the next.* Repeat from * to * to the end of the row, 30 sts. Chain 1 and turn.
6
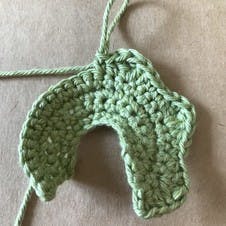
Row 6: To create the wavy edge to make the leaves work the following stitch pattern: *DC 1, HTR 1, TR + DTR + TR all in one stitch, HTR 1, DC 1*. Repeat from * to * twice.
7
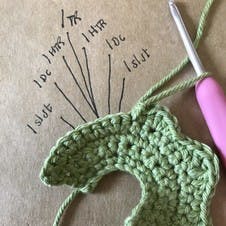
Now work the following stitch pattern: * Sl St 1, DC 1, HTR + TR + HTR all in one stitch, DC 1, Sl St 1.* Repeat from * to * twice.
8
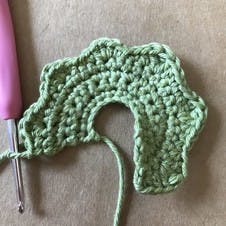
Finish off, leaving a long tail.
How to finish off the sprout
1
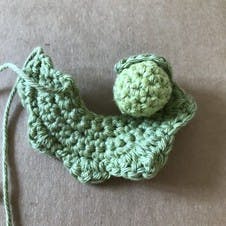
With the right side facing out, and starting with the end that has the taller leaves, carefully wrap the outer layer around the inside of the sprout.
2
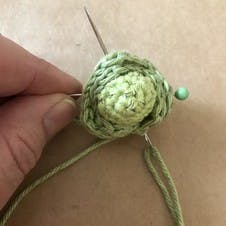
Pin in place. Using a needle and the long tail of yarn left from the finishing off, sew the outer layer to the center of the sprout securely.
3
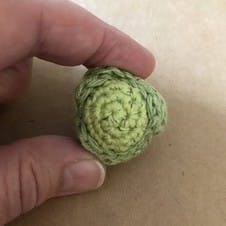
Voila! You've got the first sprout to add to your collection.
Once you’ve got a bunch of brilliant sprouts, it’s time to put them to use! Here are some ideas to get you started…
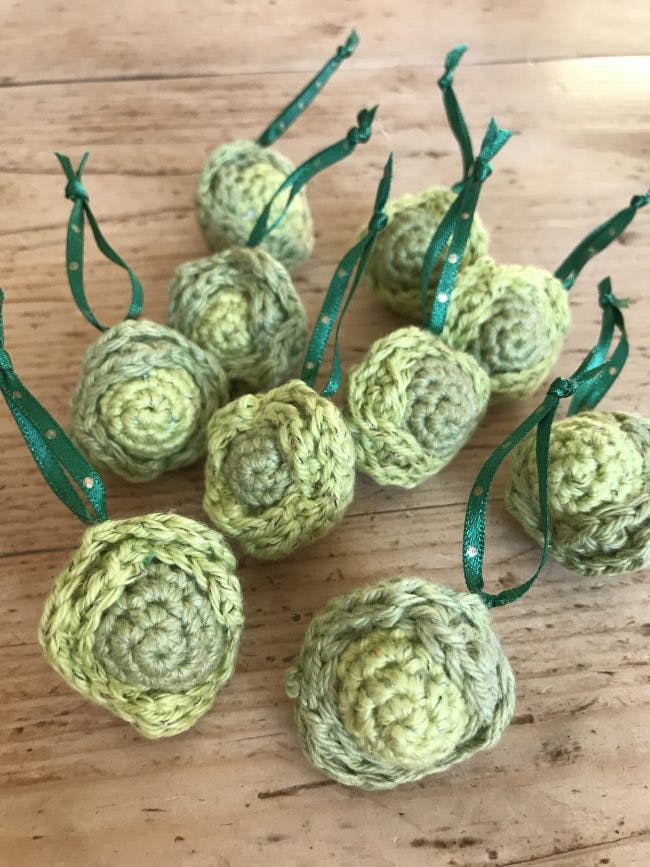
Add matching ribbon to make sprouty Christmas tree decorations
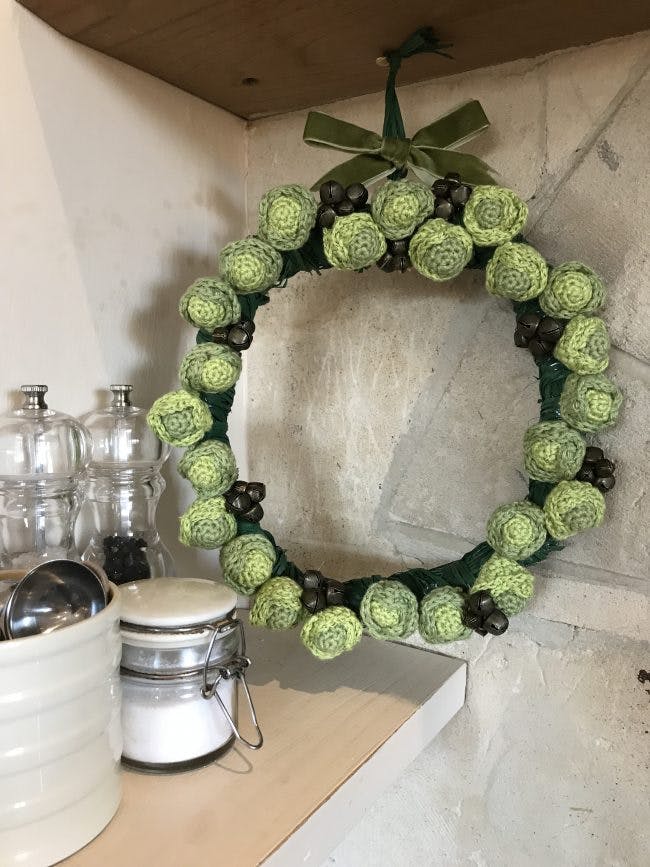
Create a vegtastic festive wreath
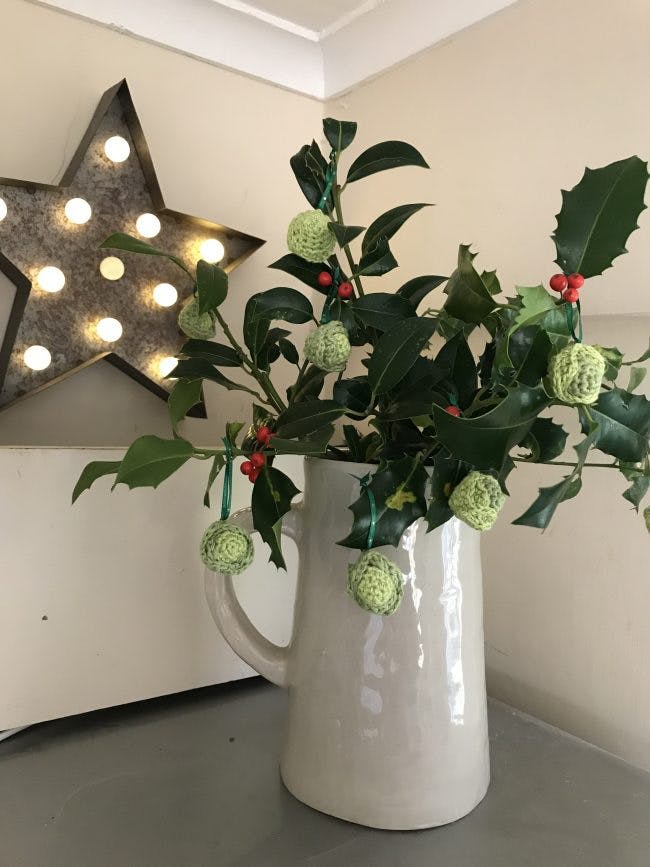
Hang sprouts off natural branches
Pop them in a bowl as a festive centerpiece
