4 ways to knit jogless stripes
Published on January 26, 2015 By Elizabeth Bagwell 3 min read
Fed up of having a noticeable line when you knit stripes in the round? Elizabeth Bagwell explains how to create jogless stripes.
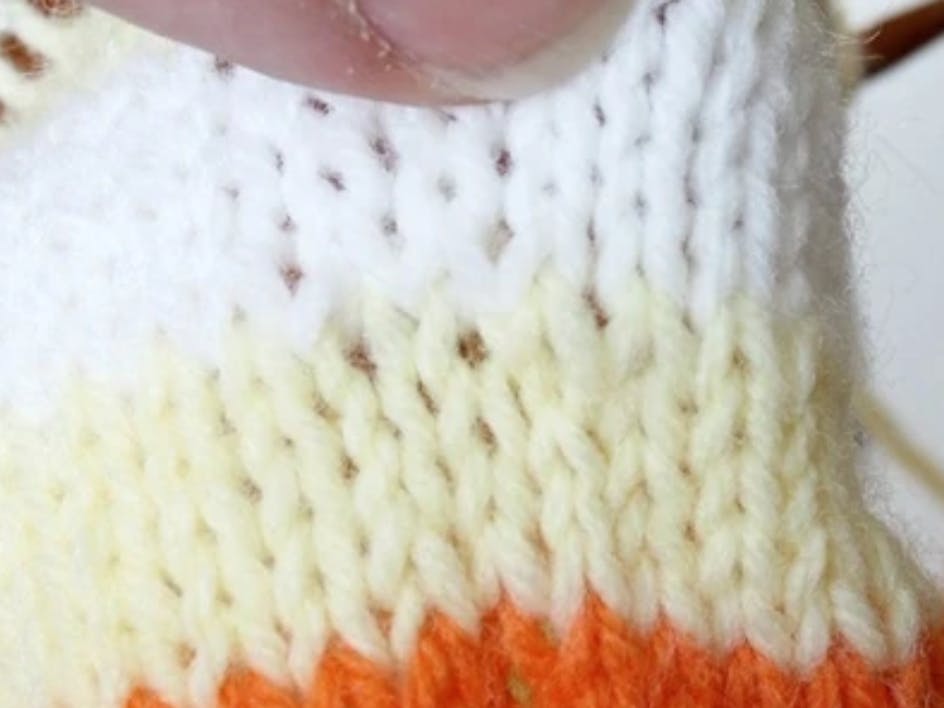
One of the downsides of knitting in the round is that when you knit stripes, you often get a ‘jog’. This is the spot at the start of the round where the stitch from color #1 is right next to color #2. It’s a visual jolt, and can be frustrating. Here are four ways to avoid the problem;
Slip the first stitch
Knit your first stripe then create a jogless change:
1. Change color as usual and knit the first round.
2. Slip the first stitch of the second round, then complete the round.
3. Knit every following round as usual, until you change colors again where you will repeat the steps for the 'Slip the first stitch' technique.
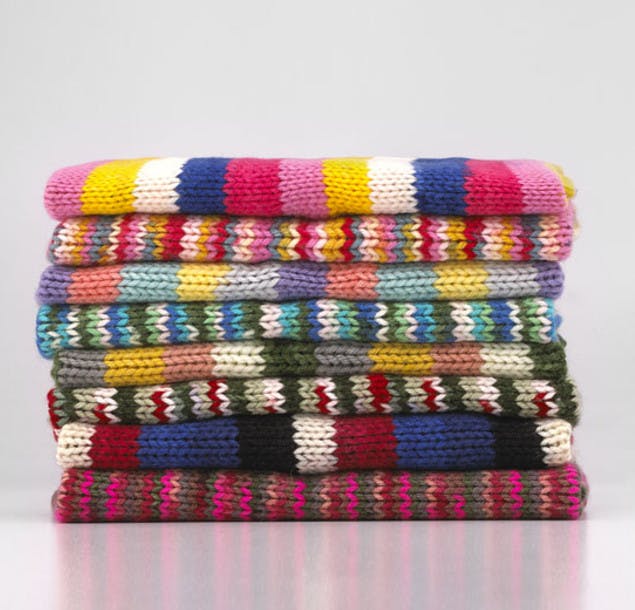
Slipping the first stitch works well for wide stripes, but for narrow stripes (2-4 rows) stacking all these slipped stitches can cause the work to pucker or create a visible line as there’s a missing stitch every 2-4 rows.
In this case, you can try:
Traveling stripes
Knit your first stripe then create a jogless change:
1. Change color as usual and knit the first round.
2. Slip the first stitch of the second round, then complete the round.
3. Knit the slipped stitch. The next stitch (i.e. the one after the slipped stitch) is now the start of the round.
4. Knit every following round as usual, until you change colors again when you need to follow the 'Traveling stripes' steps again.
This means that each column (stitch) in each stripe has exactly the same number of rows, and will look really tidy.
The downside to this technique is that it moves the start of the round each time. While this is an advantage, in that the jog is not only well hidden, it’s also distributed around the work, it can be a real pain for certain projects, such as a Fair Isle sleeves.
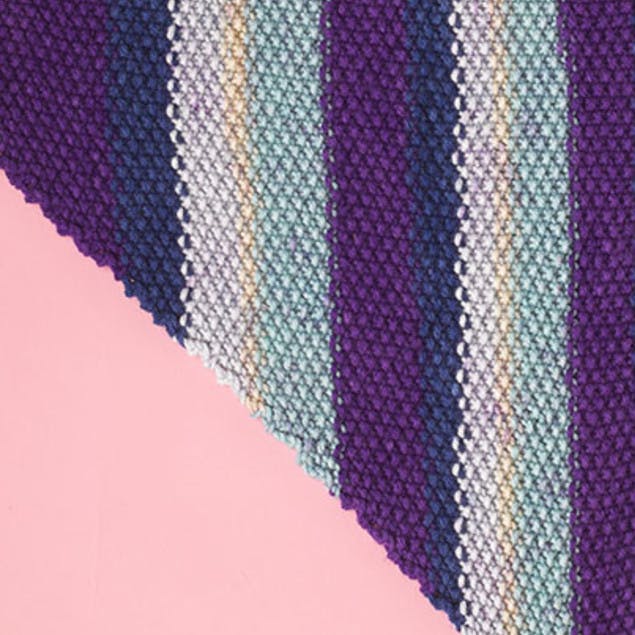
Knit into the stitch below
Following the same steps as in the 'Slip the first stitch' technique, knit your first stripe and change color as usual.
1. Knit the first round.
2. When you come to the first stitch of the second round, pick up the stitch from the round below (i.e. the first stitch in the last round of color #1) and knit it together with the next stitch (the first stitch of the first round in color #2).
This turns the stitch in color #1 into a stretched stitch, which neatly hides the jog. The line is still visible, if you look closely, but is much less noticeable than if you don’t use this technique.
Pro Tip
Unlike the 'Traveling stripes' technique, the location of the first stitch in the round does not change.
Break the yarn
If you’re not carrying the yarn between stripes, you don’t need to start the new round in the same place as you finished the old.
1. Complete a round, then slip stitches and join the new thread anywhere else in the round.
2. Remember to finish this second stripe where you started it, so each column (stitch) in the stripe has exactly the same number of rows.
3. Break the yarn, slip some stitches (about a third of the total works well) then join a fresh color.


