
Mattress stitch knitting
Published on August 26, 2020 by James Murphy
So you’ve decided to knit a snuggly sweater, and you’ve done an awesome job so far. Except your sweater is still in several pieces, and now you need to sew it up! Don’t worry – we’ve all been there, and once you’ve mastered how to mattress stitch, you’ll be good to go.
Follow our super easy step-by-step guide to mattress stitch knitting and you can finish up projects with invisible stitch lines and a perfect professional finish!
What is a mattress stitch?
A mattress stitch is a vertical invisible seam that joins two knit pieces together side by side. The seam itself is flexible, neat and firm, making it perfect for finishing up several projects – from sweaters and pillows, to that vibrant patchwork afghan you’ve always wanted to finish.
When should I use a mattress stitch?
A mattress stitch only works when the two pieces have an identical number of stitched rows. It’s perfect for patterns that use the stockinette stitch or ribbing. You’ll want to use it whenever you’re looking for a flat join. Because the stitch is externally invisible, it can even come in handy to make any necessary size adjustments.
How to mattress stitch step-by-step
Lay down the knitting. Place the two pieces to be joined side-by-side, with the right side facing you.
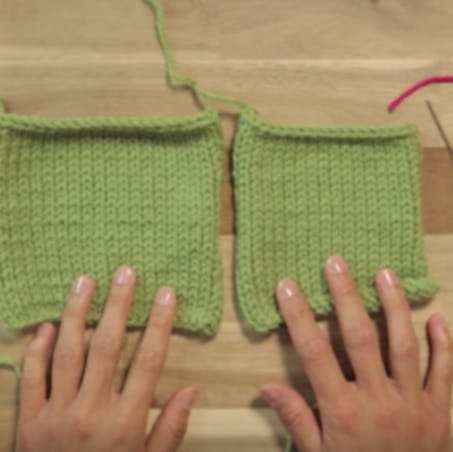
Cut your yarn. As we want this stitch to be invisible, use the same yarn you’ve knitted with (though we've used contrasting yarn to show you how to do it). Measure out a piece about three times the length of the seam you want to join, and thread it through a blunt darning needle.
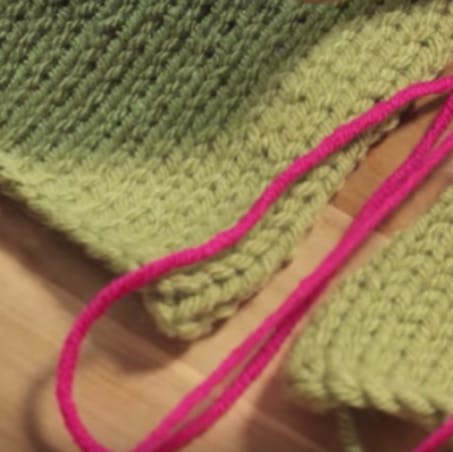
Thread your yarn through the first stitch. Beginning with the left side of the knitting, take your darning needle and insert it into the bottom right hand corner of the first stitch.
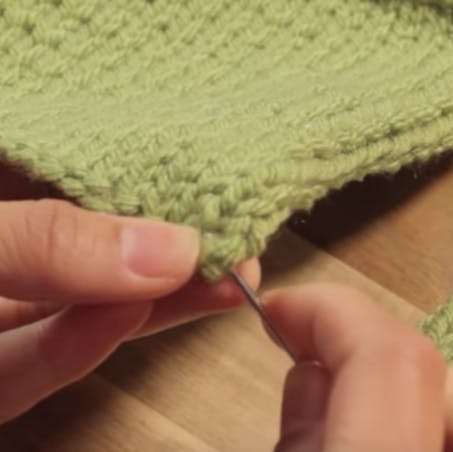
Insert your needle upwards from back to front.
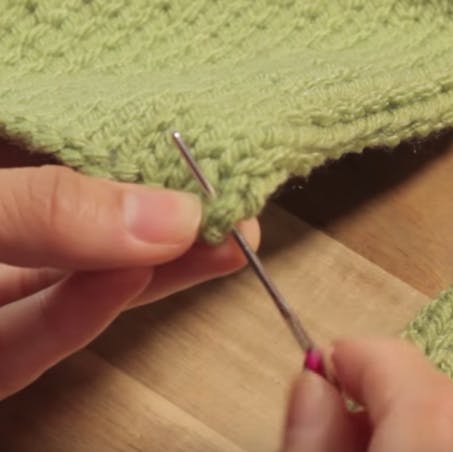
Repeat on the right side. Find the first stitch on the bottom left, and insert your needle from back to front.
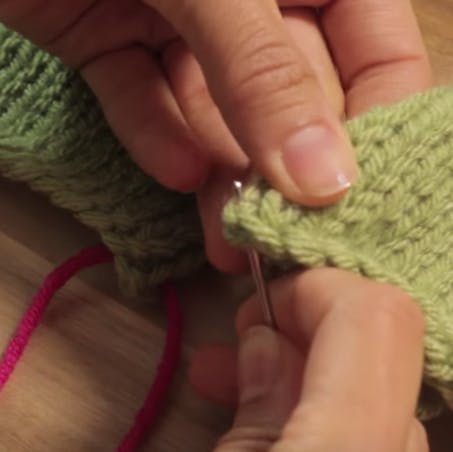
Thread back through your first hole. Go back into the same hole as you originally inserted your needle through from back to front, and pull the yarn through. Great work: you’re ready to start your mattress stitch!
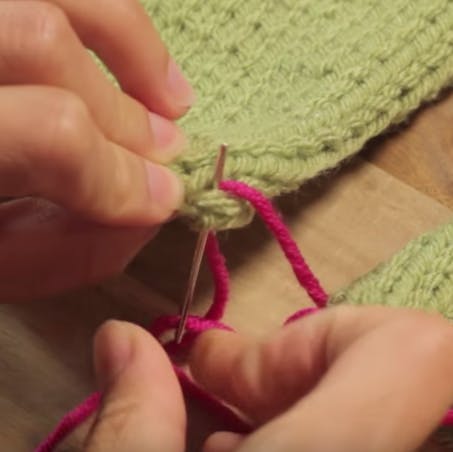
Thread beneath the two bars. If you pull your knitting slightly apart you will see two horizontal bars. Take your darning needle and thread it beneath the two bars, pulling it through from front to back.
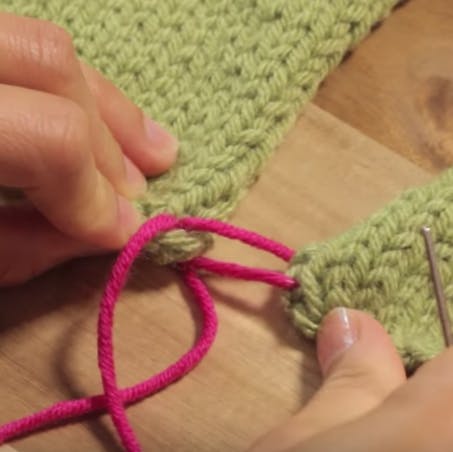
Continue in the same pattern. Match the rows from each side as you zig zag from edge to edge for about 2 inches.
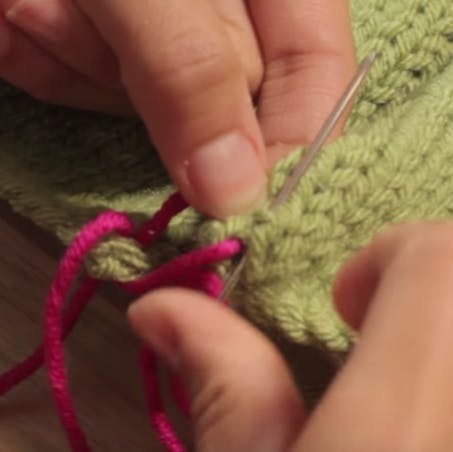
Pull the thread up. Hold the base of the seam until the seam is joined and the stitches become invisible. Try not to pull it too tightly as you don’t want to distort your work.
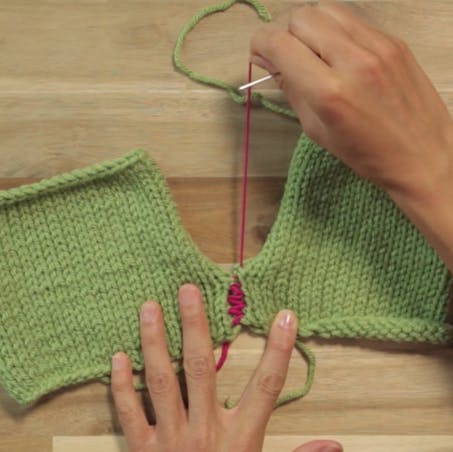
Continue to the top. Secure the ends by sewing them in. You should be left with a perfectly flush finish, and invisible seam line.
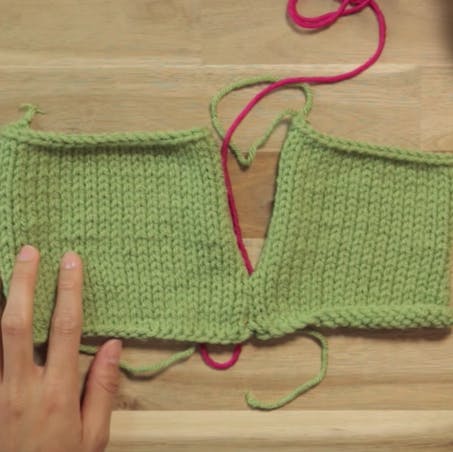


Crochet a colorful Moroccan-inspired floor cushion with our fab FREE pattern
Learn how to crochet a Moroccan inspired floor cushion with our easy step-by-step guide...
Continue reading Crochet a colorful Moroccan-inspired floor cushion with our fab FREE pattern
Find the best yarn for the snuggliest blankets
Discover our ultimate guide of best yarns for blankets! Whether it’s knit or crochet, l...
Continue reading Find the best yarn for the snuggliest blankets


