
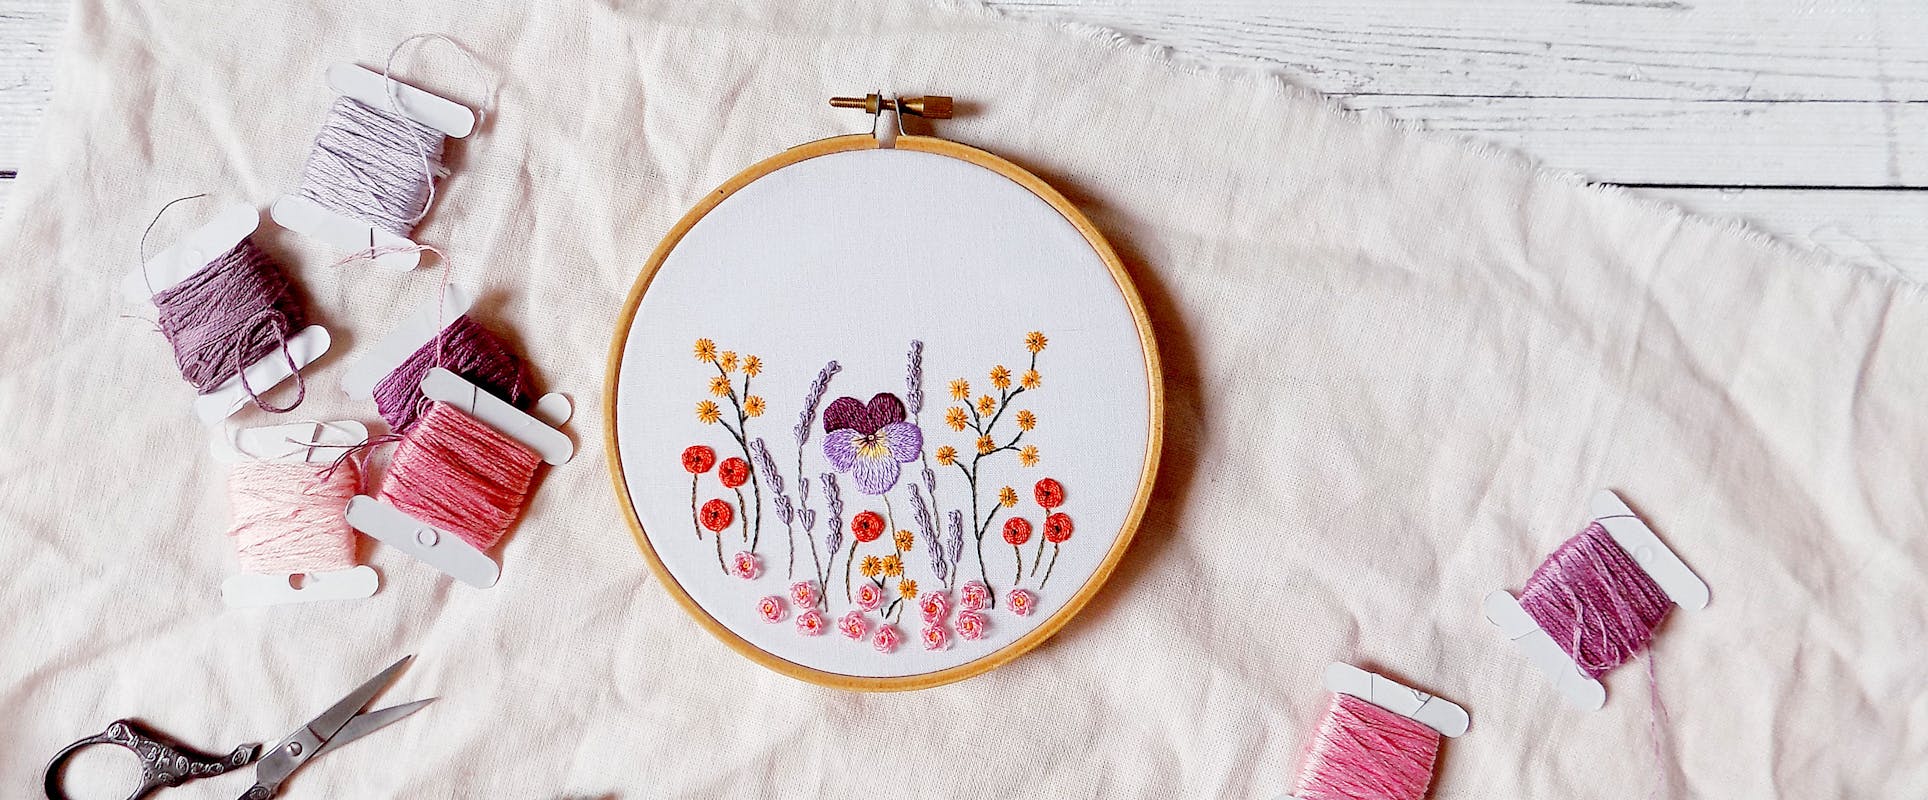
How to embroider flowers: 5 simple ways!
Published on November 7, 2023 by Holly Butteriss
Want to learn how to embroider flowers? You're in the right place! The wonderful Amina aka Stitch Floral shows you how to stitch your own embroidery flowers. Using simple embroidery stitches, follow the step-by-steps and our easy-to-follow photo tutorial to show you all you need to know.
Flowers bring joy and beauty to our lives, and it’s no surprise that flower embroidery is the most popular amongst hand embroiderers. Perfect for any home decor or clothing projects, embroidered flowers can be placed on the sleeves, around the neckline, corner of napkins and more!
Learning how to embroider flowers can be a bit daunting in the beginning due to the vast variety of techniques and stitches, but believe us when we say it’s super easy and fun! We picked the most handy and easy-to-follow stitches for flowers in this fantastic beginner’s guide, so gather your embroidery tools and get stitching!


- Fabric of your choice (cotton, linen, calico, batiste are the most common choices)
- Scissors
- Thread (I used DMC stranded cotton)
- Needle
- Water-erasable marker
- Wooden embroidery hoop
How to stitch flower stems
You can stitch a stem with a variety of line stitches: stem stitch, outline stitch, back stitch, split stitch, split back stitch and chain stitch as well. In this tutorial, I used split back stitch.
To work split back stitch, you need to split from above every previous stitch.
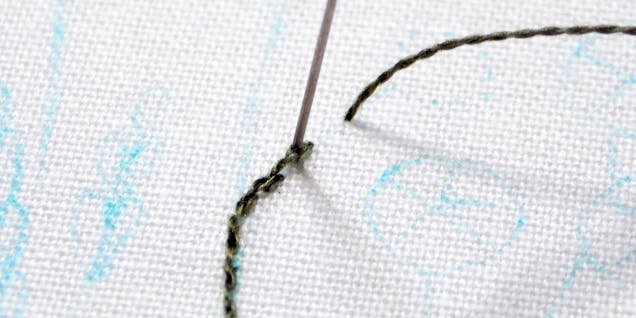
Make a stitch down the line, bring the needle up a stitch length away from it and split the first stitch from above. Then bring the needle up a stitch length away again and repeat your steps.
1. Straight stitch a simple flower
One of the easiest ways ever to embroider a flower is to use a straight stitch!
Mark a circle on the fabric and define its middle. Then bring the needle up in the middle of the circle and make a stitch ending at the outline.

Keep making stitches the same way. Personally, I prefer to make these stitches randomly in different directions rather than going gradually from one side to the other. It helps me to make the flower fluffier.

Work straight stitches until the whole shape is ready. You can also vary the length of the stitches to make these petals more realistic.

Then you can stitch more flowers like that on a branch.

And if the flower looks a bit empty, add French knots to the center!

If you use several close shades of one color for these flowers, they will look even more realistic.

2. Lazy daisy stitch lavender motif
Make sure to practice this stitch since it might be one of the most versatile ones in hand embroidery! This is only one of the many ways of utilizing it!
Bring the needle up through the fabric.

And insert it at the same point.

Then pull the needle through but not completely - leave a loop on the surface of the fabric and bring your needle up inside of it, at the point where you want the stitch to end.

Now insert the needle right outside of the loop, this way “anchoring” this stitch.

If you work lazy daisy stitches along a stem on both sides.

It will create a fun floral motif which reminds of lavender and herbs!

3. Woven wheel stitch poppies
This stitch is most often used for stitching roses but let me show you an alternative way which is no less pretty.
Mark a circle and make 5 straight stitches as the spikes inside. It is very important that the number of spikes is uneven! Otherwise the stitch will look different.

Bring the needle up close to the center of the flower and slide it under one of the spikes. If you’re afraid to touch on the fibers of the other stitches (I usually am) then you can slide the needle with the eye forward.

Pass by one spike and slide the needle under the next one again.

Keep sliding the needle under every other spike until you reach the end of the spikes.

Then you can make a French knot inside of it.

And you got yourself a tiny poppy!

4. Long and short stitch pretty pansies
Some people love it, others are terrified of it… Long and short stitch is the legendary technique that can allow you to create literal paintings out of thread! Although it does require quite some persistence and practice.
When working long and short stitch it is important to work an outline. For that purpose, you can stitch any line stitch (I used split back stitch again, just like for the stems). After that, make several straight stitches to mark the guidelines for your stitching.

Then start filling the gaps between the guiding stitches with parallel stitches of approximately the same length.

When the top row is complete, start working the second row. And this time, you should start varying the length of your stitches, starting them lower and higher.

When finished, long and short stitch element will look like this. Make sure that stitches from the second row continue the same direction that is set by the top row.

You can also use different colors for different rows and make the petals of your flower livelier.

A tiny French knot in the center will make a pansy like this complete.

5. Looped buttonhole stitch for dainty flower motifs
This stitch is actually seriously underrated and not used very commonly in hand embroidery and I think that’s a pity. Looped buttonhole is a wonderful stitch for flowers and it can become your secret weapon!
Make a straight stitch except you should leave the thread raised over the surface of the fabric like an arch.

Bring the needle up in front of the previous stitch in the middle of it and make the same arch once again.

Repeat the same steps and try to keep the arched stitches approximately the same height.

You can work one more row of looped buttonhole to fluff the flower up a little. And, by the way, it’s not necessary to start each new stitch in the middle of the previous one - it is enough to start it behind the point where it ended.

Add a French Knot in the middle...

… and your flower is ready!


Amina has taken you from simple embroidery flowers with straight stitch to using a loop button hole stitch to create a beautiful garden of dainty and delicate flowers for you to hand embroider.



Crochet a colorful Moroccan-inspired floor cushion with our fab FREE pattern
Learn how to crochet a Moroccan inspired floor cushion with our easy step-by-step guide...
Continue reading Crochet a colorful Moroccan-inspired floor cushion with our fab FREE pattern
Find the best yarn for the snuggliest blankets
Discover our ultimate guide of best yarns for blankets! Whether it’s knit or crochet, l...
Continue reading Find the best yarn for the snuggliest blankets


