

How to weave a picnic blanket holder
Published on September 8, 2026 by Lucy Rowan
Why not create this beautiful summer essential for all those outdoor picnics we will be having in the warmer months! Weaving is a perfect craft to beat away those winter blues and you don't have to just create a wall hanging. With a little bit of sewing you can create your very own picnic blanket holder from your woven piece ready for the park!
- Trimits Weaving Loom & Accessories
- Wool and the Gang Crazy Sexy Wool
- King Cole Merino Blend 4 Ply
- Fiskars Classic Universal Scissors
- Buckle or fastener of your choice
- Needle and thread
- Trim
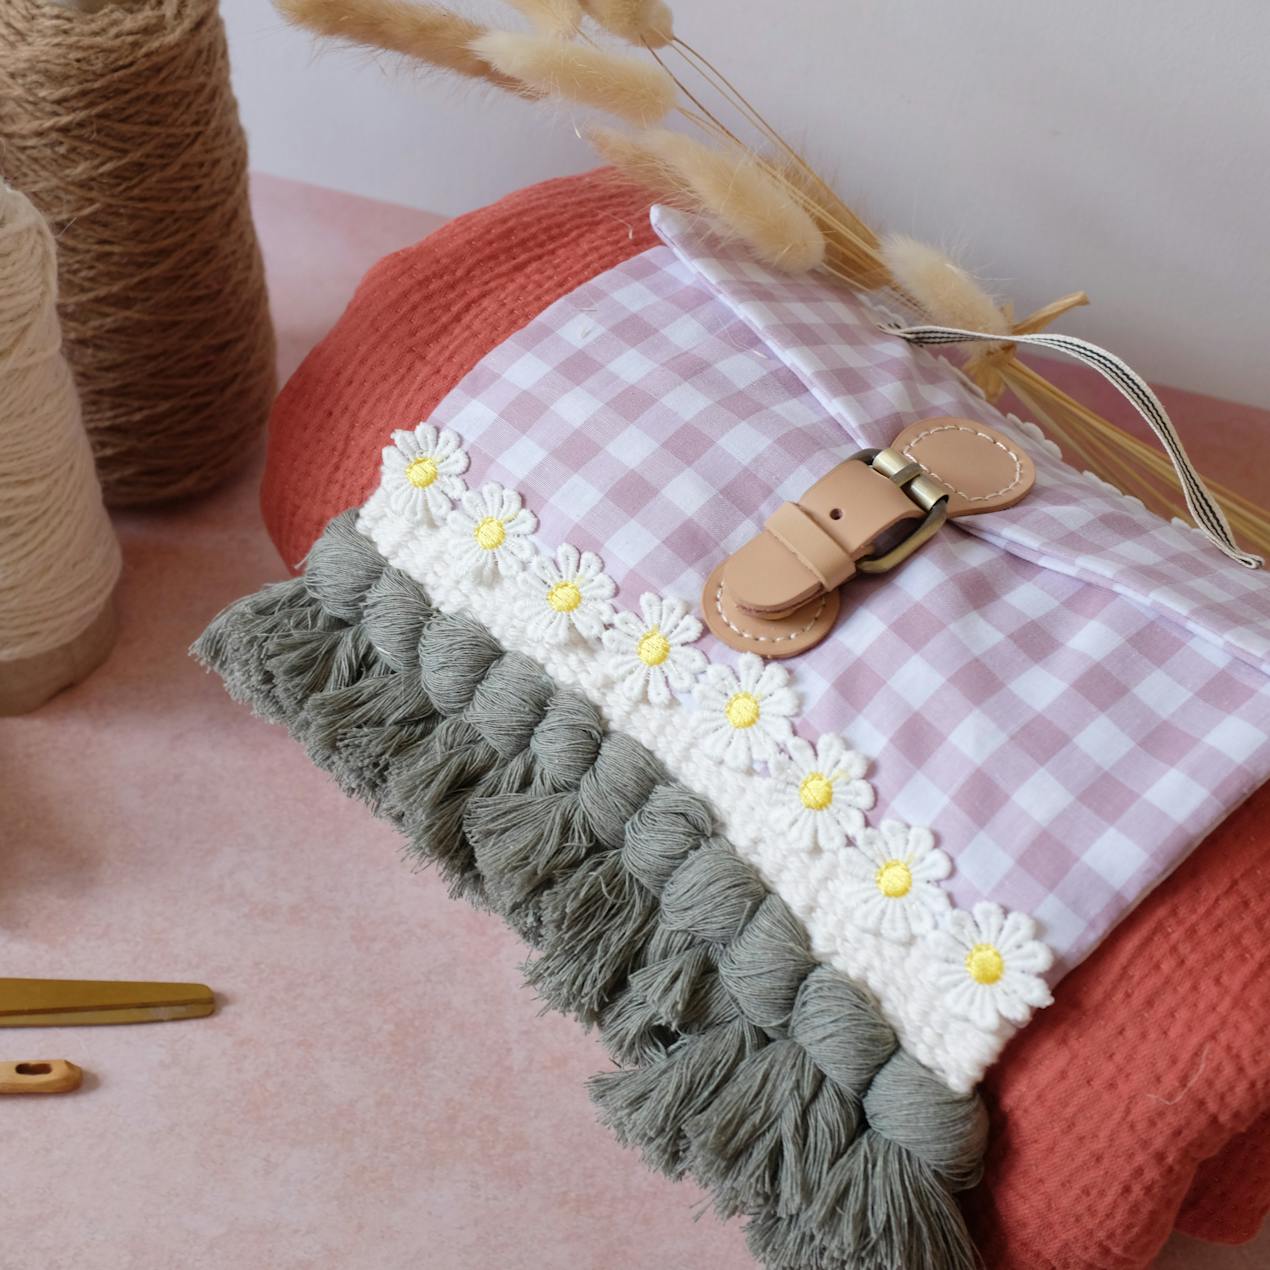
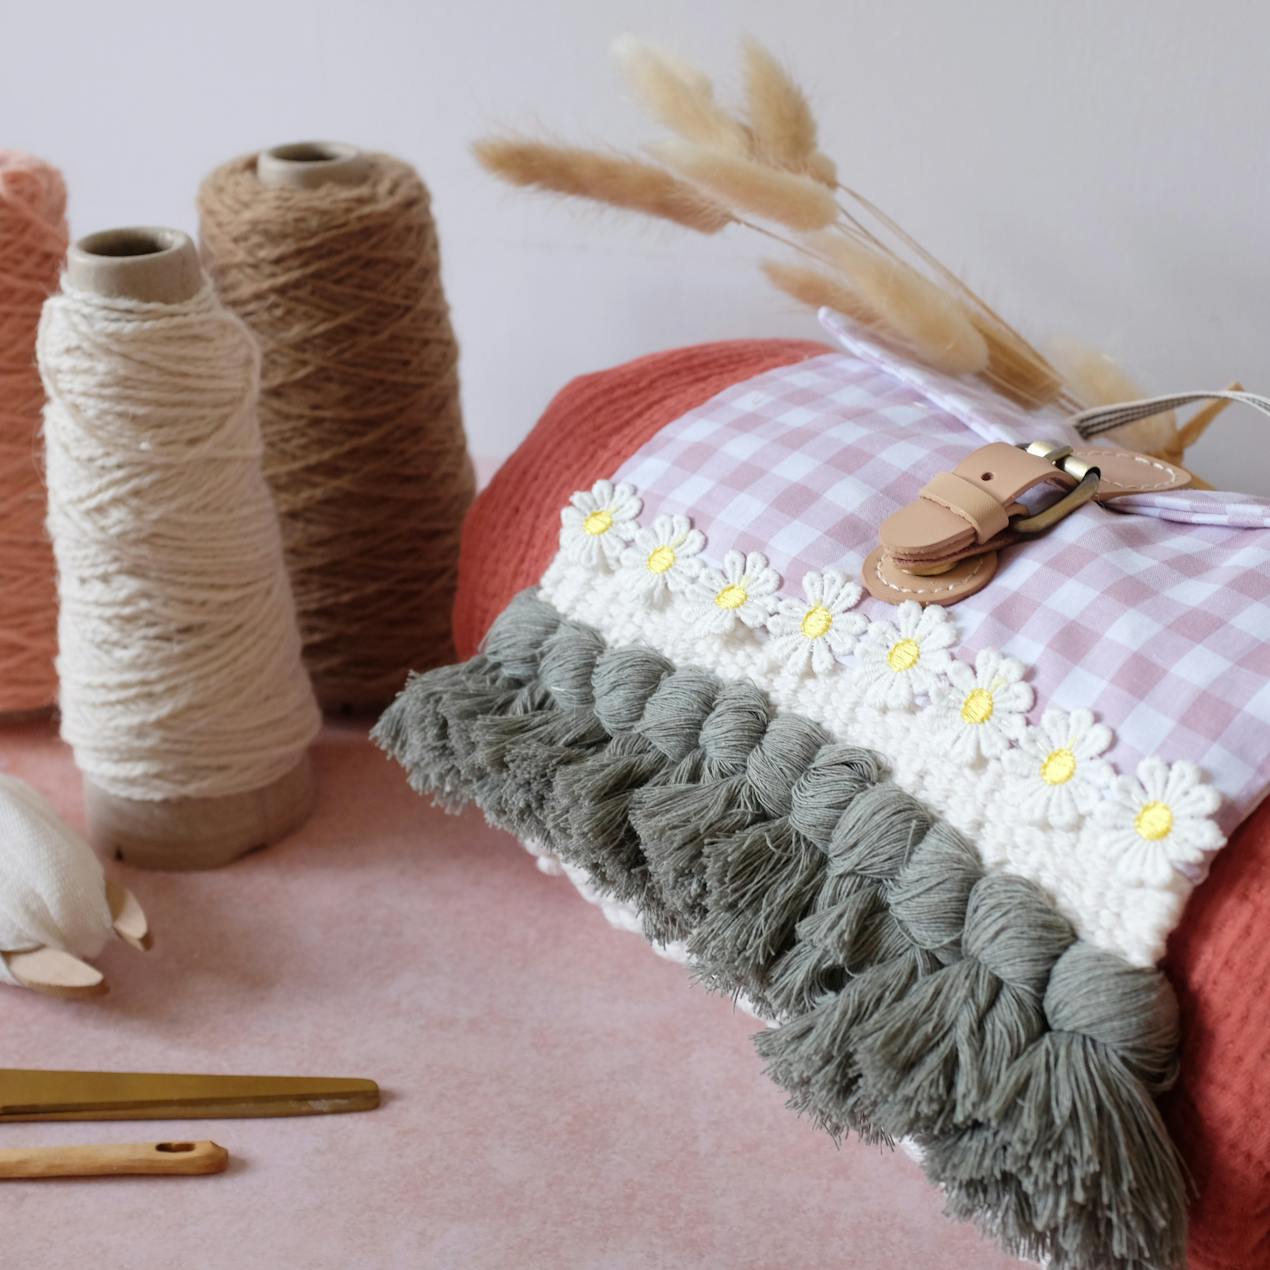
How to make your picnic blanket holder
To warp up your loom, tie your warp thread around the first notch from the left. Secure with a double knot. Bring the warp thread directly towards the top, hook around the notch and bring it back down towards you. Repeat this creating an ‘s’ movement. Try to keep the tension of your warp nice and tight. This will be the base of your weave so needs to be strong. Tie off the warp around the last notch using a double knot.

Insert a piece of cardboard slightly wider than your loom, this will help your tension. You now need to tie a double hitch to each warp thread. To do this, tie your cream wool to the first warp on your left. Lay the wool over the top of the warp creating a loop, wrap the wool over the warp and twist back through the loop, pull down.

Tie this knot twice to each warp thread.

Using your cream wool, wrap 2 strands at a time around your shuttle. Weave the shuttle up and over the warp threads. Once you reach the end you will want to weave back in the opposite direction, this time weaving the opposite to the row below.

This is your basic weave which is called ‘tabby weave’. Once you have finished your rows, weave your shuttle into the middle and trim the wool, making sure all ends of your wool are poking out the back.

To create your first row of tassels, take your green wool and cut strips approximately 10cm in length. Lay your wool on top of the warp threads. Each tassel will use 4 warp threads at a time. With your left hand, twist the wool over and around the warp and poke it back through.

With your left hand, twist the wool over and around the 2 warps and poke it back through. Repeat this with your right hand with the second warp thread. Bring the two sections together and gently pull towards yourself. This is your first tassel.

Weave your chunky wool into the middle. Continue to weave the chunky wool until you have woven 10cm.

Change your wool to a thinner yarn and weave 5cm. Repeat these last 2 steps until you have created a large piece of cloth, similar to shown in the picture.

When you reach the top of the loom and wool is on the left hand side you will need to secure your weave so it is easier when you take the weave off the loom. Tie a double hitch to each warp thread.

Using your wool needle, sew in all your ends on the back of your weave. Sew down or up the weave, not across.

To add the fabric pieces to your weave, cut 4 pieces of fabric slightly wider than your weave by 15cm. Sew right sides together (either by hand or on the sewing machine) Turn the right sides out and press with an iron. Remember to fold the edges in at the opening. Insert the weave into the pieces of fabric and pin in place. Hand Sew across to hold into place. Repeat this for both ends of the holder.

If you want to hide your stitches you can always add some flowery trim. Cut the trim to size and hand sew with small stitches to hold into place.

Holding your buckle in place with one hand, hand sew the two pieces in place making sure they are in the centre of your blanket holder.

To create a handle, cut a piece of ribbon approximately 15cm in length. Hand Sew each end of the ribbon to the blanket holder just above the buckle.

Voila! You have now completed your picnic blanket holder. Don't forget you can create this to any width depending on the size of your loom or the size of your blanket. Have fun and enjoy your picnic!


Weaver / maker / author
Lucy spends her days playing with colour and texture, creating beautiful weaves and decorative wonders. When lucy isn’t crafting, she’s teaching others to and can be found passing on her skills in workshops across the uk @peasandneedles
Author of 40 Knots and How to Tie Them, Punch Needle Embroidery for Beginners and Conscious Crafts Pottery.

The craft trends for 2019
The craft trends of 2019: mindful making, knitted homewares and the colour coral, plus ...
Continue reading The craft trends for 2019
15 free Christmas crochet patterns to make this year
15 free Christmas crochet patterns to download today: ornaments, wreaths, amigurumi toy...
Continue reading 15 free Christmas crochet patterns to make this year


