
How to make a DIY face mask FREE tutorial
Published on September 8, 2026 by Kate Owen
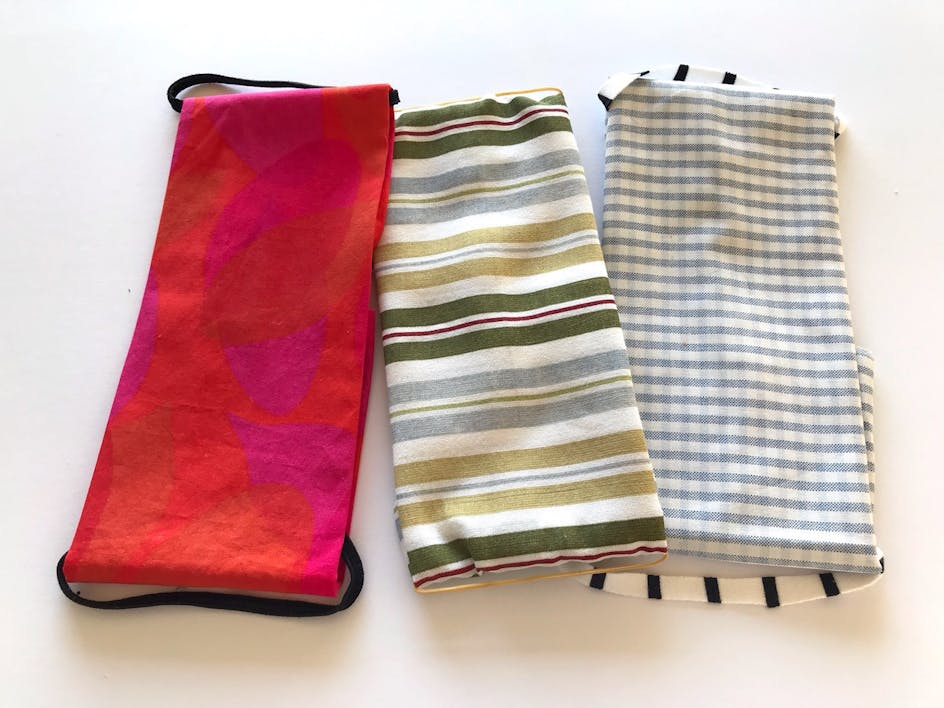
If you're looking to make your own DIY face mask, our step-by-step video will show you how! Kate Owen, sewing and quilting extraordinaire, talks you through how to sew a cotton face mask with elastic and interfacing.
- 9” (23cm) x 6” (15cm) of your outer and lining fabric:
- Moda Bella Solids
- 2 x 7” (18cm) elastic
- Alternatives to elastic: tights, recycled t-shirt yarn, hairbands, and ribbons
- Optional: 9” (23cm) x 6” (15cm) of your interfacing fabric:
- Vlieseline Iron-on Superlight Interfacing: 90 x 50cm

Download your FREE Easy Sew Face Mask pattern
Craft your own protective face mask with this beginner-friendly sewing pattern designed by Kate Owen for LoveCrafts. Perfect for sewists just starting out, this straightforward project guides you through creating a fitted fabric face mask using simple rectangular pieces measuring 9" x 6" cut from your choice of outer fabric, lining, and interfacing. With just a sewing machine, iron, pins, elastic, and basic measuring tools, you'll have everything you need to get started. The clever construction sandwiches two 7" elastic strips between the outer and lining layers for a comfortable, secure fit. Clear step-by-step instructions make the process approachable and enjoyable from start to finish. The downloadable PDF means you can begin sewing immediately, wherever creativity calls you. Whether you're building your sewing confidence or looking for a quick, satisfying make, this face mask pattern is the perfect project. Download your free pattern today and stitch something both practical and personal!
Cut out your fabric, interfacing and elastic. Cut rectangles measuring 9” (23cm) x 6” (15cm) out of your outer, lining and interfacing. Fuse your interfacing onto your outer rectangle. Cut two 7” (18cm) strips of elastic. If your elastic is thick you can cut in half, it should ideally be about ¼” (0.5cm) thick.
Pin your fabric and elastic inside out. With your interfacing side facing down, pin the edges of each piece of elastic to each 6” side of your outer rectangle, about 2/3” (1.5cm) from the top and bottom. Make sure your elastic isn’t twisted when you do this. Now take your lining rectangle and pin it on top of your main rectangle, face sides together and sandwiching the elastic strips.
Sew all the way around your pinned rectangle using a ½” (1cm) seam, but leave a gap of about 2.5” on one side of your rectangle. Then, use this gap to turn your mask right side out. Press the edges so that they lie flat, making sure not to iron your elastic in case it melts.
Add pleats to your mask. About 1” (2.5cm) from the top of your mask, take the sides of your mask and tuck ½” under and then back, so that you have a pleat. Do the same thing but this time around 1” (2.5cm) from the bottom of your mask. Your mask will now look like it’s divided into 3 sections across the width, and the sides should measure about 3” (8cm) long. Pin your pleats down, and then also press them down (making sure not to iron your elastic in case it melts.).
Sew all the way around the edges of your mask about ½” (1cm) from the edge, sealing the hole that you used to turn it inside out, and also sewing down the pleats. Ta da! Your mask is complete!
Variation: Sew your own face mask without elastic
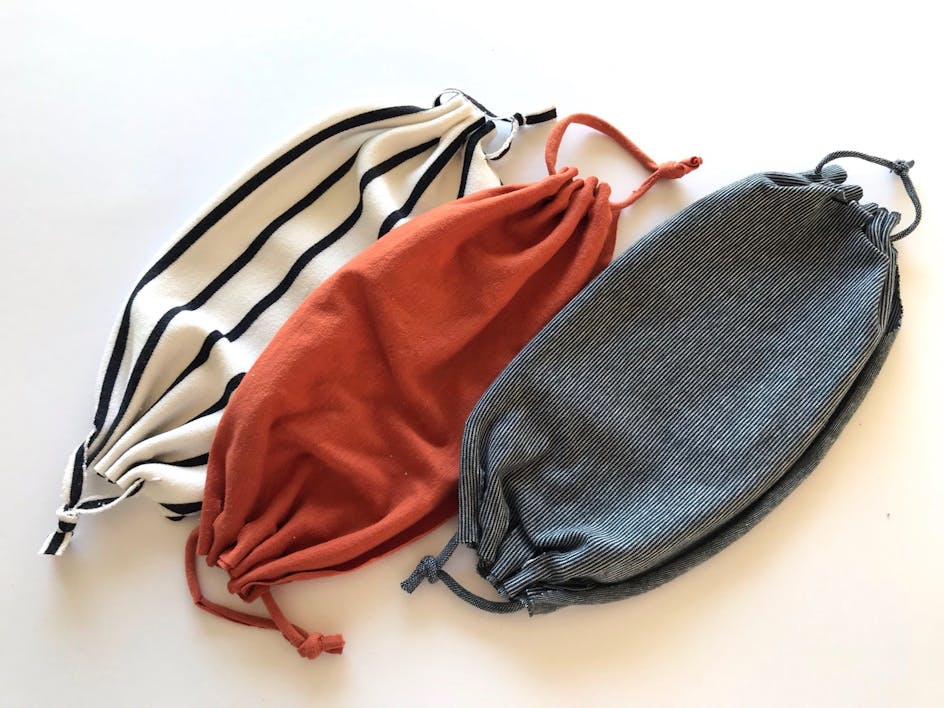
Kate Owen shows you how with this easy tutorial for a DIY cotton face mask with ribbon ties. If you don’t have any cotton fabric you can use a tea towel, pillowcase or t-shirt instead! This tutorial shows you on a sewing machine but you could also hand sew it.

The 10 best mohair jumpers & cardis to make this year
Mohair knits are having a moment. Here are 10 of the best mohair knitting patterns to i...
Continue reading The 10 best mohair jumpers & cardis to make this year
Delightful spring crafts to brighten your day!
All things floral and fabulous, discover spring crafts guaranteed to brighten anyone's ...
Continue reading Delightful spring crafts to brighten your day!


