
How to knit for beginners
Published on October 6, 2026 by LoveCrafts
Learning to knit can seem a bit daunting, so if you're keen to kick start your knitting journey but you're not sure where to begin, you’ve come to the right place! We've got loads of brilliant learn to knit videos that cover everything from beginner tutorials on how to hold the needles and knit your first row, through to more advanced knitting techniques such as how to work those tricky button holes. You'll be knitting up a storm in no time!
Getting started
Knitting essentially involves just two stitches: the knit and the purl. Everything you admire, from intricate cabled jumpers to delicate lace shawls, is simply a combination of these stitches arranged in different ways. That's the good news! However, the less-advertised truth is that your first row of knitting may feel like a struggle—needles slipping, yarn wrapping in the wrong direction, and holding everything so tightly that the stitches barely move. But don't worry! By the time you finish your first ball of yarn, your grip will relax, and the stitches will begin to slide more easily. Remember, tight and uneven first rows are completely normal; they’re what everyone experiences as they start.
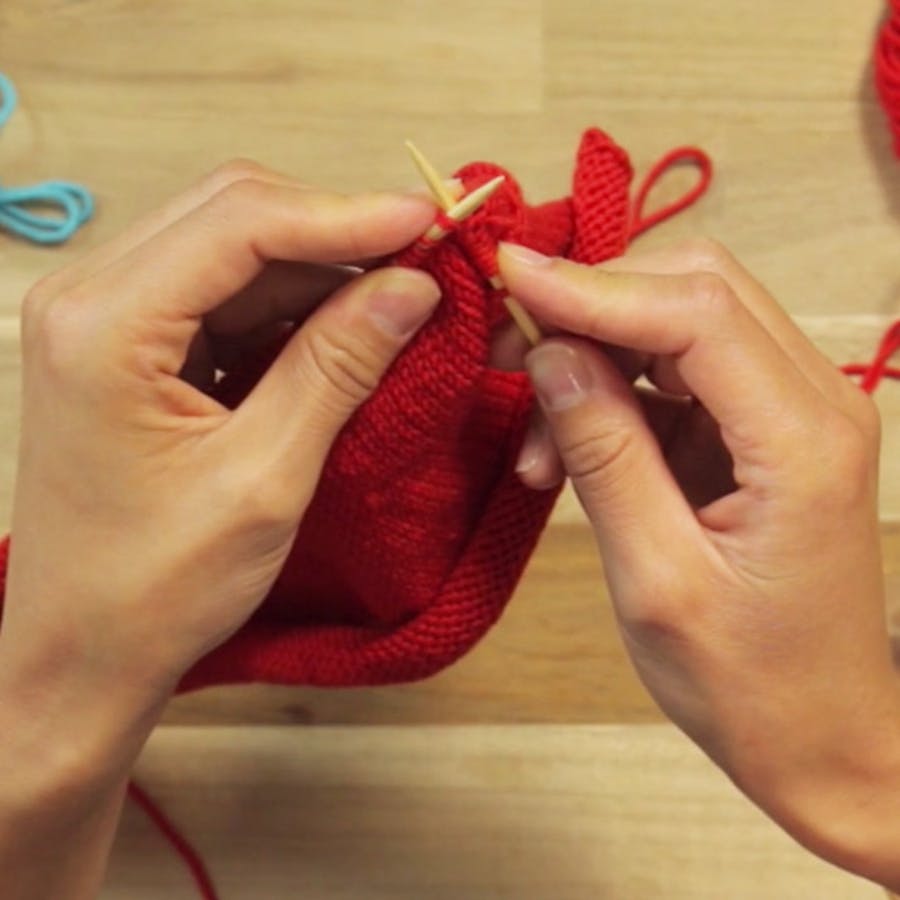
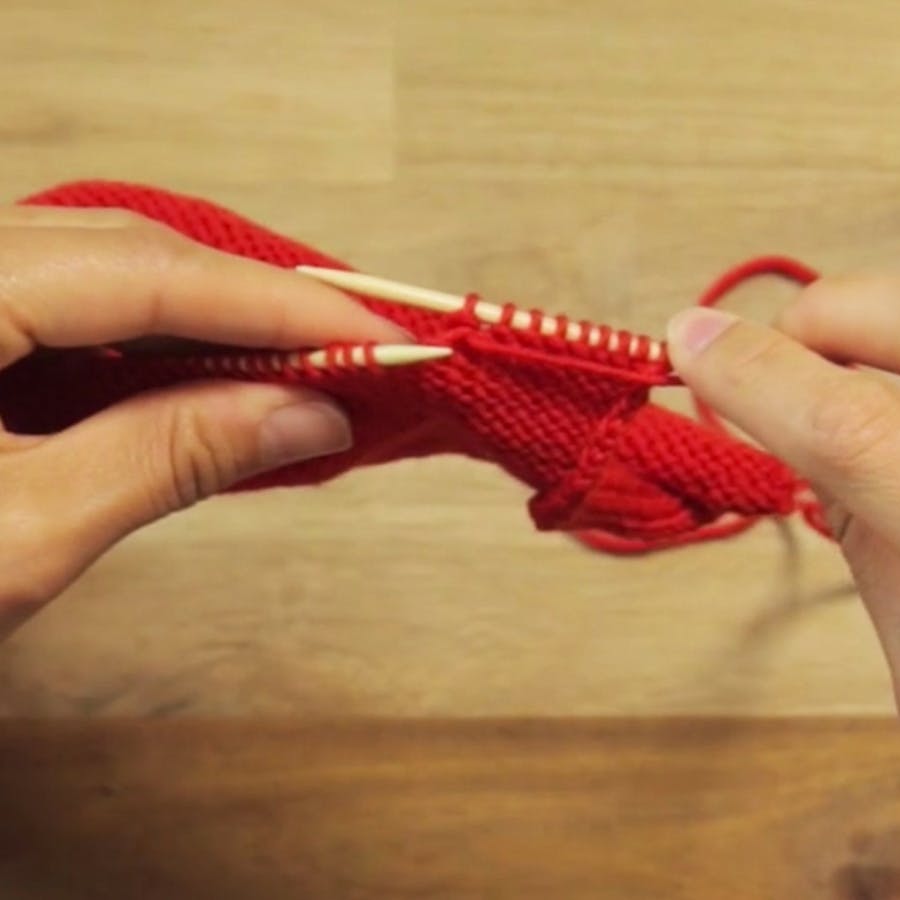
Below, we will guide you from an unopened ball of yarn to completing your first project. You'll learn about selecting needles and yarn, casting on, performing the knit stitch, the purl stitch, and casting off. Each step includes a video from our tutorials, filmed close-up on hands, so you can easily pause and follow along. At the end, there are five free patterns that we would actually recommend for beginners, presented in order, each with the specific yarn needed to add to your basket.
Before you begin your journey of learning how to knit, you’ll need a few essentials to get you started. We'll talk you through the essential first steps to getting started including picking a knitting project, choosing the best needles for the job and selecting your yarn, as well as showcasing some fabulous kits. Then enjoy browsing our gallery of step-by-step tutorials.
1. Pick a pattern
The first step on your knitting odyssey is to pick a pattern! We've got hundreds of knitting projects from a host of designers and much-loved brands for all abilities. Whether you're looking to craft a cosy hat for a buddy, a snuggly baby blanket, or dreamy scarf, we have a beautiful pool of projects to inspire you!
Check out our free knitting patterns for beginners to get started, including free blanket patterns!

2. Choose the best needles to get started
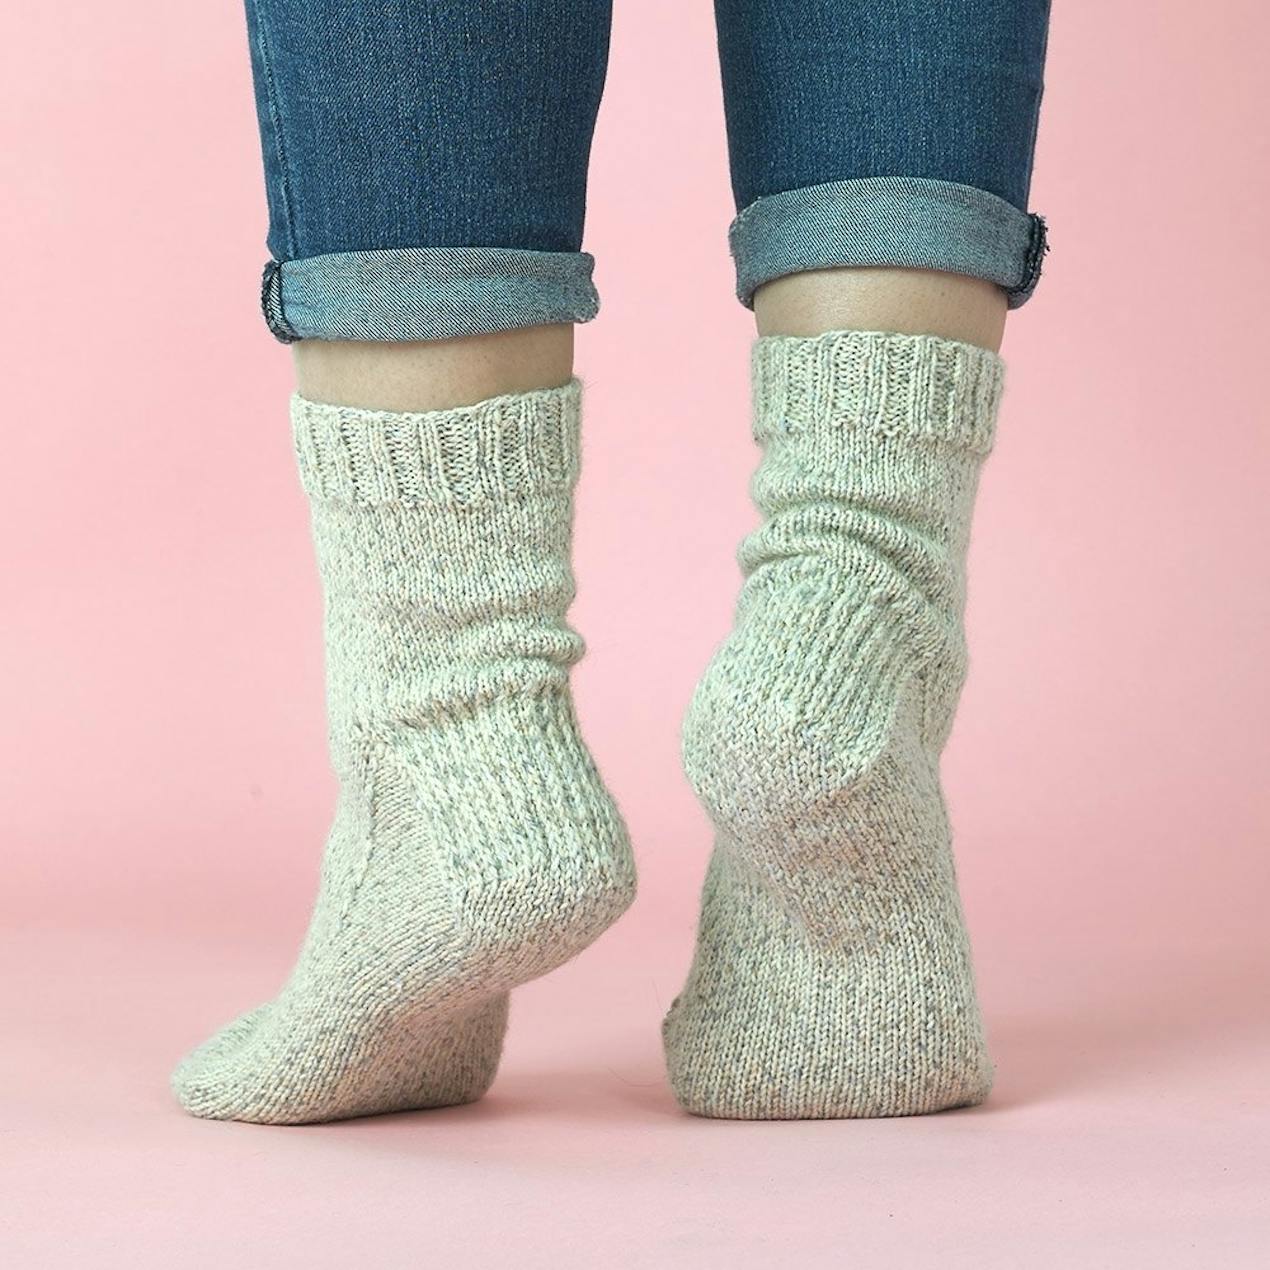
First up, if you’re learning traditional knitting techniques, we would recommend starting with single point needles, which are used in our beginner videos. But there’s a whole menagerie of knitting needles to explore from DPNs to circular in different sizes and materials, from bamboo to plastic.


3. Select your yarn
Yarn glorious yarn! One of the greatest joys a knitter has on her way to making divine projects is choosing which yummy yarn to work with. With so many yarns to choose from in every shade imaginable, it can easily get a knitting newbie in a tangle. From selecting a suitable fiber to exploring colour, we’re here to help!


4. Cast on
Before you start knitting the very first step to knitting is learning how to tie a slip knot and cast on the number of stitches you will be knitting in your row. See our step-by-step guide and video on how to tie a slip knot or follow these simple steps!
How to tie a slip knot and cast on
Leaving a nice long tail (which you’ll sew in later), take the yarn and wind it around your fingers.

Reach through the loop around your fingers and pull your working yarn (attached to the ball) through.

Remove your fingers, and pull the working yarn tight to produce a slip knot. You’re ready to start casting on!

A slip knot is a special knot on your yarn that means you can adjust the size of your loop.
Place your loop around your needle and adjust size to secure if you need to. Hold in your left hand.

Insert right-hand needle diagonally underneath and into the stitch.

Take the working yarn and wrap around the front of the right needle.

Bring the right needle back and place on top of the left needle, bringing the loop of yarn with it. You will have a loop on each needle.

Now, transfer the loop on your right needle onto your left needle, so you have 2 loops on your left. You’ve cast on your first stitch!

Now repeat step 5 - 8 until you’ve cast on the amount of stitches you’d like to knit!

5. Knit a row of stitches
Now you’ve cast on you’re ready to knit your first row of stitches. The knit stitch is the first basic knitting stitch to master. Knit every row and you get garter stitch: a squishy, ridged fabric that lies flat and looks the same on both sides. We’ll show you how step-by-step.
How to knit stitch
Insert your right needle underneath the first stitch on your left needle.

Bring the working yarn around the right needle.

Slide the right needle back bringing the yarn with it, so the right needle sits on top of the left.

Slide the stitch off the left hand needle so you now have one knitted stitch on your right. You’ve completed your first knit stitch. Go you!

Repeat your knit stitch until you’ve completed the first row!

Turn your right needle around and transfer it to your left hand. Swap your empty left hand needle into your right hand to begin stitching your second row using steps 1-5.

Repeat the number of rows you’d like to build your fabric.

6. Purl a row
The purl stitch is the knit stitch worked from the other side. The yarn sits at the front, the right needle goes into the stitch from right to left, and the bump faces you instead of away. Purl every row and you get the same garter fabric as knitting every row. Alternate a knit row with a purl row, though, and you get stocking stitch, the smooth V-shaped fabric on most jumpers. Knit two, purl two across a row and you have ribbing, which is what makes cuffs and hat brims stretch.
Most beginners find purl slower for the first week or two. That's normal: it's the same movement mirrored, and your hands just haven't done it as often. Watch the video, then see our full guide to the purl stitch for photos of each step.
Your first swatch
Before you cast on a scarf, knit a square. Cast on 20 stitches and knit every row until it's roughly as tall as it is wide, about 40 rows, or 20 of those bumpy garter ridges. It takes around half an hour and tells you three things a pattern never will:
- Is it getting wider? Count. 20 stitches that turn into 23 almost always means the yarn went over the needle at the start of a row, so the first stitch looks like two. Keep the working yarn hanging down behind the work before you knit the first stitch.
- Is there a ladder or a hole? That's a dropped stitch running down the rows. Catch the loop with a safety pin before it travels further; our guide to fixing knitting mistakes shows how to pick it back up.
- Is the cast-on edge pulling in? A tight, puckered bottom edge means you're casting on too firmly. Go up a needle size for the cast-on row only, then switch back.
Once that feels comfortable, purl every other row for another ten rows and watch the fabric change: smooth Vs on one side, bumps on the other. That's stocking stitch, and it will curl at the edges. That's not you. Stocking stitch always curls, which is why many beginner patterns frame it with a garter border.
Keep the square. In a couple of months, compare it with your knitting then and you'll see exactly how far your tension has come.
7. Cast off
Casting off is the final knitting technique you’ll need to complete your first knitting project. While there are lots of ways to cast off, we’re going to show you a simple cast off method to get you started.
To ‘cast off’ just means fastening up your live stitches using your needles, so you have a nice neat and secure edge. Once you’ve got this finishing technique in the bag you're ready to start your first project!
How to make a simple cast off
Knit your first stitch, as if you were beginning a new row.

Knit the second stitch so you have two stitches on your right needle.

Use the tip of your left needle to insert underneath and into the first stitch on your right needle.

Use the left needle to lift the first stitch and pull it over the second, and that’s it! You’ve completed your first bind off stitch.

Repeat this bind off method all the way to the end of your row. Once you’ve reached the end use your scissors to snip the working yarn leaving a tail. Pull the tail through the final loop and tighten to secure a knot.

Now you’ve finished binding off, sew in your ends to complete!

What to make first
Here are five free patterns organised to guide someone who just started knitting this morning. Each pattern introduces one new skill, and the kit builder on the pattern page provides the exact yarn needed, eliminating the hassle of converting a materials list into a shopping trip.
- Easy Beginners Scarf: This project uses only the knit stitch on every row, worked in two shades of Paintbox Yarns Simply Chunky. You will need three balls, each priced at £1.69. The chunky yarn allows you to easily see every stitch you make.
- The Easy Beanie: In this project, you’ll learn your first purl stitches, worked in a 2x2 rib, allowing the hat to stretch for a comfortable fit on most heads. The beanie is knitted flat on straight needles and sewn up the back, with a few simple decreases at the crown. You will need one ball of Simply Chunky.
- Cuddlesome Blanket: This blanket features a stocking stitch pattern inside a garter stitch border, which helps it lie flat instead of curling. You will need four balls of self-striping Paintbox Baby DK Prints to create the colour changes automatically.
- Happy Hat: This is your first project using circular needles. The hat features twisted rib, which consists of knit and purl stitches worked through the back loop. You will need two balls of Paintbox Yarns Simply Super Chunky for the hat and its pompom.
- Easy Everyday Sweater: When you’re ready for your first garment project, this beginner-friendly sweater is knitted flat in pieces and then seamed together, allowing you to use the skills you have already developed. The super chunky yarn makes the project grow quickly. This project can turn learning to knit into a fulfilling hobby.
Want more before you commit? Browse our free knitting patterns for beginners, or the full free knitting patterns collection.


Knitting videos for beginners
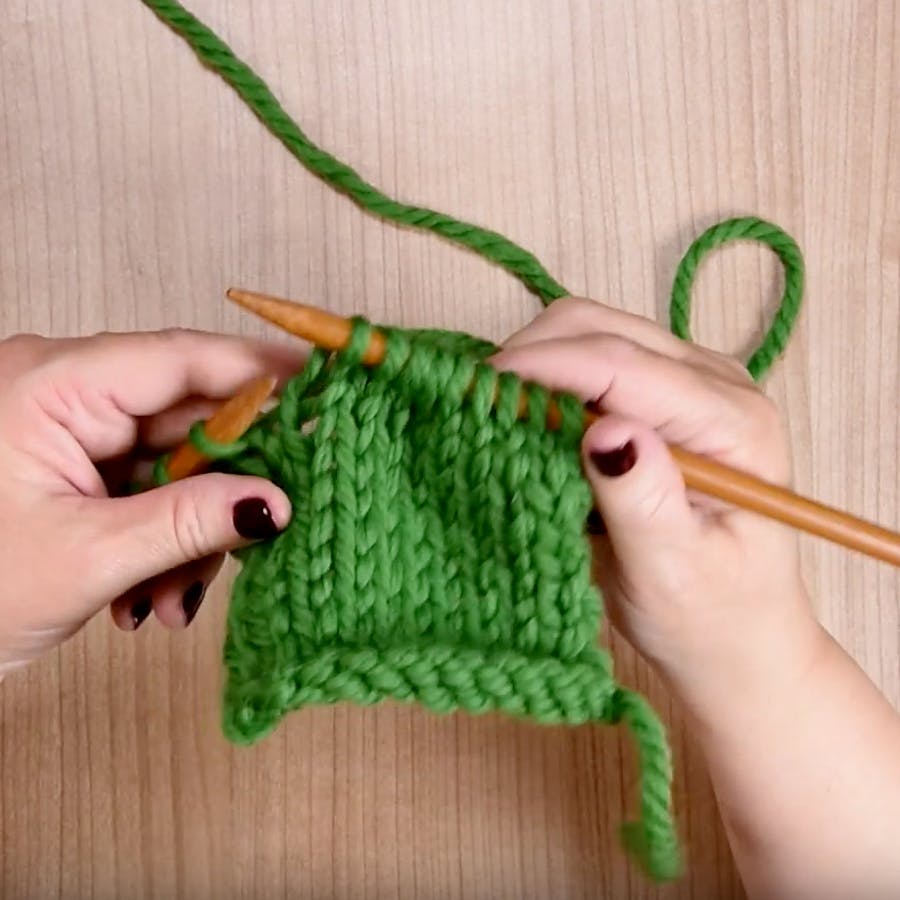
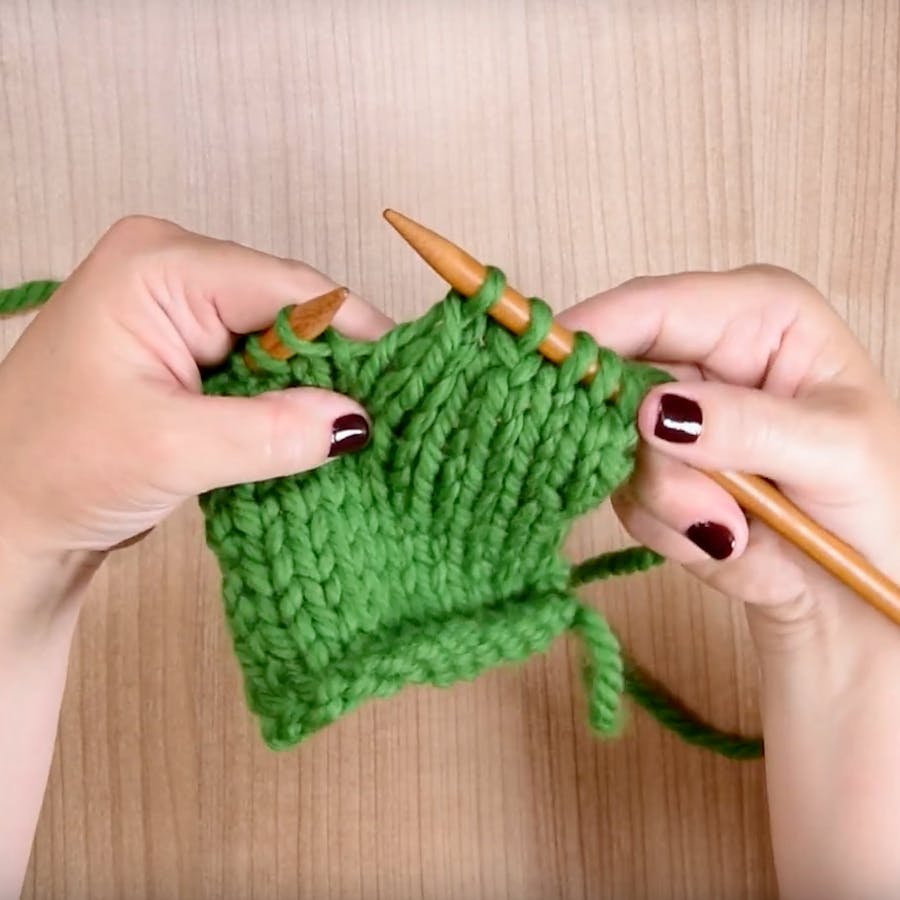
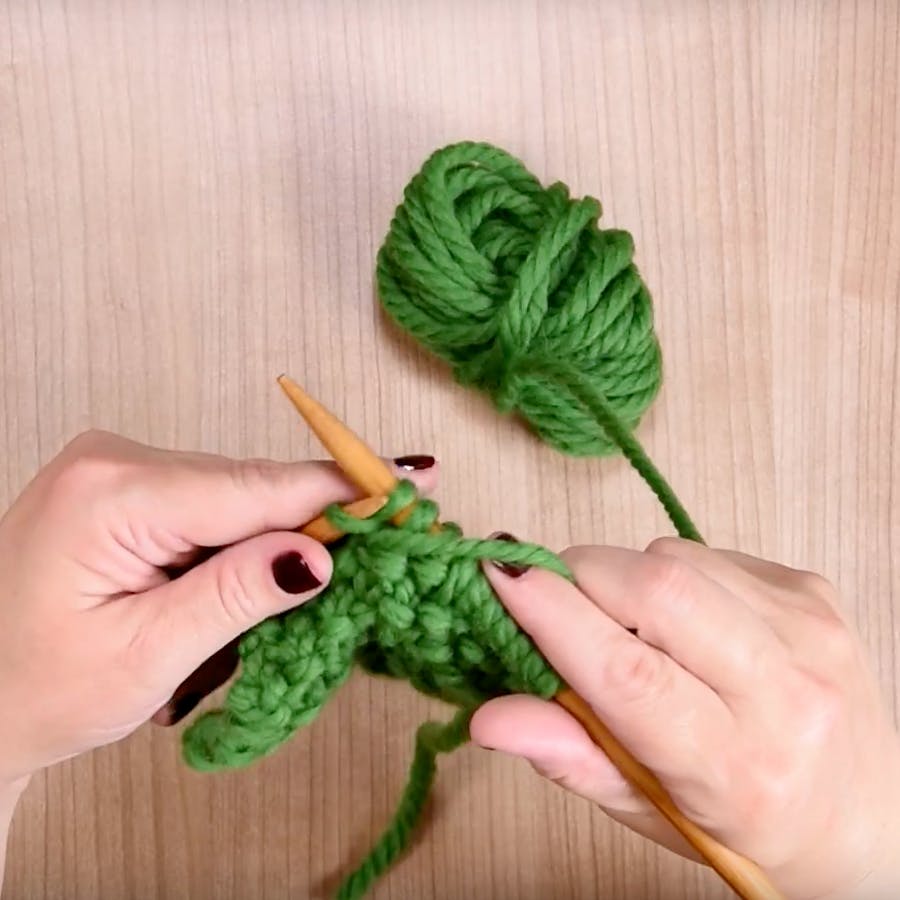
Get started with the knitting basics! If you've never picked up a pair of needles before, the thought of learning to knit can seem pretty overwhelming. Our beginners' knitting videos are packed full of helpful tutorials and tips on everything from knitting your first row to experimenting with super simple stitches - and once you've learned to knit, there's even a step-by-step project to practice your new skills at the end. We even have a handy guide to knitting stitches with everything in one place!

Why not try out a knitting kit!
Kits are a wonderful way to purchase everything you need to get started knitting in one joyful bundle. These featured kits include yarn, patterns and needles; all you need to bring your project to life!
Videos for intermediate knitters
Great! You've mastered the knitting basics, and now it's time to move onto something a little more complicated. Once you've learned to knit, you can start thinking about getting creative with your new skills, which means progressing from knitting squares and simple scarves to fun accessories and cosy garments. Our intermediate knitting videos are perfect for the knitter who knows their single pointed needles from their circular, and is ready to tackle more tricky knitting skills such as button holes and decorative bands. What are you waiting for? Grab that gorgeous yarn and get knitting!


Videos for advanced knitters
If you're already a pro at knitting and purling, and you've got a cupboard full of gorgeous handmade jumper, then this is the section for you. In our final selection of fun learn to knit videos, we'll be getting to grips with the basics of colourwork with knitting lessons in stripes, stranding and the magnificence of Fair Isle. Time to colour your world!

FAQs
‘Is it easier to learn to knit or crochet?’
Both knitting and crochet are super easy once you master the first steps. Most people find one easier than the other, so we recommend trying both and seeing what works best for you. Still not sure which one to try first? We'll guide you through the differences between knitting and crochet.
Like to try crochet? Our guide to crochet for beginners is great for testing the water!
‘What is the easiest thing to knit?’
We recommend starting off with a simple hat or scarf when you begin knitting. Not only because it’s a great way to practice your basic stitches, but also because it will be quicker to finish - which means you’re more likely to stay motivated. Our free beginner knitting patterns have lots of ideas to inspire that first knitting adventure!
‘Which yarn weight should I start with?’
Start by using a chunky or super chunky yarn so you can easily see your stitches and track your progress. The best thing about thicker yarns too is that you can knit gorgeous fabric quicker than finer yarn, so you can have the satisfaction of seeing results sooner!
‘Which knitting needles are best for beginners?’
We recommend simple single pointed bamboo or wooden needles to begin with, as it’s less fiddly, they have a nice grip and are able to anchor your work as you learn your first knitting stitches.

Take it slow with this fab punch needle pillowcase tutorial!
Learn how to make this punch needle pillowcase. The perfect crafting project if you’re ...
Continue reading Take it slow with this fab punch needle pillowcase tutorial!
How to take care of your mental wellbeing through mindful making
Whether we’re stitching away stress, combating nerves with needlecraft or baking to ban...
Continue reading How to take care of your mental wellbeing through mindful making


