How to sew a hem with bias tape
Published on November 13, 2018 By Emma 1 min read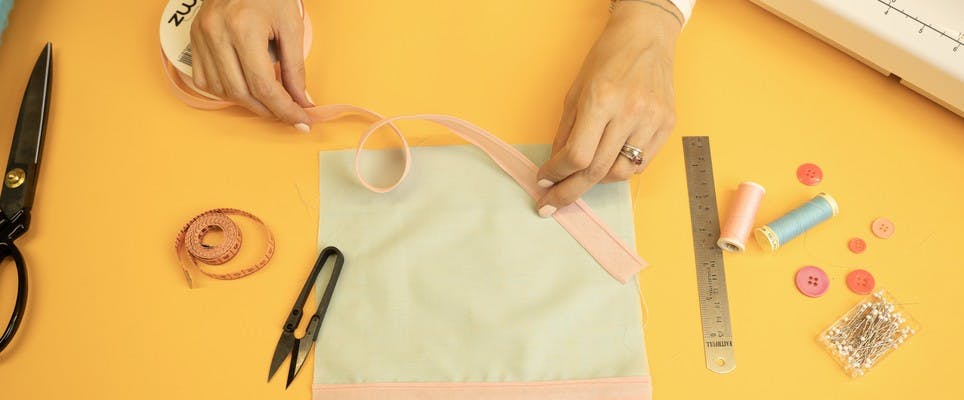
What is bias tape? Is it different from bias binding? Why would I bind something instead of just hem it? Don’t panic! We’ve got all the answers. Bias tape and bias binding are the same thing, a strip of slightly stretchy fabric that can be used to give a lovely neat finish to a curve or an edge.
Bias tape is a great way to finish something like a sleeveless top or the edge of a blanket as it hides all those messy edges. It’s also perfect for finishing off the edge of something that might have a lot of layers like the inside lining of a jacket or just bring a gorgeous bit of decorative contrast to whatever you’re sewing. You can make your own if you like or you can get all sorts of ready cut tapes.
How does bias tape work? When you pull a non-stretchy material vertically or horizontally there’s not a lot of give. But when you pull fabric diagonally it is stretchy. Bias tape is a strip of fabric cut on the diagonal (the bias) and because it’s stretchy, can be used to stitch around curved edges. Here's our guide to sew a hem with bias tape to show you how to use it.
That's it! You can use bias binding on any fabric for neck lines and armholes, but it's also great for hemming heavy materials like velvet where a folded helm would be really bulky.
1
Lining it up. Open out one side of the tape and place on the right side of your fabric. The tape needs to line up with the edge of your fabric.
2

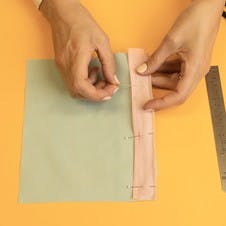
Pin & Stitch. Pin your binding in place and stitch along the crease.
Pro Tip
Press open the seams - it’s always worth doing this because it’s what gives you that super pro finish!
3

Fold & Press. Fold the binding around the edge of your fabric and press in place.
4
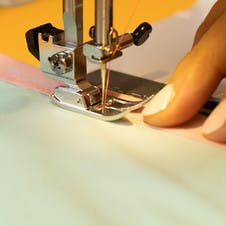
Sew. This is where your top stitching skills will be called in to play - sew along the edge of your binding and you’re all done!