

Free Embroidery Patterns to Download
Hundreds of free embroidery patterns and designs, printable as PDFs so you can transfer them to fabric and start stitching the same day. You'll find hand embroidery patterns for hoop art, lettering, florals and animals, with stitch guidance if you're new to it and plenty of detail for seasoned stitchers. Explore floral embroidery patterns, animal designs and pick up embroidery thread to match.
read more
Hundreds of free embroidery patterns and designs, printable as PDFs so you can transfer them to fabric and start stitching the same day. You'll find hand embroidery patterns for hoop art, lettering, florals and animals, with stitch guidance if you're new to it and plenty of detail for seasoned stitchers. Explore floral embroidery patterns, animal designs and pick up embroidery thread to match.
-
 Paintbox Crafts Stranded Cotton - Leaflet
$0.00
Paintbox Crafts Stranded Cotton - Leaflet
$0.00
-
 Anchor & The Barmy Fox Let's Get Growing Stitchalong - ANC0003-110 - Downloadable PDF
$0.00
Anchor & The Barmy Fox Let's Get Growing Stitchalong - ANC0003-110 - Downloadable PDF
$0.00
-
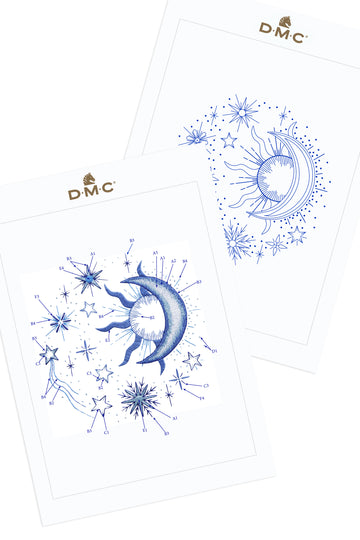 Constellation in DMC - PAT0863 - Downloadable PDF
$0.00
Constellation in DMC - PAT0863 - Downloadable PDF
$0.00
-
 Floral Kaleidoscope in DMC - PAT0452 - Downloadable PDF
$0.00
Floral Kaleidoscope in DMC - PAT0452 - Downloadable PDF
$0.00
-
 Life Is Tough But So Are You in DMC - PAT0445 - Downloadable PDF
$0.00
Life Is Tough But So Are You in DMC - PAT0445 - Downloadable PDF
$0.00
-
 Indian Elephant in DMC - PAT0454 - Downloadable PDF
$0.00
Indian Elephant in DMC - PAT0454 - Downloadable PDF
$0.00
-
 You Got This in DMC - PAT0442 - Downloadable PDF
$0.00
You Got This in DMC - PAT0442 - Downloadable PDF
$0.00
-
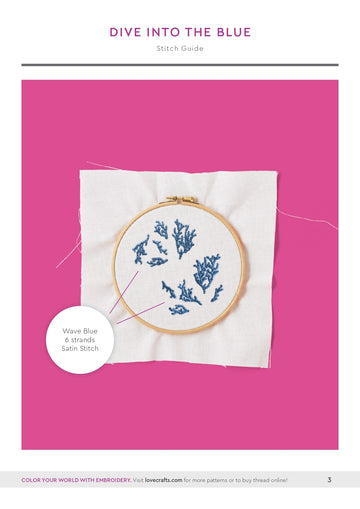 Paintbox Crafts Color Your World With Embroidery Patterns
$0.00
Paintbox Crafts Color Your World With Embroidery Patterns
$0.00
-
 Bengal Tiger in DMC - PAT0451 - Downloadable PDF
$0.00
Bengal Tiger in DMC - PAT0451 - Downloadable PDF
$0.00
-
 In Bloom in DMC - PAT0571 - Downloadable PDF
$0.00
In Bloom in DMC - PAT0571 - Downloadable PDF
$0.00
-
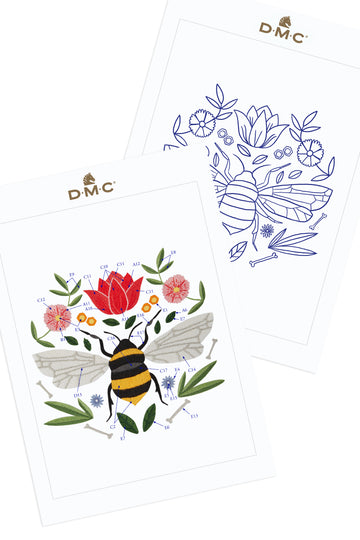 Bee in DMC - PAT0521 - Downloadable PDF
$0.00
Bee in DMC - PAT0521 - Downloadable PDF
$0.00
-
 Monstera & Botanical Fern in DMC - PAT0008 - Downloadable PDF
$0.00
Monstera & Botanical Fern in DMC - PAT0008 - Downloadable PDF
$0.00
-
 Floral Wreath in DMC - PAT0054 - Downloadable PDF
$0.00
Floral Wreath in DMC - PAT0054 - Downloadable PDF
$0.00
-
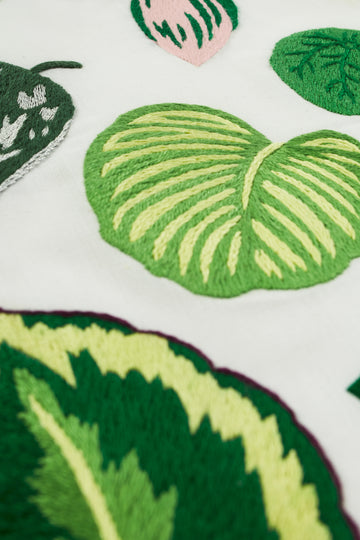 Leaf Cuttings in DMC - PAT0332 - Downloadable PDF
$0.00
Leaf Cuttings in DMC - PAT0332 - Downloadable PDF
$0.00
-
 Cat in DMC - PAT0523 - Downloadable PDF
$0.00
Cat in DMC - PAT0523 - Downloadable PDF
$0.00
-
 Mountain + Sun in DMC - PAT0057 - Downloadable PDF
$0.00
Mountain + Sun in DMC - PAT0057 - Downloadable PDF
$0.00
-
 Midnight Anemone in DMC - PAT0339 - Downloadable PDF
$0.00
Midnight Anemone in DMC - PAT0339 - Downloadable PDF
$0.00
-
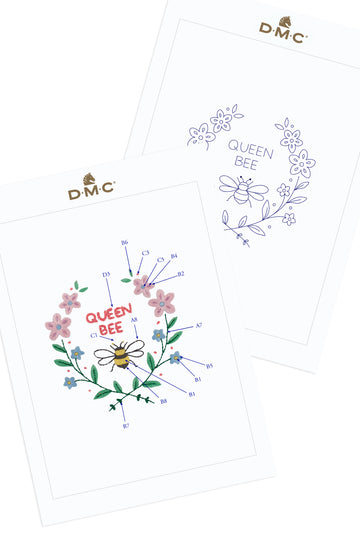 Queen Bee in DMC - PAT0447 - Downloadable PDF
$0.00
Queen Bee in DMC - PAT0447 - Downloadable PDF
$0.00
-
 Triple Fern in DMC - PAT0003 - Downloadable PDF
$0.00
Triple Fern in DMC - PAT0003 - Downloadable PDF
$0.00
-
 Choose Happiness in DMC - PAT0397 - Downloadable PDF
$0.00
Choose Happiness in DMC - PAT0397 - Downloadable PDF
$0.00
-
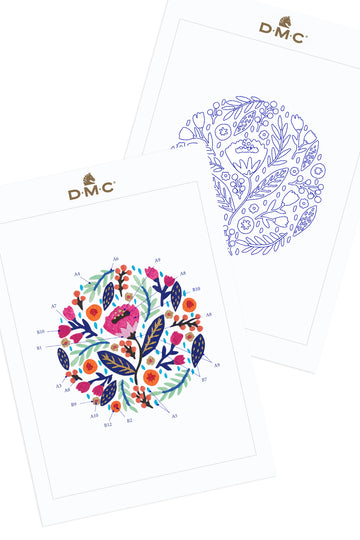 Spring Garden in DMC - PAT0484 - Downloadable PDF
$0.00
Spring Garden in DMC - PAT0484 - Downloadable PDF
$0.00
-
 Floral Star in DMC - PAT0789 - Downloadable PDF
$0.00
Floral Star in DMC - PAT0789 - Downloadable PDF
$0.00
-
 Anchor & The Barmy Fox Happy Harvest Stitchalong Pattern - ANC0003-134 - Downloadable PDF
$0.00
Anchor & The Barmy Fox Happy Harvest Stitchalong Pattern - ANC0003-134 - Downloadable PDF
$0.00
-
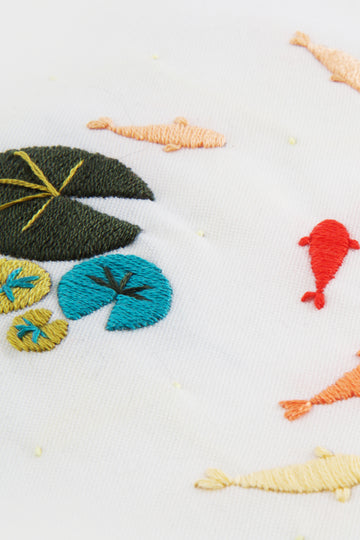 Koi Pond in DMC - PAT0078 - Downloadable PDF
$0.00
Koi Pond in DMC - PAT0078 - Downloadable PDF
$0.00
-
 Cursive Font in DMC - PAT0050 - Downloadable PDF
$0.00
Cursive Font in DMC - PAT0050 - Downloadable PDF
$0.00
-
 Single Peony in DMC - PAT0337 - Downloadable PDF
$0.00
Single Peony in DMC - PAT0337 - Downloadable PDF
$0.00
-
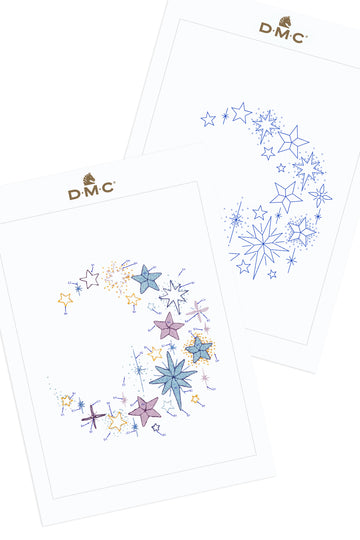 Shining Star in DMC - PAT0848 - Downloadable PDF
$0.00
Shining Star in DMC - PAT0848 - Downloadable PDF
$0.00
-
 Swan in DMC - PAT0318 - Downloadable PDF
$0.00
Swan in DMC - PAT0318 - Downloadable PDF
$0.00
-
 Koi fish in DMC - PAT0535 - Downloadable PDF
$0.00
Koi fish in DMC - PAT0535 - Downloadable PDF
$0.00
-
 Inside the Greenhouse in DMC - PAT0072 - Downloadable PDF
$0.00
Inside the Greenhouse in DMC - PAT0072 - Downloadable PDF
$0.00
-
 Small Tortoiseshell Butterfly in DMC - PAT0479 - Downloadable PDF
$0.00
Small Tortoiseshell Butterfly in DMC - PAT0479 - Downloadable PDF
$0.00
-
 Cosmos Floral in DMC - PAT0221 - Downloadable PDF
$0.00
Cosmos Floral in DMC - PAT0221 - Downloadable PDF
$0.00
-
 Toucan in DMC - PAT0500 - Downloadable PDF
$0.00
Toucan in DMC - PAT0500 - Downloadable PDF
$0.00
-
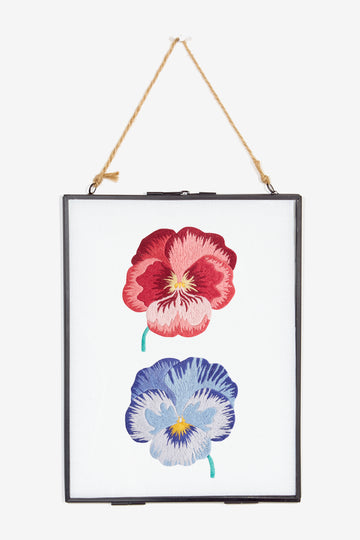 Pansy Heads in DMC - PAT0598 - Downloadable PDF
$0.00
Pansy Heads in DMC - PAT0598 - Downloadable PDF
$0.00
-
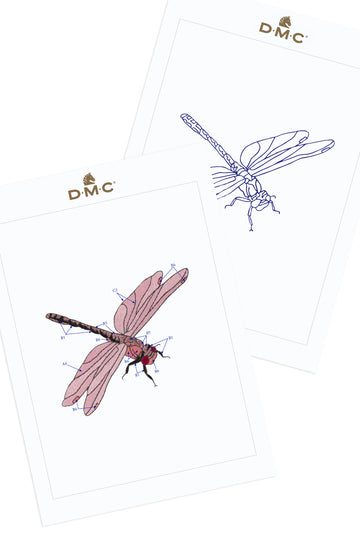 Dragonfly in DMC - PAT0478 - Downloadable PDF
$0.00
Dragonfly in DMC - PAT0478 - Downloadable PDF
$0.00
-
 Stitch Alphabet in DMC - PAT0150 - Downloadable PDF
$0.00
Stitch Alphabet in DMC - PAT0150 - Downloadable PDF
$0.00
-
 Constellations in DMC - PAT0137 - Downloadable PDF
$0.00
Constellations in DMC - PAT0137 - Downloadable PDF
$0.00
-
 Flamingo in DMC - PAT0311 - Downloadable PDF
$0.00
Flamingo in DMC - PAT0311 - Downloadable PDF
$0.00
-
 Cherry Blossom in DMC - PAT0015 - Downloadable PDF
$0.00
Cherry Blossom in DMC - PAT0015 - Downloadable PDF
$0.00
-
 Desert Landscape in DMC - PAT0080 - Downloadable PDF
$0.00
Desert Landscape in DMC - PAT0080 - Downloadable PDF
$0.00
-
 Anchor Flowers with Love - ANC0003-121 - Downloadable PDF
$0.00
Anchor Flowers with Love - ANC0003-121 - Downloadable PDF
$0.00
-
 Mushroom Girl in DMC - PAT0675 - Downloadable PDF
$0.00
Mushroom Girl in DMC - PAT0675 - Downloadable PDF
$0.00
-
 DMC Easy Embroidery Sampler - PAT1937- Downloadable PDF
$0.00
DMC Easy Embroidery Sampler - PAT1937- Downloadable PDF
$0.00
-
 Island Bloom in DMC - PAT0488 - Downloadable PDF
$0.00
Island Bloom in DMC - PAT0488 - Downloadable PDF
$0.00
-
 Modern Love in DMC - PAT0972 - Downloadable PDF
$0.00
Modern Love in DMC - PAT0972 - Downloadable PDF
$0.00
-
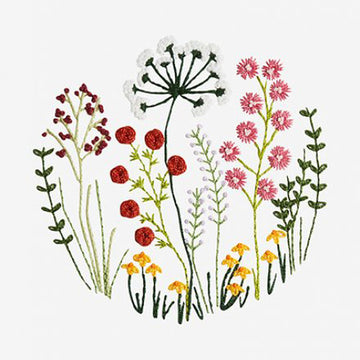 DMC Countryside - PAT1103S - Downloadable PDF
$0.00
DMC Countryside - PAT1103S - Downloadable PDF
$0.00
-
 Summer Berries in DMC - PAT0610 - Downloadable PDF
$0.00
Summer Berries in DMC - PAT0610 - Downloadable PDF
$0.00
-
 Paintbox Crafts Fall Bloom Embroidery Pattern - Downloadable PDF
$0.00
Paintbox Crafts Fall Bloom Embroidery Pattern - Downloadable PDF
$0.00
-
 Earths Core in DMC - PAT0737 - Downloadable PDF
$0.00
Earths Core in DMC - PAT0737 - Downloadable PDF
$0.00
-
 Pansy Flower Study in DMC - PAT0597 - Downloadable PDF
$0.00
Pansy Flower Study in DMC - PAT0597 - Downloadable PDF
$0.00


