How to make a pombré purse
Published on April 24, 2019 By Christine Leech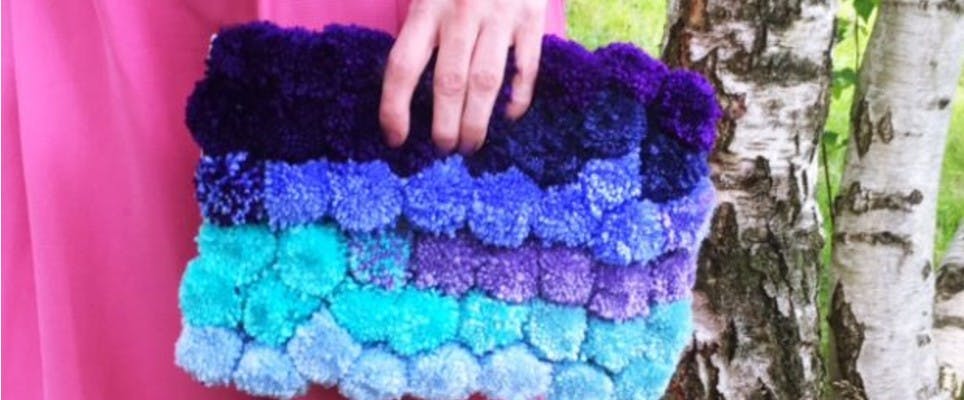
We love Christine Leech’s perfectly pomtastic Pombré Purse! Grab your yarn and get crafting with this step-by-step FREE tutorial!
Materials
- Paintbox Yarns Simply DK
- 1 ball each in shades Seafoam Blue, Washed Teal, Dusty Lilac, Rich Mauve, Dolphin Blue and Marine Blue
- Pom-Pom Maker (Small)
- A hot glue gun
- A flat, envelope style clutch bag (faux leather works best)
- Scissors
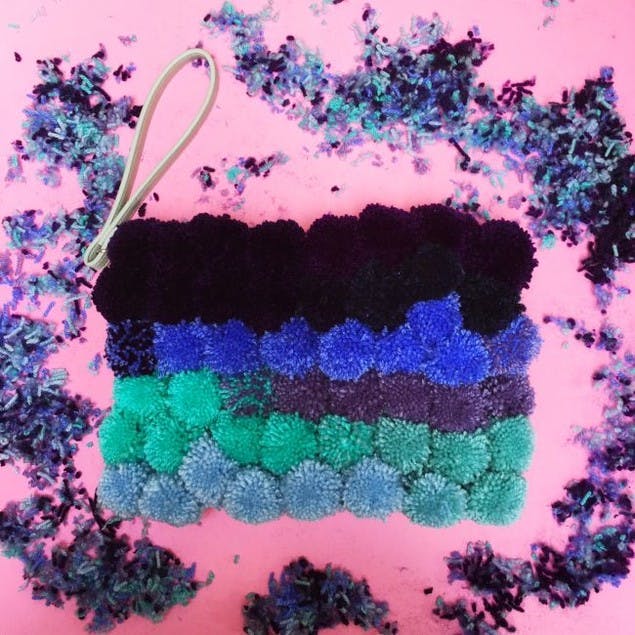
What do you get if you mix pom poms with the ever-popular color theme of ombré? The Pombré! This month I’ve covered a boring old clutch bag and given it a fun fluffy new lease of life. You do have to make quite a lot of pom poms for this project, but they’re small, so they’re super quick to make. You can make them while watching TV in the evening or when you’re out relaxing in the garden – it’s a great stash-busting project.
The number of pom poms needed will be determined by the size of the bag you want to cover. The bag I’ve done here is roughly 12″ x 8″ (30 x 20cm) in size and I made 48 poms using a 5cm maker. If you don’t want to make so many pom poms then use a larger 7cm maker, but that will make your clutch quite bulky.
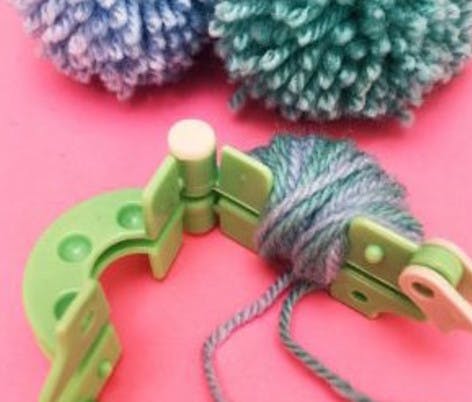
How to make a pom pom
1
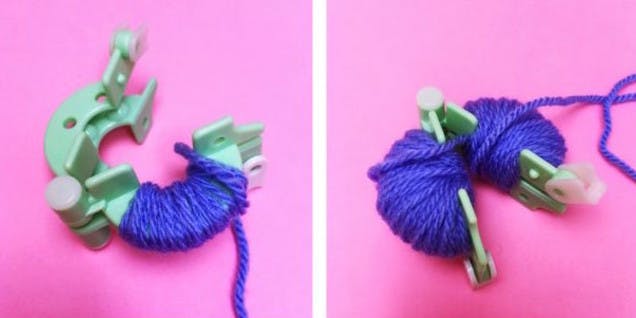
Take the maker and place the two halves together. Beginning on one side, wrap the yarn around the maker back and forth until that half is filled.
Repeat on the other half.
2
Close the maker and then cut through the wool around the edge till you can see the maker inside.
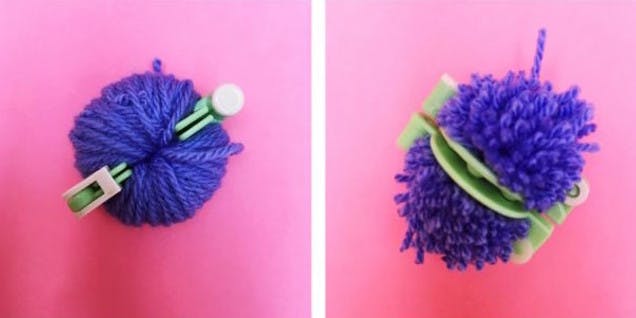
3
Unclip the maker and remove the pom.
Take a length of wool and place it between the two halves of the maker, tie a knot and pull tight around the wool at the center, wrap the wool back around the pom pom and tie a double knot.

Pro Tip
Don’t worry about trimming the pom pom too neatly as you will do that later.
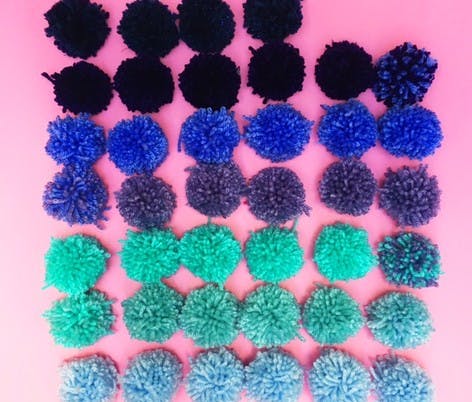
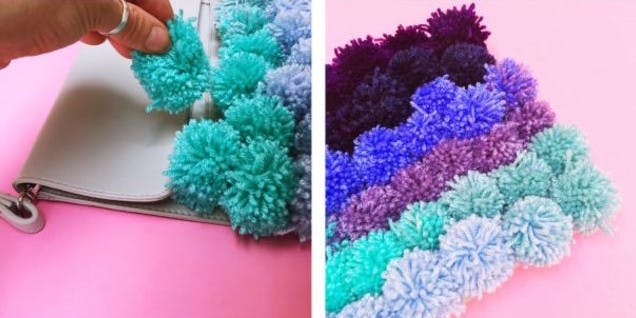
I made roughly 4-6 pom poms in each color of my ombré.
Where each color changed into the next on my ombré scale I made a transition pom pom.
To do this I mixed the two different colors of yarn in one pom - simply wind both colors of yarn around the maker at the same time. This gives a speckled effect.
Constructing the bag
1
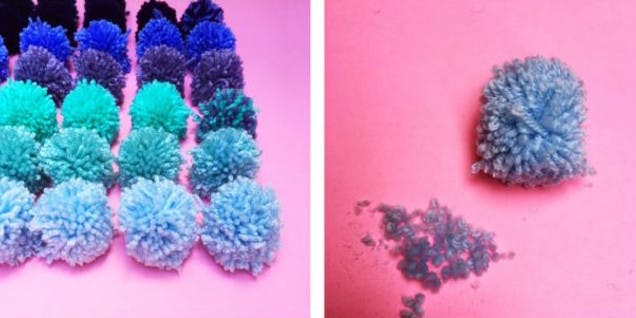
Lay all your pom poms out in the order you want to attach them to the bag.
Trim the bottom of each one flat so it there is a flat area for the glue to fix firmly.
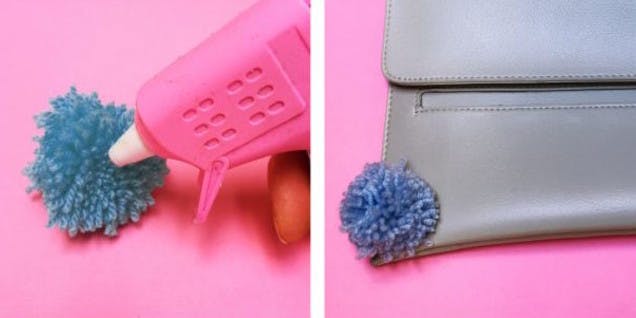
2
Using a glue gun and, starting at the bottom left corner, glue a pom in place.
Glue the next one pretty close so there’s no space between the two.
Repeat until you have filled the whole bottom row.
3
Work back and forth across the bag gradually changing the color of the poms as you go.
4
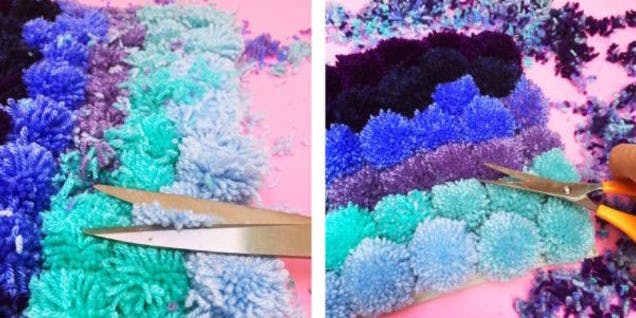
When the bag front is completely covered, begin trimming. How much you trim is up to you.
You could simply trim any extra long strands of wool, or trim quite firmly to get a flat top look.
Pro Tip
If you have large dressmaking scissors, use these for the initial trim and then use smaller ones to tidy up individual strands later.
It's time to take your new purse out on the town - get yourself to the nearest pom pom party!